I was halfway through a late-night troubleshooting session when my cheap, particle-board “gaming desk” finally gave up the ghost, buckling under the weight of my dual monitors and a stack of vintage synth manuals. It wasn’t even a dramatic collapse; it was just a slow, pathetic sag that made my entire workspace feel unreliable. That was the moment I realized that most of the furniture marketed to us is basically just glorified cardboard held together by hope. If you’re tired of spending a fortune on stuff that wobbles every time you type, learning how to build a desk is the ultimate power move for your sanity and your setup.
Forget those overly polished DIY tutorials that require a professional workshop and a thousand dollars in specialized tools. I’m going to show you how to build a workspace that is actually built to last, using simple, heavy-duty materials you can grab from any local hardware store. We aren’t chasing some impossible Pinterest aesthetic here; we are focusing on structural integrity, cable management that actually works, and a surface that won’t warp in six months. By the end of this, you’ll have a rock-solid station that handles your gear without breaking a sweat.
Guide Overview
Tools & Supplies
- Power Drill for driving screws
- Circular Saw for cutting wood to size
- Sandpaper for smoothing surfaces
- Tape Measure for accurate dimensions
- Wood Plank (Desktop) 1 unit
- 4×4 Wood Posts (Legs) 4 units
- Wood Screws 1 box
- Wood Glue 1 bottle
Step-by-Step Instructions
- 1. First things first, you need to source your desktop. I’m not talking about some fancy, $500 solid walnut slab that’s going to make you sweat every time you set a coffee mug down. Go to a local hardware store and look for a pre-cut butcher block or even a thick piece of high-quality plywood. If you go the plywood route, just make sure it’s at least 3/4 of an inch thick so it doesn’t bow under the weight of your monitors.
- 2. Once you have your surface, it’s time to prep it. If you’re using raw wood, you’re going to want to sand it down. Don’t just do one quick pass and call it a day; start with a lower grit sandpaper and work your way up to a fine grit. You want it to feel smooth as silk to the touch, otherwise, you’re going to end up with a splinter in your leg by next Tuesday.
- 3. Now, let’s talk about the legs. This is where most people overcomplicate things. You can buy metal hairpin legs online if you want that mid-century vibe, or you can just grab some heavy-duty trestles from a big-box store. Whatever you choose, measure twice and drill once. Use a template or a piece of cardboard to mark exactly where the holes go so you don’t end up with a desk that wobbles like it’s in an earthquake.
- 4. Before you drive any screws into your beautiful new wood, do a “dry fit.” Lay the legs on the underside of the desk and check the alignment. I always keep my multi-tool handy for this part because sometimes you realize a screw is just a hair too long and you need to adjust your plan on the fly. If everything looks straight, you’re ready to commit.
- 5. Time to actually assemble. Use a drill to pre-drill your holes—this is non-negotiable if you don’t want your wood to split right down the middle. Once the holes are ready, drive your screws in steadily. Don’t go full-throttle with the power drill at the very end, or you might strip the screw heads; finish them off with a manual screwdriver to ensure everything is tight and secure.
- 6. Finally, give it a finish. If you want to keep it low-maintenance, a simple wipe-on polyurethane or a hard-wax oil works wonders. It protects the wood from spills and dust without making it look like a plastic museum exhibit. Just apply a thin coat, let it dry, and give it one last light sand for that professional feel. Now you actually have a workspace that can handle your real life.
Choosing the Best Wood for Office Furniture That Lasts
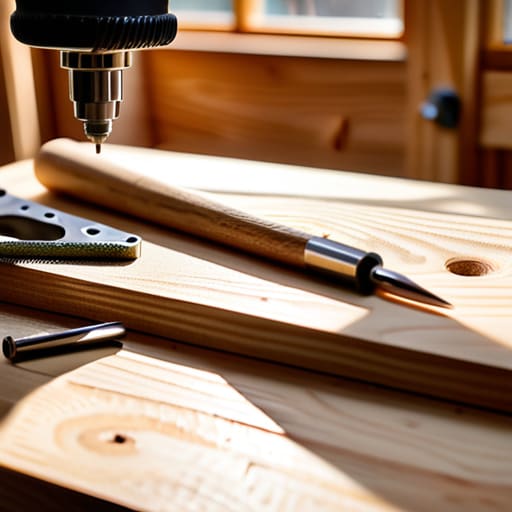
Look, I know the hardware store aisles can feel like a sensory overload, especially when you’re just trying to get your workspace sorted. You’ll see people online raving about exotic hardwoods that cost more than my monthly rent, but let’s be real: unless you’re building a museum piece, you don’t need that. For most of us, the best wood for office furniture is all about finding that sweet spot between durability and your actual budget. If you want something that can handle the weight of a heavy PC tower and a few coffee spills without warping, I usually lean toward birch plywood or solid pine. They’re forgiving, relatively cheap, and perfect if you’re still getting the hang of your woodworking tools for beginners.
If you’re aiming for that clean, Scandi-inspired vibe, I’d suggest sticking to lighter woods like maple or ash. They lend themselves beautifully to minimalist desk construction because they don’t demand a ton of heavy staining to look good. Just a quick sand and a coat of matte polyurethane, and you’ve got a surface that looks intentional rather than “I made this in my garage.” Just remember: whatever you choose, make sure it’s thick enough to support your gear without bowing in the middle. A desk that looks great but wobbles every time you type is just a glorified coaster.
Essential Woodworking Tools for Beginners to Get the Job Done
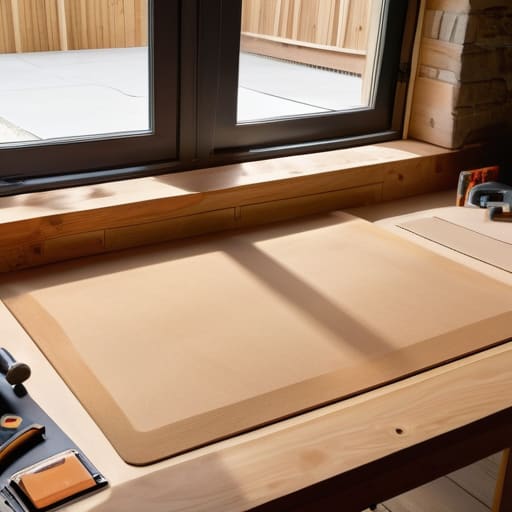
Look, I know the idea of walking into a hardware store can feel like stepping into a different dimension where everyone speaks a secret language. But here’s the secret: you don’t need a professional workshop to pull off a solid minimalist desk construction. For this project, I’m not suggesting you go out and buy a $500 table saw. You really just need the basics that won’t break the bank: a reliable cordless drill, a speed square to keep things from looking wonky, and a decent orbital sander. If you’re really tight on budget, even a simple hand saw and some sandpaper will get you through the custom desk assembly steps, provided you have the patience to put in the manual labor.
The biggest mistake I see people make when gathering woodworking tools for beginners is overcomplicating the kit. You don’t need every specialized chisel or fancy router in the catalog. Focus on the tools that ensure precision; if your cuts aren’t straight and your holes aren’t centered, no amount of expensive stain is going to save the vibe. My rule of thumb? Buy for the task, not the hype. Get a decent tape measure and a level, because if your workspace furniture DIY isn’t flat, your coffee is going to end up on your keyboard, and nobody wants that.
5 Pro-Tips to Keep Your Desk from Becoming a Total Disaster
- Measure twice, cut once, and then measure a third time. I know, it sounds like a cliché, but there is nothing more soul-crushing than finishing a build only to realize your monitor won’t actually fit on the surface you just spent three hours sanding.
- Don’t skip the leveling. If your floor is even slightly uneven—and let’s be real, most apartment floors are—your desk will wobble like crazy. Use adjustable leveling feet on your legs so you aren’t constantly shoving a folded-up piece of cardboard under one corner.
- Plan for cable management before you even touch a screwdriver. If you don’t build in a way to hide your power bricks and tangled cords, your “minimalist” workspace is going to look like a tech graveyard within a week. Drill some holes or attach a tray underneath now so you don’t regret it later.
- Sanding is the part everyone wants to rush, but don’t. If you skip the fine-grit finish, you’re going to end up with splinters or a surface that feels gross every time you slide your laptop across it. Take the extra twenty minutes; your forearms will thank you.
- Think about your ergonomics, not just the look. A desk that looks amazing on camera is useless if it’s at the wrong height and leaves you with a neck ache by noon. Make sure your elbow angle feels natural before you commit to your final leg height.
The Final Build
At the end of the day, building your own desk isn’t about achieving some level of woodworking mastery that would make a pro sweat. It’s about the fact that you picked the right wood, grabbed the essential tools, and actually followed through on a plan. You’ve moved past the stage of buying flimsy, particle-board junk that wobbles every time you type too hard. By focusing on structural integrity over superficial aesthetics, you’ve created a workstation that is uniquely yours and, more importantly, built to last. You now have a solid foundation for your tech, your projects, and your daily grind.
I know that staring at a pile of lumber and a set of tools can feel intimidating, especially if you’ve never held a drill in your life. But honestly? The most important part of this whole process isn’t the perfect finish or the expensive hardware; it’s the realization that you can actually fix and build your own world. Once you realize that “professional grade” is often just a marketing term, the gatekeeping disappears. So, go ahead and tighten those bolts, clear off the sawdust, and get to work. You’ve officially built something that actually functions, and that’s a massive win.
Frequently Asked Questions
How do I stop my desk from wobbling if I'm not using heavy-duty hardware?
Look, we’ve all been there—you finish your build, sit down to work, and your monitors start dancing because of a tiny wobble. If you aren’t ready to drill into your frame with heavy-duty steel, try some felt pads or even those little adjustable leveling feet you can screw into the bottom of the legs. If it’s still acting up, a bit of museum wax or a simple rubber shim under the “short” leg can work wonders.
What’s the best way to hide all my cable clutter without spending a fortune on fancy trays?
Honestly, don’t waste your money on those overpriced, “aesthetic” cable management boxes. Most of them are just plastic junk that collects dust. I usually just grab some heavy-duty Velcro strips and some adhesive cable clips from a hardware store—it costs like five bucks. Route everything along the underside of your desk frame. If you’re feeling extra, a cheap mesh net screwed to the bottom works wonders for hiding the bulky power bricks. Keep it functional, not fancy.
If I’m working in a small apartment, how do I manage the sawdust and mess without ruining my floors?
Look, I’ve spent way too many nights scrubbing fine sawdust out of my floorboards, so I get it. If you’re working in a tight space, don’t just wing it. Grab a heavy-duty tarp or some cheap drop cloths to create a “work zone”—it’s way easier to fold up a tarp than to vacuum every single crevice. Also, keep a shop vac on standby and a damp rag nearby. Catch the mess while it’s still wet, not after it’s settled into your rug.
Should I go for a solid wood top, or is a high-quality butcher block or plywood enough to keep it from warping?
Honestly, don’t feel pressured to go full solid slab just because you think you have to. If you’re worried about warping, a high-quality butcher block is actually my go-to; it’s already engineered to stay stable. Plywood is a solid budget move too, provided you use a good grade like Baltic Birch and seal it well. Just focus on the thickness and a good finish—that’s what really keeps your setup from bowing.