Please stop scrolling through those curated Pinterest boards filled with $500 designer fabric shears and “essential” starter kits that are basically just overpriced plastic. Honestly, the gatekeeping in the crafting world is exhausting, and most of those “must-have” lists are just ways to drain your bank account before you even thread a needle. If you’re actually looking into sewing basics for beginners, you don’t need a studio setup or a curated aesthetic; you just need tools that actually function so you don’t end up throwing a tantrum when your seam puckers.
I’m not here to sell you on a lifestyle or teach you how to make something that looks perfect for a photo op. My goal is to give you the unfiltered truth about what you actually need to sit down and start making things that work. We’re going to skip the fluff and focus on the systems and simple tools that will help you repair your clothes or build something new without the unnecessary headache. Let’s get your kit sorted so you can actually start creating instead of just collecting gear.
Beginner Sewing Kit Essentials That Actually Work
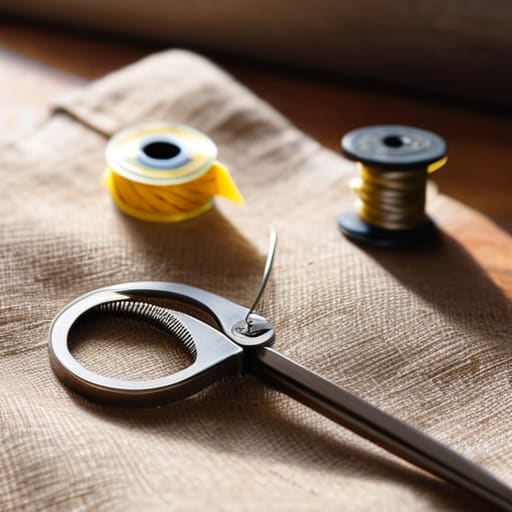
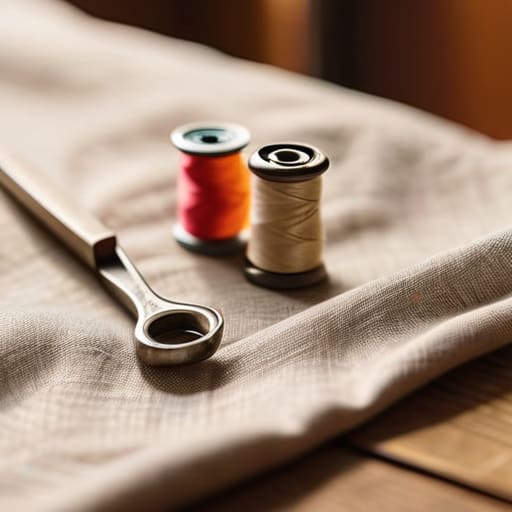
Look, you don’t need a massive, $200 “all-in-one” craft kit that comes in a plastic bin filled with junk you’ll never use. Most of those kits are just a way to charge you more for low-quality tools that will frustrate you before you even finish your first seam. Instead, focus on building a small, high-functioning toolkit. You need a decent pair of fabric shears—and I mean actually sharp ones—a seam ripper (your new best friend, trust me), a handful of glass-head pins, and a reliable measuring tape. If your tools are garbage, your projects will be too, and nothing kills motivation faster than fighting your own equipment.
When it comes to the heavy lifting, your essential sewing machine tools should include a variety of needle sizes and a few spools of high-quality all-purpose polyester thread. Don’t go cheap on the thread; the cheap stuff snaps constantly and will have you hunting for YouTube tutorials on how to thread a sewing machine every five minutes because of tension issues. I also highly recommend keeping a small notebook nearby to jot down your settings for different materials. It’s not about having the most gear; it’s about having the right gear that actually performs when you’re mid-project.
A No Nonsense Sewing Fabric Types Guide
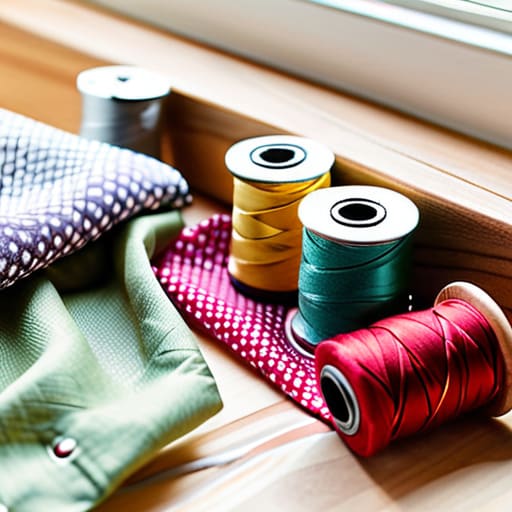
Look, I know the fabric aisle feels like a sensory overload designed to make you feel unqualified, but let’s strip the mystery away. You don’t need a warehouse of silk and velvet to start. For your first few projects, I highly recommend sticking to cotton weaves—specifically quilting cotton or poplin. They are stable, they don’t slide around like crazy while you’re trying to manage basic sewing stitches for beginners, and they actually behave when you press them with an iron. If you try to jump straight into slippery satins or stretchy jerseys without mastering the physics of a stable fabric, you’re going to end up frustrated and ready to toss your machine out the window.
Once you’ve got the hang of cotton, you can slowly branch out into more “personality-driven” textiles. Linen is a fantastic next step because it’s forgiving and has that effortless, lived-in vibe, though it can be a bit wrinkly. Just keep in mind that as you move away from simple weaves, your approach to tension might change. This is where a little bit of this sewing fabric types guide comes in handy: treat every new material like a test subject. Pin it, test a scrap, and see how it reacts before you commit to the final cut. Keep it simple, keep it stable, and you’ll actually finish something you’re proud of.
5 Ways to Stop Fighting Your Machine and Start Actually Sewing
- Stop trying to sew everything with the same cheap thread. If you’re working with something delicate like silk or even a standard cotton, spend the extra three bucks on a decent spool of all-purpose polyester thread. It’s way stronger and won’t snap every time you hit a seam, which saves you a massive headache.
- Don’t ignore the importance of pressing as you go. I know, it sounds tedious, and it’s definitely not “aesthetic” to spend half your time at the ironing board, but if you don’t press your seams flat after every single stitch, your finished project is going to look like a crumpled mess instead of something actually wearable.
- Learn to respect your seam allowance. Most patterns will tell you exactly how far from the edge to sew, and I promise you, “eyeballing it” is a recipe for disaster. If your measurements are off by even a quarter inch, your sleeves won’t fit and your whole garment will be wonky. Use those lines on the machine plate.
- Get comfortable with the seam ripper—it’s not a sign of failure, it’s a tool for precision. Even the pros mess up. Instead of getting frustrated and wanting to toss the whole project in the bin when a stitch goes sideways, just rip it out, fix the mistake, and move on. It’s part of the process.
- Slow down. Your sewing machine is a tool, not a race car. Most beginners try to stomp on the pedal to get through a project faster, but that just leads to skipped stitches and tension issues. Control your speed, focus on your needle placement, and prioritize accuracy over speed every single time.
Stop Overthinking and Just Start Stitching
Look, we’ve covered a lot of ground, from picking out tools that won’t break mid-seam to understanding which fabrics won’t make you want to throw your machine out the window. The goal here wasn’t to turn you into a master tailor overnight, but to make sure you aren’t wasting time and money on useless gear that just clutters your workspace. You don’t need a studio full of high-end gadgets to make something functional; you just need a solid kit, a decent understanding of your materials, and the willingness to embrace the mess that comes with learning a new skill.
At the end of the day, your first few projects are probably going to look a little wonky, and that is perfectly fine. I spent hours trying to get my first vintage synth repair to look “professional,” only to realize that as long as the circuits are connected and it makes sound, it’s a win. Sewing is exactly the same. Don’t let the fear of a crooked hem stop you from building something that actually works for your life. Just grab your shears, sit down, and start making something—even if it’s just a simple drawstring bag—because the real magic happens when you stop consuming and start creating.
Frequently Asked Questions
Do I really need a dedicated sewing machine, or can I start with just a needle and thread?
Look, the short answer is: you can definitely start with just a needle and thread, but your patience will be tested. Hand-stitching is great for small repairs or delicate details, but if you’re trying to make a whole garment, you’re going to burn out fast. If you have the budget, grab a reliable machine to save your sanity. If not, master a few basic hand stitches first so you aren’t just guessing.
How do I figure out which needle size I need so I don't end up ruining my fabric?
Look, nothing kills my momentum faster than hitting a snag because I used the wrong needle. Here’s the cheat sheet: check the fabric weight. If you’re working with lightweight silks or thin cottons, grab a 70/10 or 80/12. For standard stuff like linen or quilting cotton, an 80/12 or 90/14 is your sweet spot. If you try to force a heavy denim needle through chiffon, you’re just asking for puckered seams and a headache. Match the needle to the thickness, and you’re good.
Is it worth buying expensive patterns right away, or should I stick to something simpler?
Look, don’t go dropping fifty bucks on a designer pattern just because the photo looks dreamy. It’s a trap. When you’re starting out, you’re still figuring out how your machine handles different seams and how much “ease” you actually need. Stick to the basics—simple patterns with fewer pieces and clear instructions. Treat your early projects like beta testing; you want to build your skills without the frustration of a complex, expensive mistake.
What's the best way to organize all these tiny notions and threads so my workspace doesn't turn into a disaster zone?
Look, if you try to use those massive, expensive sewing organizers you see on Pinterest, you’re probably going to regret it. They’re bulky and honestly overkill. Instead, go the modular route. I swear by clear acrylic bins or even just repurposed photo storage boxes. Keep your threads in one small container and your tiny notions—pins, needles, bobbins—in another. If you can see what’s inside without digging, you’ve already won the battle against the mess.