I was sitting on my floor last Saturday, surrounded by half-finished circuit boards and a pile of cedar scraps, staring at a “beginner’s” woodworking tutorial that required a workshop full of specialized power tools just to make a simple nesting box. Honestly, it was exhausting. We’ve been conditioned to think that if we don’t have a $500 table saw or a perfectly curated tool chest, we aren’t “real” DIYers, but that’s a total lie. If you want to learn how to build a birdhouse that actually keeps local birds safe and dry, you don’t need a professional studio; you just need a basic plan and the willingness to get your hands a little dirty.
Forget those overly polished, aesthetic DIY videos that make everything look effortless and expensive. I’m going to show you how to strip this project down to its functional core using basic tools you probably already have tucked away in a junk drawer. We’re going to focus on structural integrity and proper ventilation rather than making it look like a Pinterest masterpiece. By the end of this, you’ll have a solid, no-nonsense guide on how to build a birdhouse that actually serves its purpose without breaking your bank account or your spirit.
Guide Overview
Tools & Supplies
- Hand saw or miter saw for cutting wood
- Hammer for assembling pieces
- Drill with small bits for pilot holes and entrance hole
- Measuring tape for accurate dimensions
- Cedar or pine board (approx. 1x6x4 feet)
- Galvanized nails or exterior screws (small box)
- Wood glue (waterproof)
- Sandpaper (medium grit)
Step-by-Step Instructions
- 1. First things first, you need to grab some wood. Don’t go out and buy some expensive, treated lumber that’s going to off-gas chemicals near your backyard visitors; just grab a single piece of untreated cedar or pine about 1×6 inches. It’s durable, it handles the weather well, and it won’t poison the locals.
- 2. Once you have your wood, it’s time to play architect. You’ll need to mark out your pieces: a floor, four walls (the front one needs an entrance hole), and a roof. I usually sketch this out directly on the wood with a pencil first because measuring twice is way easier than realizing your roof doesn’t fit after you’ve already driven the nails in.
- 3. Now, let’s get that entrance hole cut. Depending on what kind of birds you want moving into your neighborhood, you’ll want a specific diameter—about 1.5 inches is a safe bet for most common songbirds. Use a spade bit or a hole saw, and try to keep it at least six inches above the floor so the babies don’t accidentally tumble out before they’re ready.
- 4. Time to start assembling. Grab some exterior-grade screws or galvanized nails—standard ones will just rust and fall apart after the first rainstorm. Start by attaching the sides to the floor, then add the back and the front. Don’t worry if your lines aren’t perfectly straight; birds aren’t looking for architectural perfection, they’re looking for a dry place to nap.
- 5. Attach the roof, but here is my little pro-tip: don’t screw it down permanently. If you use a couple of screws on one side or a small hinge, you can actually pop the top off once a year to clean out the old nesting material. If you don’t clean it, it just becomes a petri dish for parasites, and nobody wants that.
- 6. Finally, give it a mounting plan. You can screw it directly to a wooden post or use some heavy-duty wire to hang it from a sturdy branch. Whatever you do, avoid painting the inside. Keep the interior raw and natural so it stays safe for the birds, and if you really want to decorate the outside, stick to light, neutral colors that won’t absorb too much heat in the sun.
The Essential Woodworking Tools for Birdhouses You Actually Need
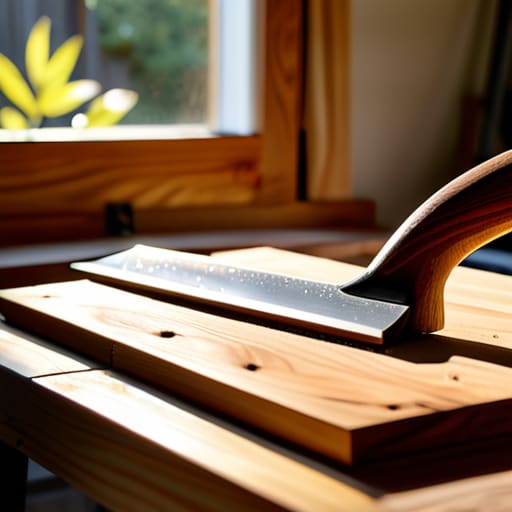
Look, you don’t need a professional-grade workshop or a $500 table saw to get this done. I’ve seen people get so paralyzed by the “perfect” setup that they never actually start. Honestly, if you have a basic hand saw, a hammer, and a drill, you’re already halfway there. When it comes to selecting your woodworking tools for birdhouses, my biggest piece of advice is to prioritize precision over power. A decent tape measure and a square are your best friends here; if your cuts are wonky, your roof won’t sit flush, and that’s exactly where moisture starts creeping in.
Speaking of moisture, let’s talk about the hardware. When you’re attaching the birdhouse roof, don’t just grab any random nails from a junk drawer. Use galvanized or stainless steel fasteners. If you use standard nails, they’ll rust through in a single season, leaving your feathered tenants out in the rain. I also highly recommend getting a drill bit specifically for your project to ensure you hit the safe birdhouse entrance hole size required for the species you’re actually trying to attract. It’s a small detail, but it’s the difference between a successful nesting site and a predator-friendly snack bar.
Choosing the Best Wood for Outdoor Birdhouses That Last
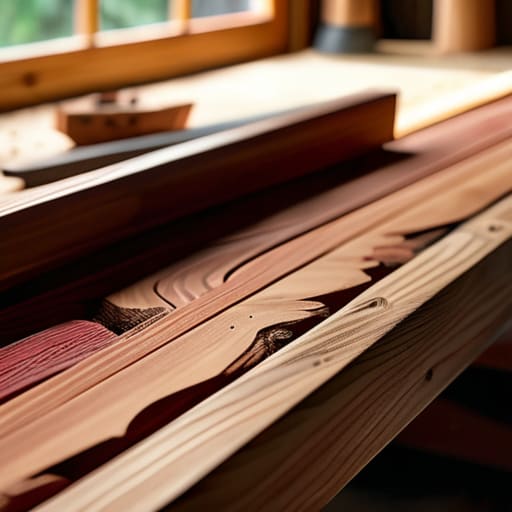
Look, I know it’s tempting to just grab whatever scrap piece of plywood is sitting in the garage, but if you want this thing to survive more than one season, you have to be strategic about your materials. When you’re hunting for the best wood for outdoor birdhouses, you want something that can handle the elements without constant maintenance. Cedar and redwood are my absolute go-tos because they have natural oils that act as a built-in defense against rot and insects. They’re basically the “set it and forget it” options of the woodworking world.
If you’re on a tighter budget, pine is a fine alternative, but don’t expect it to be a tank. If you go the pine route, you’ll need to be much more intentional about protecting birdhouses from weather by using a non-toxic, water-based sealant on the exterior. Whatever you do, please skip the pressure-treated lumber. I know it’s convenient, but the chemicals used to preserve that wood can actually be toxic to the birds nesting inside. We’re trying to build a sanctuary here, not a chemical hazard. Stick to natural, untreated hardwoods or rot-resistant softwoods, and your local birds will actually thank you for the upgrade.
Pro-Tips to Keep the Birds Happy (and Your House from Falling Apart)
- Skip the perches. I know they look cute in Pinterest photos, but birds don’t actually need them, and they just give predators a convenient place to hang out while they wait to ambush your feathered tenants.
- Drill some ventilation holes near the top. If you seal it up too tight, that little wooden box becomes an oven the second the sun hits it, and nobody wants a sauna for a nursery.
- Don’t go overboard with the finish. If you’re going to paint or stain it, keep it on the outside only. You want the exterior to handle the rain, but you want the inside to stay raw and natural so it’s safe for the birds.
- Make sure there’s a way to clean it out. Life gets messy, and bird nests get old. Build a side panel or a hinged roof so you can easily scoop out the old debris once a year without having to rebuild the whole thing.
- Mind the drainage. Drill a few small holes in the bottom corners. If rainwater manages to seep in, you want it to drain out immediately rather than sitting there and creating a swampy, moldy mess.
Getting It Out Into the Wild
At the end of the day, building this birdhouse isn’t about achieving some level of master craftsmanship or making it look like it belongs in a high-end boutique. It’s about the process: picking the right cedar, using the tools you actually have on hand, and following a blueprint that makes sense for your space. Once you’ve got your pieces cut and your assembly finished, remember that the most important part is the functionality of the design. If the entrance is the right size and the drainage holes are clear, you’ve already won. Don’t sweat the small stuff like wonky edges or a slightly uneven roof—birds aren’t looking for a five-star hotel; they’re looking for a solid, reliable shelter that keeps them safe from the elements.
Now that the sawdust has settled, it’s time to get that little structure mounted and out of your workshop. Whether you hang it from a sturdy branch or screw it to a post, make sure it’s in a spot that feels secure and private. There is something incredibly grounding about seeing a piece of something you built with your own hands actually serving a purpose in the real world. You’ve stripped away the complexity and built something that works, and honestly, that’s the whole point. Go grab your multi-tool, find the perfect mounting spot, and start building a life that’s as functional as it is rewarding.
Frequently Asked Questions
Do I really need to paint the birdhouse, or will that mess with the birds?
Honestly? Skip the paint. I know it looks a little “raw” without a pop of color, but birds aren’t looking for an Instagram aesthetic—they’re looking for safety. Most paints and stains off-gas chemicals that can actually be toxic to them in a small, enclosed space. If you really want to dress it up, stick to the natural wood or use a water-based, non-toxic sealer on the outside only. Keep the inside strictly natural.
How high up should I actually mount this thing so it’s safe from predators?
Look, don’t just nail this to the first thing you see at eye level. If you want your feathered neighbors to actually survive, aim for 5 to 12 feet up. Any higher and it’s a pain to clean; any lower and you’re basically serving a buffet for neighborhood cats or raccoons. Try to mount it on a metal pole if you can—it makes it way harder for predators to climb. Keep it high, keep it steady.
Is it okay to use leftover scrap wood from other projects, or is that a bad idea?
Honestly? Scrap wood is my absolute favorite way to do this. It’s the ultimate way to keep things functional without wasting money. Just do a quick “sanity check” first: make sure it isn’t pressure-treated (those chemicals aren’t great for the birds) and avoid anything with old paint or stains that might flake off. If it’s just raw, untreated cedar or pine leftovers, grab your saw and go for it. Don’t let “perfect” get in the way of useful.
What’s the best way to clean it out without destroying the whole thing for next season?
Look, I get it—the thought of digging through last year’s nesting material is gross. But don’t go grabbing the heavy-duty chemicals; you’ll ruin the wood and potentially harm the new residents. Once the birds have officially moved out, just scoop out the old debris with a small trowel. If you really need to sanitize, a diluted vinegar solution works wonders. Wipe it down, let it dry completely, and you’re good to go.