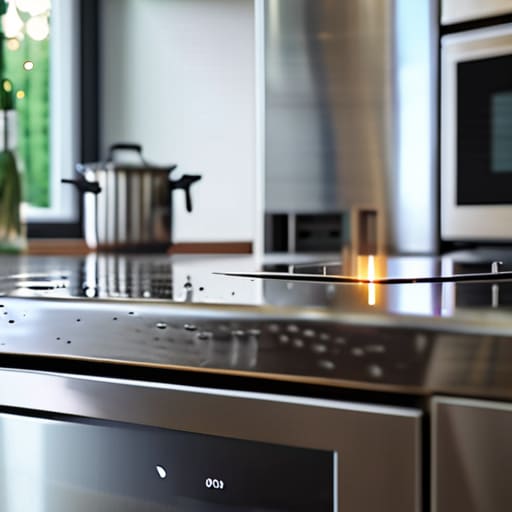
I was halfway through trying to fix a vintage Moog synth last weekend when I realized my kitchen looked exactly like the inside of that machine: a chaotic mess of fingerprints, grease splatters, and visible grime. I stared at my fridge, feeling that sudden wave of “aesthetic fatigue” we all get when our space looks less like a Pinterest board and more like a crime scene. Most people think you need a cabinet full of expensive, specialized chemicals to fix it, but honestly? That’s a lie. If you’re looking for how to clean stainless steel without spending forty bucks on a bottle of “premium shine” that just moves the grease around, you’re in the right place.
I’m not here to sell you on a lifestyle of perfection; I just want your appliances to actually look clean so you can get back to your life. In this guide, I’m stripping away the marketing fluff to show you the minimalist toolkit I actually use to get the job done. We’re going to cover the most effective, low-effort methods to tackle everything from stubborn water spots to those annoying oily streaks, ensuring your kitchen stays functional and looking sharp without the unnecessary drama.
Guide Overview
Tools & Supplies
- Microfiber cloth (for buffing and drying)
- Soft sponge (for gentle scrubbing)
- Dish soap (small amount)
- Warm water (2 cups)
- White vinegar (1/2 cup)
- Olive oil or mineral oil (1 tablespoon)
Step-by-Step Instructions
- 1. First things first, you need to figure out which way the grain runs on your appliance. It’s just like wood, and if you ignore this, you’re going to end up with tiny micro-scratches that drive you crazy later. Run your finger across the surface; if it feels smoother in one direction, that’s your target.
- 2. Grab a soft microfiber cloth—and I mean actually microfiber, not one of those cheap paper towels that leaves lint everywhere. Dampen it with warm water and a tiny drop of mild dish soap. You aren’t trying to deep-clean a crime scene; you just want to break down the grease and fingerprints that have accumulated from daily use.
- 3. Wipe everything down following that grain direction you found in step one. Avoid using anything abrasive like steel wool or even those “scouring” sponges, because they will wreck the finish faster than you can say “oops.” Just gentle, long strokes are all you need to get the grime moving.
- 4. Once the dirt is gone, take a fresh, dry cloth and wipe the surface again to get rid of any moisture. If you leave water sitting on the steel, you’re just inviting water spots to the party, and that defeats the whole purpose of cleaning it in the first place.
- 5. Now, for the part that actually makes it look good without being “extra”: a tiny bit of oil. Put a few drops of olive oil (or a dedicated stainless steel spray if you’re feeling fancy) onto a clean cloth. Buff it into the surface, again, always following the grain, until the streaks disappear and the metal looks healthy rather than just shiny.
- 6. If you’re dealing with some really stubborn, baked-on gunk near the stove, don’t panic. Make a quick paste of baking soda and water, let it sit for a few minutes, and then gently wipe it away. It’s a low-tech solution that works wonders without needing a cabinet full of expensive, specialized chemicals.
Mastering Stainless Steel Grain Direction for Faster Results
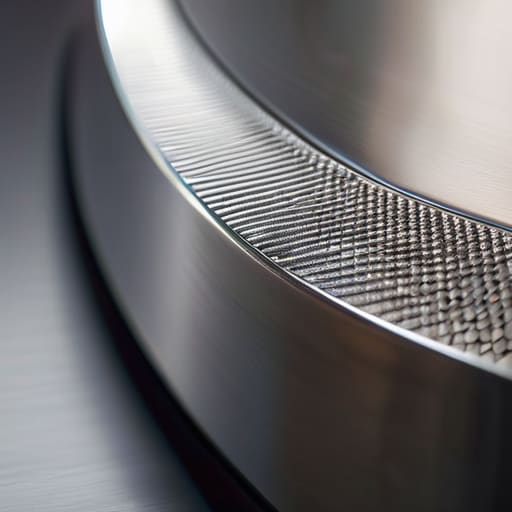
If you’ve ever finished scrubbing and realized you somehow made the surface look more streaky than when you started, you probably missed the most important detail: the grain. Just like wood, stainless steel has a subtle directional pattern of microscopic lines. If you scrub against these lines, you’re essentially just pushing dirt and cleaning residue into the grooves instead of lifting it out. To get the best results, take a second to look closely at your appliance under a bright light to find that pattern. Always wipe in the same direction as those lines; it’s the secret to removing fingerprints from stainless steel without leaving those annoying, cloudy smears behind.
Think of it as working with the material rather than fighting it. Once you’ve cleared the grime, I always recommend using a clean microfiber cloth for polishing in that same directional motion. If you’re feeling extra thorough, a tiny bit of oil applied along the grain can help with preventing water spots on steel later on. It might feel like an extra step, but honestly, once you get into the rhythm of following the grain, it actually makes the whole process much faster and way less frustrating.
The Best Cleaning Solutions for Metal Surfaces That Actually Work
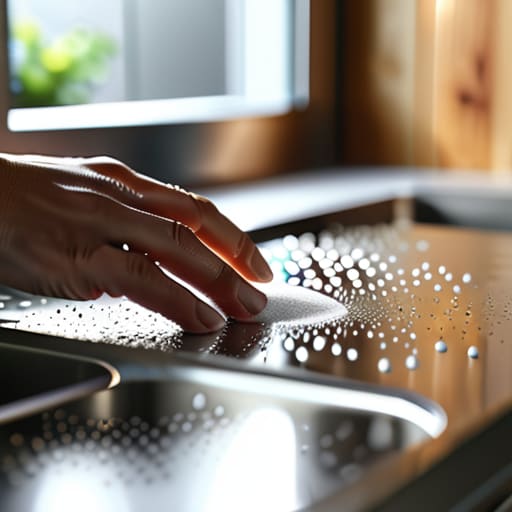
Look, you don’t need a cabinet full of expensive, specialized chemical sprays that promise “miracle shines” but mostly just smell like a lab. In my experience—mostly from tinkering with old gear and keeping my own kitchen functional—the best cleaning solutions for metal surfaces are usually the ones you already have in your pantry. If you’re dealing with heavy grease, a little bit of mild dish soap and warm water is your best friend. It’s simple, it’s effective, and it won’t leave behind a weird, tacky residue that just attracts more dust later.
For those annoying, stubborn marks, I’m a huge advocate for cleaning stainless steel with vinegar and oil. A 50/50 mix of white vinegar and water works wonders for cutting through grime, but the real pro tip is the finish. Once the surface is clean and dry, take a tiny drop of olive oil or even a specialized mineral oil on a microfiber cloth for polishing. This doesn’t just make it look good; it actually helps with preventing water spots on steel by creating a microscopic barrier. It’s a low-effort hack that makes a massive difference in how much maintenance you have to do every single week.
Pro-Tips to Save Your Sanity (and Your Surface)
- Ditch the steel wool. I know it looks satisfying to scrub, but you’ll end up scratching the finish and making a mess that’s impossible to fix. Stick to microfiber cloths or an old soft t-shirt.
- Stop using bleach. It sounds like it would “deep clean” things, but it’s actually super harsh on stainless steel and can cause pitting or discoloration over time. Keep it simple with dish soap or vinegar.
- Don’t forget the handles. We spend all this time cleaning the flat surfaces of the fridge or oven, but the handles are where the actual grime and fingerprints live. Give them a dedicated wipe-down so the whole thing actually looks clean.
- Use a tiny bit of oil to finish. If you’re tired of seeing every single smudge the second you walk into the kitchen, a tiny drop of olive oil or baby oil on a cloth can buff out the streaks and add a protective layer.
- Dry it immediately. If you leave water to air-dry on the metal, you’re just inviting water spots to the party. Always finish with a dry cloth to keep things looking functional, not streaky.
Stop Stressing the Smudges
Look, at the end of the day, you don’t need a cabinet full of expensive, specialized chemical sprays to keep your appliances looking decent. Just remember the basics: always work with the grain to avoid those annoying micro-scratches, and stick to simple solutions like mild soap or even a bit of vinegar if things get greasy. It’s really just about having a reliable system that doesn’t take up half your afternoon. Once you stop treating every fingerprint like a personal failure and start treating cleaning as just another quick maintenance task, your kitchen becomes a lot less intimidating.
My goal isn’t to help you turn your home into a sterile, untouchable museum; it’s to help you manage your space so it actually serves you. Your stainless steel is meant to be used—it’s there to hold your coffee, cook your meals, and handle the chaos of real life. Don’t let the pursuit of a “perfect” finish get in the way of actually living in your home. Just keep your tools ready, stay consistent, and remember that a functional kitchen is always better than a flawless one that you’re too afraid to touch.
Frequently Asked Questions
Can I use vinegar and olive oil to polish it, or is that just another internet myth?
Honestly? It’s a bit of a mixed bag. The vinegar part is great—it’s an acidic powerhouse that cuts through grease and water spots like a charm. But please, for the love of your appliances, be careful with the olive oil. If you use too much, you’re just creating a sticky, dust-magnet film that looks gross after two days. Use a tiny drop of a dedicated polish or a light mineral oil instead for a real finish.
What do I do if I accidentally scratched the surface while scrubbing?
First off, take a breath—we’ve all been there. I once nearly ruined a vintage synth panel because I got too aggressive with a cloth. If it’s a light scratch, try a tiny bit of fine-grit automotive polishing compound on a microfiber cloth. Rub very gently, always following the grain, to buff it out. If it’s deep, honestly? Just let it be. It’s a tool, not a museum piece; a little character won’t break your kitchen.
Is it safe to use my dishwasher detergent to get rid of tough water spots?
Honestly? I’d skip it. I get the logic—dishwasher detergent is basically a chemical powerhouse—but it’s way too aggressive for a quick wipe-down. It can actually strip the protective coating off your steel or leave weird, cloudy streaks that are a nightmare to buff out. If you’re fighting stubborn water spots, just grab some white vinegar in a spray bottle. It’s cheaper, safer for the finish, and way less likely to wreck your appliances.
How often do I actually need to do this to keep it from looking trashed?
Honestly? If you’re a heavy cook or have kids constantly leaving fingerprints, aim for a quick wipe-down once a week. It takes two minutes and stops the grime from actually bonding to the surface. If you’re more of a “set it and forget it” person, just do a real clean once a month. Don’t let the “perfect kitchen” influencers fool you—you don’t need to polish it daily to keep it functional.