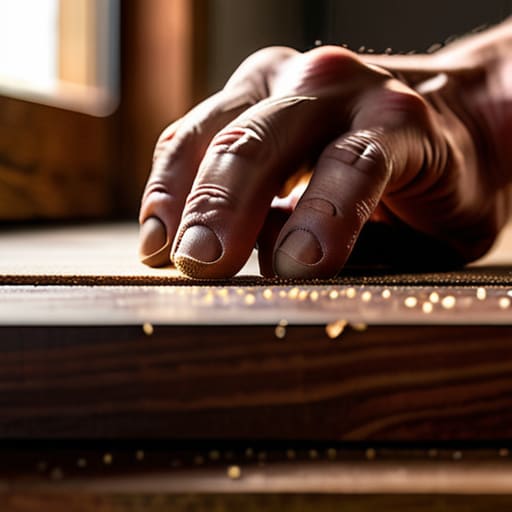
I was halfway through a late-night coding session when my heavy multi-tool slipped off my desk, leaving a jagged, ugly gouge right across my favorite vintage walnut coffee table. My first instinct was to panic and think I’d need to call in a professional or, worse, replace the whole thing, but that’s just not how I roll. Most people think you need a full workshop of power tools to handle surface damage, but the truth about how to fix scratched wood is that most of the time, you can solve the problem with stuff you probably already have in your junk drawer.
I’m not here to sell you on some expensive, high-gloss refinishing kit that makes your home look like a sterile showroom. Instead, I’m going to show you how to actually repair those marks so they blend in and disappear, focusing on methods that prioritize function over perfection. We’re going to walk through everything from the quick “walnut trick” for light scuffs to the slightly more involved sanding techniques for deeper nicks. By the end of this, you’ll have the confidence to stop stressing over the blemishes and get back to actually using your furniture.
Guide Overview
Tools & Supplies
- Sandpaper (various grits for smoothing)
- Microfiber cloth (for cleaning dust)
- Wood filler or wax stick (matching color)
- Wood stain or touch-up marker (matching color)
- Furniture wax or polish (for finishing)
Step-by-Step Instructions
- 1. First things first, you need to assess the damage. Grab a flashlight and look at the scratch from a few different angles. If it’s just a light surface scuff, you might be able to buff it out with something as simple as a walnut or some furniture polish. But if you can actually feel the indentation with your fingernail, we’re moving into repair territory.
- 2. Clean the area like your life depends on it. I’m talking a lint-free cloth and a tiny bit of mild soap or a dedicated wood cleaner to remove any dust, oils, or old wax. If you try to patch a scratch that has grime trapped inside it, your fix is going to look like a muddy mess instead of a seamless repair.
- 3. If the scratch is deep enough to show raw wood, you’ll need to grab a wood filler. Don’t go out and buy the most expensive professional-grade stuff; just find a high-quality filler that matches your wood tone as closely as possible. Apply it using a small putty knife or even an old credit card, pressing it firmly into the groove to ensure there are no air bubbles left behind.
- 4. Once the filler has dried completely—and I mean completely—it’s time to level things out. Use a fine-grit sandpaper (I usually go with 220 or 320) to gently sand the area until it’s flush with the rest of the surface. You want to be careful here; you’re not trying to sand down the whole table, just smoothing out the bump you just created.
- 5. Now, we need to bring back the color. If the filler didn’t perfectly match, you can use a wood touch-up marker or even a tiny bit of acrylic paint to blend the edges. I always recommend doing a “test swipe” on a hidden spot first, like the underside of a chair leg, just to make sure you aren’t accidentally turning your oak table into a dark mahogany disaster.
- 6. The final, most important step is sealing the deal. Apply a thin layer of furniture wax or a matching wood finish over the patch. This isn’t just for looks; it protects the repair from moisture and more scratches. Buff it out with a clean cloth until it feels smooth to the touch, and you’re officially done.
Mastering Wood Filler Application Techniques for Real Results
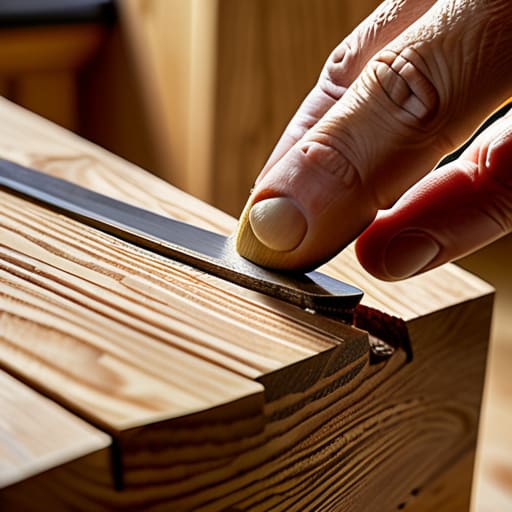
Here’s the deal: the difference between a repair that looks like a hack job and one that actually blends in comes down to how you handle the filler. When you’re working on wood filler application techniques, the biggest mistake I see is people trying to be too precise with a tiny amount. Wood filler tends to shrink as it dries, so I always recommend overfilling the scratch slightly. Think of it like building a foundation; you want a little bit of a mound left over so that once it cures, you aren’t left with a divot that’s even more annoying than the original scratch.
Once the filler is hard, don’t just dive in with heavy-duty sandpaper. Grab a fine-grit sanding block to keep things level. If you’re trying to avoid a messy disaster, focus on buffing out wood imperfections with light, circular motions rather than aggressive scrubbing. If you’re working on something sentimental, like a vintage sideboard, take your time. The goal isn’t to make it look brand new—it’s to make it look like the damage never happened. If you nail the texture, the next step of matching wood stain color becomes ten times easier because you aren’t fighting uneven surfaces.
Matching Wood Stain Color Without the Aesthetic Headache
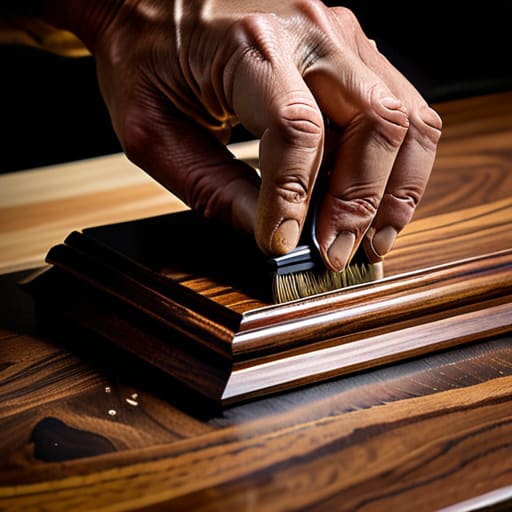
Look, I get it. You’ve done the hard part of filling the gap, but now you’re staring at a patch of light beige where there should be a deep walnut, and it feels like you’ve just made the problem more obvious. The secret to matching wood stain color isn’t about finding the one “perfect” bottle at the hardware store—it’s about layering. I always tell my followers to stop looking for a single-shot solution. Instead, think of it like color grading a video; you want to build the tone slowly. Start with a shade slightly lighter than your target and build up in thin, translucent layers.
If you’re working on something older, like one of my vintage synth cabinets, you might find that the original finish has aged or faded. In those cases, you aren’t just painting a surface; you’re restoring wood finish depth. I like to use a tiny artist’s brush to dab stain into the edges of the repair first, blending outward so there isn’t a harsh line where the patch meets the original grain. It’s a bit more tedious than just slapping on a marker, but it’s the difference between a repair that looks like a DIY hack and one that actually disappears into the piece.
Pro moves to keep your repairs from looking like a DIY disaster
- Don’t go heavy on the filler right away; it’s way easier to add a little more than it is to sand down a massive, ugly mound of dried wood putty.
- Test your stain on a piece of scrap wood or even the underside of the table first—never trust the color on the bottle, especially if your furniture has aged a bit.
- Sand with the grain, always. If you go cross-grain, you’re just creating a whole new set of scratches that are going to be a nightmare to hide later.
- Use a tack cloth or even just a slightly damp microfiber rag to get every speck of dust off before you stain. If you leave dust behind, your finish will look gritty instead of smooth.
- Embrace the “good enough” rule. If the scratch is tiny, sometimes a bit of furniture wax or even a matching marker is all you need to make it functional and forgettable.
Don't let a scratch ruin your flow
At the end of the day, fixing scratched wood isn’t about achieving some museum-grade, flawless finish that you’ll spend hours obsessing over. It’s about the fundamentals: getting your filler leveled correctly, choosing a stain that actually blends with the grain, and knowing when to stop. If you’ve mastered the art of the seamless blend and didn’t panic when the color looked a little off at first, you’ve already won. Remember, the goal was to make the piece functional and visually cohesive again, not to create a perfect specimen for a catalog. You’ve successfully moved from “this is broken” to “this works for me,” and that is the real win here.
I know it can feel a little intimidating to pick up a piece of sandpaper or a stain pen for the first time, but please don’t let a few surface imperfections gatekeep your enjoyment of your home. Your furniture is meant to be used, lived in, and even slightly beat up by the realities of daily life. A scratch is just a sign that your space is actually being lived in, not just staged for a photo. So, take a breath, trust the process you just learned, and go reclaim your stuff. You’ve got the tools, you’ve got the skills, and now you’ve got a home that actually functions exactly how you want it to.
Frequently Asked Questions
I messed up the stain color—is it possible to fix it without sanding the whole thing down again?
Ugh, the “stain panic”—I’ve been there. Take a breath; you don’t need to go full demolition mode. If it’s just a slight mismatch, try a light scuff with some high-grit sandpaper (around 320 or 400) to take the shine off, then test a diluted version of your target color in a tiny, hidden spot. Sometimes, just layering a slightly darker shade or using a furniture marker can bridge the gap without the total reset.
How do I know if a scratch is too deep for wood filler and actually needs a full replacement?
Look, I’m all for the DIY ethos, but let’s be real: some battles aren’t worth your weekend. If the scratch has actually compromised the structural integrity—think deep gouges that go through the veneer or cracks that make the wood feel unstable—stop right there. If you can run your fingernail through it and feel a canyon, or if the wood is splitting along the grain, it’s time to stop patching and start looking for a replacement.
Can I use these same techniques on cheap veneer furniture, or am I going to ruin the finish?
Hold up—stop right there. If you’re working with cheap veneer, you have to tread much lighter. Unlike solid wood, veneer is basically a paper-thin layer of real wood glued to particle board. If you sand too aggressively or use heavy-duty fillers, you’ll sand right through the “skin” and end up with an ugly, unfixable crater. Stick to the light-touch methods we talked about, and maybe skip the heavy sanding entirely.
What's the best way to prevent these scratches from happening again once I've actually fixed them?
Look, even with a perfect fix, life happens. To keep those scratches at bay, stop treating your furniture like a museum piece and start treating it like a tool. Use coasters—always—and maybe a felt pad under anything heavy. If you’re in a high-traffic area, a quick application of a good quality wax or polish every few months creates a sacrificial layer. It’s way easier to buff out a tiny scuff than to redo a whole patch job.