I was standing in my kitchen last Tuesday, staring at those dated, honey-oak cabinets that had been mocking my minimalist vibe for years, wondering if I actually had the patience to figure out how to paint kitchen cabinets without turning my house into a permanent construction zone. Most DIY influencers will tell you that you need a professional-grade spray booth and a week of uninterrupted silence to get that factory finish, but honestly? That’s mostly gatekeeping. You don’t need a massive budget or a degree in fine arts to transform your space; you just need a system that actually works and the right sequence of steps so you aren’t peeling paint off your doors in three months.
In this guide, I’m stripping away the fluff and giving you the realistic, step-by-step workflow I use when I’m tackling my own home projects. We’re going to skip the “aesthetic” nonsense and focus on the heavy lifting: proper degreasing, the sanding that actually matters, and choosing a finish that can actually handle a spilled cup of coffee. I’ll show you how to get a professional look without the professional price tag, focusing on tools that make your life easier rather than more complicated.
Guide Overview
Tools & Supplies
- Screwdriver or drill to remove hardware
- Sandpaper (various grits) to smooth surfaces
- High-quality brush or microfiber roller for even application
- Painter's tape to protect edges and walls
- Cabinet degreaser or TSP to clean surfaces
- Primer (1-2 gallons depending on cabinet size)
- Cabinet-grade paint (1-2 gallons)
- Sanding sponge for fine finishing
Step-by-Step Instructions
- 1. First things first: clear the decks. You can’t paint a kitchen if you’re fighting for elbow room against a toaster and a pile of mail. Take everything out of the cabinets, including the shelves if you can. I also highly recommend labeling everything—use blue painter’s tape to mark which door goes to which cabinet. Trust me, when you’re halfway through this and your brain is fried, you will forget where that specific spice drawer belongs.
- 2. Next, we need to tackle the hardware. Unscrew every single handle, knob, and hinge. Don’t just toss them in a junk drawer; put them in a labeled Ziploc bag so you aren’t hunting for tiny screws three days from now. If the hinges are crusty or won’t come off easily, don’t force them and strip the screw heads. Just take the doors off entirely; it makes the actual painting process way less stressful.
- 3. Now for the part everyone hates: cleaning and sanding. Kitchen cabinets are basically magnets for airborne grease, and if you paint over that film, your new finish will peel off faster than a bad software update. Scrub everything down with a heavy-duty degreaser. Once they’re bone dry, give them a light sand. You aren’t trying to strip them down to the raw wood; you just want to scuff the surface so the primer actually has something to grab onto.
- 4. This is where most people cut corners and regret it later: the priming stage. Do not—I repeat, do not—skip this. Use a high-quality, stain-blocking primer. If you’re working with dark wood or something oily, a decent primer is the only thing standing between a professional look and a total disaster. Apply thin, even coats. If you go too heavy, you’ll end up with drips that look like absolute garbage.
- 5. Time for the actual color. Grab a high-quality cabinet paint (look for something specifically formulated for “trim and cabinets” so it dries harder) and a good quality synthetic brush or a small foam roller. I prefer a hybrid approach: use the brush for the corners and details, then the roller for the flat surfaces to avoid brush strokes. Remember, multiple thin coats are always better than one thick, gloopy layer. If you see a drip, stop, let it dry, and sand it flat before you keep going.
- 6. The hardest part: the waiting game. I know you want to put those doors back up immediately so you can actually use your kitchen, but resist the urge. Most paints feel dry to the touch in an hour, but they take days to actually cure and harden. If you reassemble everything too early, the doors might actually stick to the frames, and you’ll end up peeling your brand-new paint right off. Give it at least 24 to 48 hours before you even think about moving a single handle back into place.
The Real Secret to How to Prep Cabinets for Painting
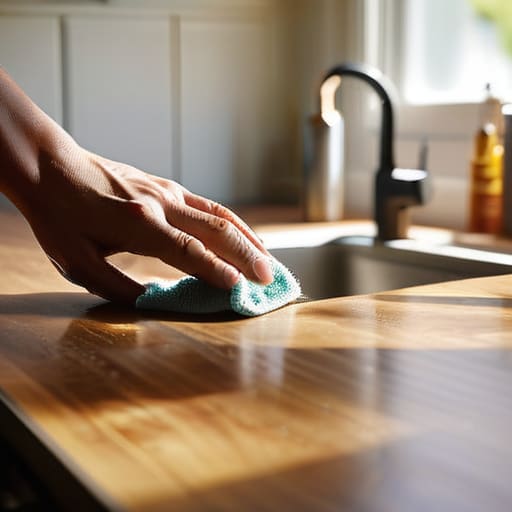
Look, I know you want to skip straight to the fun part where everything looks brand new, but if you rush the prep, you’re basically setting yourself up for a massive headache. Most people think they can just wipe a cabinet down with a damp cloth and start rolling on color, but that’s how you end up with paint peeling off in sheets three months later. The real secret to how to prep cabinets for painting isn’t about magic; it’s about removing every microscopic trace of grease and old wax. I always keep a heavy-duty degreaser on hand because if there’s even a hint of cooking oil left on those surfaces, your new finish will never actually bond.
Once you’ve scrubbed them clean, you need to focus on the surface texture. You don’t need to sand them down to raw wood—that’s a total waste of energy—but you absolutely have to use proper cabinet sanding techniques to scuff the existing finish. You’re just looking to create “teeth” for the new layer to grab onto. Think of it like this: if the surface is too smooth, the paint is just sitting on top like a sticker rather than becoming part of the cabinet. Don’t skip this step just because you’re tired; your future self will thank you when you aren’t staring at chipped edges by next summer.
Choosing the Best Paint for Kitchen Cabinets Without the Fluff
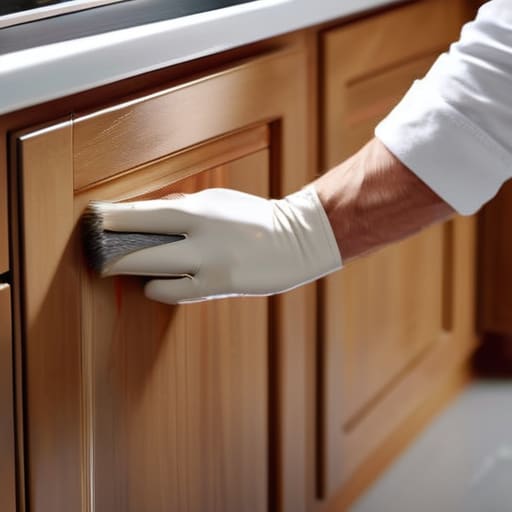
Look, walking into a hardware store is a recipe for sensory overload. You’ll see a hundred different cans, all promising “diamond-hard finishes” and “miracle coverage,” but most of it is just marketing noise. If you want to avoid the heartbreak of peeling paint in three months, you need to stop looking at color swatches and start looking at the chemistry. For a high-traffic area like a kitchen, you aren’t just looking for a pretty shade; you’re looking for something that can handle grease, steam, and the occasional accidental elbow bump. I always tell people to skip the standard wall paint and go straight for a dedicated cabinet enamel or a water-borne alkyd. These are designed to level out as they dry, which is the absolute best way of preventing brush marks on cabinets without needing a professional spray setup.
Another thing people constantly mess up is the debate between cabinet primer vs paint. Don’t try to cut corners here by using a “paint and primer in one” product. Those are fine for a bedroom wall, but they won’t bond to your old, slick cabinet surfaces. You need a high-quality, specialized primer to create a mechanical bond. Think of it like the foundation of a system—if the base layer is buggy, the whole UI is going to crash. Invest in a decent primer, and the actual painting process becomes a much smoother, less stressful experience.
Five Ways to Stop Yourself from Ruining Your Kitchen
- Don’t try to rush the drying time. I know it’s tempting to want to hang your doors back up immediately so you can actually use your kitchen, but if that paint isn’t fully cured, you’re going to end up with sticky fingerprints everywhere. Patience is a tool, just like a good screwdriver.
- Invest in real painter’s tape, not the cheap stuff. There is nothing more soul-crushing than peeling back tape only to realize the paint bled right under it. Get the high-quality stuff that actually seals the edge so you aren’t spending your Sunday with a tiny brush trying to fix a crooked line.
- Work in small, manageable batches. If you try to tackle every single cabinet door in one massive, chaotic sprint, you’re going to burn out and start making sloppy mistakes. Treat it like a system: prep three doors, paint three doors, and actually take a breath in between.
- Keep a “mistake kit” nearby. I always keep a damp microfiber cloth and a small container of your specific paint within arm’s reach. If a drip happens—and let’s be real, it probably will—you want to be able to catch it before it turns into a permanent texture nightmare.
- Sand between coats, even if you think you don’t need to. It feels like extra work, but a light scuffing between layers is what gives you that smooth, professional finish instead of a bumpy, DIY-looking mess. It’s the difference between a cabinet that looks “painted” and one that looks factory-finished.
The Finish Line (And What Comes Next)
Look, I know it feels like you’ve just finished a marathon. Between the endless sanding, the meticulous degreasing, and the nerve-wracking first coat of paint, your kitchen probably looks more like a construction zone than a place to make coffee. But remember: the difference between a professional finish and a total disaster isn’t magic; it’s just the discipline of the prep work and choosing a paint that actually holds up to real life. If you didn’t skip the primer or the cleaning phase, you’ve already done the hardest part. Now, just let those layers cure properly—don’t be tempted to go back in and “fix” a tiny drip too early, or you’ll just end up ruining the entire flow.
At the end of the day, your kitchen doesn’t need to look like a staged showroom from a high-end interior design magazine. It just needs to be a space that feels like yours and actually functions for your daily chaos. If there’s a tiny imperfection under the sink that only you know about, let it go. You’ve reclaimed your space with your own two hands, and that’s a massive win. Stop waiting for the “perfect” moment or the perfect budget to upgrade your life; just grab your tools, trust your system, and get to work. You’ve totally got this.
Frequently Asked Questions
How long do I actually have to wait before I can start using my kitchen again without ruining the finish?
Look, I get it—you want your kitchen back. But if you rush this, you’re going to end up with tacky, ruined cabinets. Even if the paint feels dry to the touch after a few hours, it hasn’t actually cured. Give it at least 48 to 72 hours before you even think about wiping them down. If you can, try to wait a full week before heavy use. Patience is a tool, too.
Is it really worth the extra effort to sand everything down, or can I get away with just a good cleaning?
Look, I get the temptation to skip the sanding—it’s tedious and your arms will ache. But honestly? If you just clean and skip the grit, you’re basically building a house of cards. You might get away with it for a month, but eventually, that paint is going to peel or chip the first time you bump a cabinet with a pot. Sanding isn’t about being a perfectionist; it’s about making sure you only do this once.
What's the deal with brush marks? How do I get that smooth look without buying a professional spray rig?
Look, I get it. You want that factory-smooth finish, but a spray rig is expensive and a massive headache to clean. The trick isn’t more expensive tools; it’s how you use them. Use a high-quality synthetic brush and—this is the part people skip—apply thin, even coats. Don’t try to cover everything in one go. If you’re feeling brave, grab a small foam roller for the flat surfaces to minimize those annoying streaks.
My cabinets are that weird, glossy laminate—is there any way to actually make paint stick to them?
Ugh, the dreaded glossy laminate. I’ve been there, and honestly, it’s a nightmare if you just dive in. You can’t just slap paint on that slick surface and expect it to stay; it’ll peel off like a bad sunburn within weeks. The trick is to break that “seal.” You need to sand it down—not until it’s gone, just enough to take the shine off—and then use a high-quality bonding primer. It’s the only way.