I was sitting on my floor at 2:00 AM, surrounded by a chaotic sea of tangled silver wire and tiny, microscopic beads that seemed to have a personal vendetta against my eyesight, wondering why I’d ever thought this was a good idea. Most people tell you that diy jewelry making requires an expensive studio setup or a collection of specialized tools that cost more than the actual components. Honestly? That’s total nonsense. I learned the hard way that you don’t need a pristine, aesthetic workbench to create something beautiful; you just need to stop fighting your materials and start understanding how they actually behave.
In this guide, I’m stripping away the gatekeeping and the overpriced starter kits that usually just end up gathering dust in a junk drawer. I’m going to show you how to build a functional, minimal setup that focuses on getting the job done without the unnecessary fluff. We’ll cover the essential tools you actually need, how to troubleshoot common mistakes, and how to create pieces that look intentional rather than “crafty.” Let’s stop chasing the perfect Instagram aesthetic and actually start making things that work.
Guide Overview
Tools & Supplies
- Needle-nose pliers for gripping and bending wire
- Wire cutters for trimming metal and cord
- Beading mat to prevent rolling beads
- Assorted glass or gemstone beads (50-100 pieces)
- Jewelry wire or elastic cord (1 roll)
- Lobster clasps and jump rings (10-20 pieces)
Step-by-Step Instructions
- 1. First things first, you need to clear a space that won’t drive you insane. Don’t just throw everything on your dining table; grab a small tray or a felt mat to act as your “work zone.” This keeps your tiny beads from rolling off into the abyss of your carpet and makes cleanup a breeze instead of a scavenger hunt.
- 2. Lay out your tools, but let’s keep it real: you don’t need a thirty-piece professional kit. All you actually need to start are a pair of needle-nose pliers, some wire cutters, and a round-nose plier for making loops. If you try to wing it with kitchen scissors, you’re going to end up with jagged edges and a lot of frustration.
- 3. Next, prep your “skeleton”—this is your base wire or your stringing material. If you’re working with wire, use your cutters to snip a length that’s about three inches longer than you think you’ll need. You’ll want that extra slack to manipulate the ends and create secure closures without feeling like you’re fighting the material.
- 4. Now, start the actual assembly by threading your beads onto the wire. I highly recommend laying them out on a piece of paper or a bead board first to see the pattern. It’s much easier to rearrange a visual layout on a flat surface than it is to unstring a bunch of beads once you realize the color combo looks a bit tragic.
- 5. Once you’re happy with the design, it’s time to secure the ends. If you’re using wire, you’ll want to create a “wrapped loop.” This involves bending the wire into a circle using your round-nose pliers and then using your other pliers to tightly coil the excess wire around the neck of the loop. This is the part that actually makes the piece durable enough to wear.
- 6. For the finishing touch, attach your jump rings or clasps. Don’t just pull the jump ring apart like a chain link—that’s how you ruin the shape and weaken the metal. Instead, use your pliers to twist the ends sideways (open and close it like a little gate) so the metal stays structurally sound.
- 7. Finally, do a quick “stress test” on your piece. Give it a gentle tug and run your fingers along the connections to make sure nothing feels scratchy or loose. It’s better to catch a weak link now than to have your hard work end up on the floor ten minutes after you put it on.
Essential Beadwork Supplies That Wont Waste Your Space
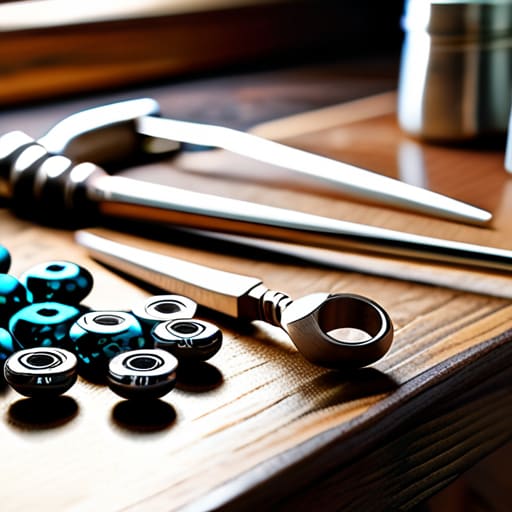
Look, I’ve seen enough “starter kits” on TikTok to know they’re mostly just colorful junk designed to take up precious desk space. You don’t need a massive, multi-tiered rotating organizer to start crafting custom necklaces; you just need the right foundation. If you’re hunting for essential beadwork supplies, skip the novelty items and invest in a decent set of needle-nose, round-nose, and flush cutters. These are the heavy lifters. I always say: if your tools feel flimsy or struggle to snip through a simple wire, you’re going to end up frustrated and ready to quit before you’ve even finished your first piece.
Since I live in a relatively small space, I’m a huge advocate for minimalist utility. Instead of buying every color of seed bead under the sun, grab a few high-quality glass or stone beads in neutral tones. You can always find endless jewelry design ideas online that use basic components in clever ways, so don’t feel pressured to stock up on everything at once. Focus on a few versatile pliers and a reliable bead mat to keep your workspace from turning into a chaotic mess of rolling spheres. Keep it lean, keep it functional, and actually enjoy the process.
The Only Jewelry Making Tools for Beginners Actually Worth Buying
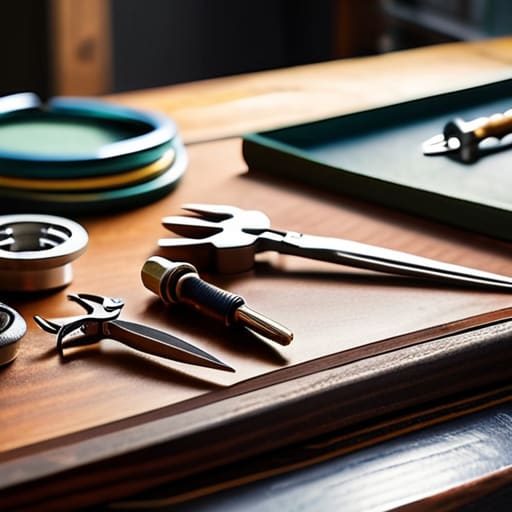
Look, I’ve seen enough “all-in-one” starter kits on Amazon to know they’re usually just a glorified way to waste your money. They pack you with flimsy, plastic-handled pliers that will literally bend the first time you try to crimp a bead. If you want to actually enjoy this without wanting to throw your workspace out the window, you need to invest in a decent set of jewelry making tools for beginners that actually have some weight to them. Grab a pair of needle-nose pliers, some round-nose pliers for loops, and a sharp flush cutter. That’s it. If the metal feels like it’s going to snap under pressure, leave it on the shelf.
Once you have the basics, don’t go overboard trying to master complex wire wrapping techniques on day one. It’s easy to get caught up in high-level jewelry design ideas before you even know how to secure a clasp properly. Instead, focus on getting comfortable with your tension and your grip. A solid pair of cutters makes the difference between a clean, professional finish and a jagged mess that catches on your sweater. Build your foundation with the right gear first; your future self (and your sanity) will thank you.
Five ways to stop your jewelry projects from becoming a cluttered mess
- Stop buying “variety packs” of beads just because they’re cheap; you’ll end up with a drawer full of neon plastic you’ll never touch, so just buy exactly what you need for the specific design you have in mind.
- Invest in a decent bead mat or even just a piece of felt; there is nothing more soul-crushing than spending twenty minutes hunting for a single seed bead that escaped and rolled under your desk.
- Don’t skip the “stress test” phase—once you finish a piece, give it a gentle tug to make sure your crimps are tight and your knots are secure, because nothing ruins a vibe like a necklace snapping mid-wear.
- Keep your workspace modular with small, clear organizers rather than one giant, chaotic bin; being able to see your jump rings and earring hooks at a glance saves so much mental energy.
- Learn one solid knotting technique before you try to master everything else; once you can reliably secure a thread, the rest of the technical stuff feels way less intimidating.
Stop Overthinking and Start Making
Look, at the end of the day, you don’t need a studio-grade workbench or a collection of gold-plated tweezers to make something beautiful. We’ve covered the essentials: grab a few solid tools that won’t snap on you, keep your bead storage organized so you aren’t hunting for a specific shade of teal for twenty minutes, and focus on functionality over flair. You don’t need to own every single gadget on the market to be “legit.” If you have a decent pair of pliers, some reliable wire, and a clear space to work, you already have everything required to build a system that actually works for your creativity.
My biggest piece of advice? Don’t let the fear of a messy desk or a ruined string of beads stop you from starting. Your first few pieces might look a little wonky, and honestly, that’s part of the process. I spent weeks just trying to figure out tension on my first few projects, and it was a total disaster, but that’s how you actually learn. Forget about achieving that polished, high-end boutique look right away. Just focus on the joy of making something with your own two hands. Once you stop chasing perfection, you’ll realize that the real magic isn’t in the finished product, but in the ability to fix, create, and control your own space.
Frequently Asked Questions
How do I stop myself from spending a fortune on beads I’ll never actually use?
Look, we’ve all been there—scrolling through a shop and thinking, “I definitely need this specific shade of iridescent seafoam glass.” Spoiler: you don’t. My rule is simple: stop buying “collections” and start buying for projects. Before you hit checkout, ask yourself if you have a specific design in mind for those beads. If the answer is “just because they’re pretty,” close the tab. Buy the components you need for the piece you’re actually making.
What’s the best way to organize all these tiny parts without turning my desk into a chaotic mess?
Look, I’ve spent way too many nights hunting for a single 2mm seed bead under my desk, and honestly? It’s a soul-crushing waste of time. Skip the expensive, specialized craft cabinets. Just grab some clear acrylic hardware organizers from the local home improvement store. They’re cheaper, sturdier, and because they’re transparent, you can actually see what’s inside without dumping everything out. Keep your most-used beads in small, stackable bins right at arm’s reach.
How can I tell if a piece of jewelry I made is actually durable or if it’s going to snap the first time I wear it?
The “tug test” is your best friend here. Give your piece a gentle but firm pull—if the wire feels springy or the beads shift unnaturally, it’s a no-go. Also, check your crimps. If they look loose or uneven, they’re going to fail. I always do a quick stress test on a scrap piece of the same wire first; if that snaps easily, your finished piece definitely will too. Don’t risk a wardrobe malfunction.
Do I really need a specialized workbench, or can I just get started at my kitchen table?
Honestly? Please do not go out and buy a dedicated workbench yet. That’s just more clutter you don’t need. Your kitchen table is more than enough to start. Just grab a cheap, flat tray or even a large cutting board to corral your beads so they don’t end up in your pasta. Once you realize you’re actually doing this every single day, then we can talk about a permanent setup. For now, just start.