
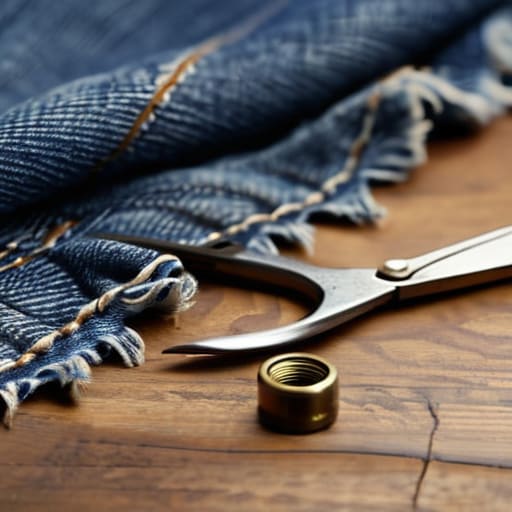
I was sitting on my floor, surrounded by stripped wires from an old Moog synth, when I realized I’d just ripped the seat out of my favorite heavy-duty denim. My first instinct wasn’t to reach for a sewing kit; it was to stare at the hole and wonder if I should just toss the whole pair in the donation bin. We’ve been conditioned to think that once something breaks, it’s officially obsolete, but that’s just bad systems management. Learning how to patch jeans isn’t about achieving some Pinterest-perfect, invisible mend that looks like it never happened; it’s about structural integrity and keeping your gear in rotation for as long as possible.
Forget those complicated tutorials that require a professional sewing machine and a degree in textile engineering. I’m going to show you how to fix your denim using basic tools you probably already have in a junk drawer. We’re skipping the aesthetic fluff and focusing on functional repairs that actually hold up when you’re moving around. Whether you want a visible, rugged patch or something a bit more subtle, I’ll walk you through the most efficient ways to get your clothes back in working order without wasting your time.
Guide Overview
Tools & Supplies
- Needle and thread or sewing machine for attachment
- Fabric scissors for trimming frayed edges
- Iron for flattening and setting seams
- Denim patch fabric or scrap denim
- Sewing thread matching the denim color
- Fabric glue or fusible interfacing for stability
Step-by-Step Instructions
- 1. First, grab your gear. You don’t need a professional sewing kit, but you will need a needle, some heavy-duty thread (denim thread is best, but any thick cotton will do), and a piece of scrap fabric. For the scrap, I usually hunt through my oldest, most beat-up t-shirts or even a piece of leftover canvas. If you want the patch to be more durable, find something with a similar weight to your jeans so it doesn’t just tear right out later.
- 2. Clean up the damage. Use a pair of small scissors to trim away any frayed, loose threads hanging around the hole. You don’t want to be sewing over a mess of fuzz because it’ll just create a bulky, uneven bump that’s uncomfortable to wear. Just a quick, clean snip around the perimeter of the tear is all you need to get a flat surface.
- 3. Prep your patch. Lay your scrap fabric over the hole, but here is the trick: make sure the patch is at least an inch larger than the actual tear on all sides. If you make it too small, you’re just creating a new point of failure. Pin it in place with sewing pins if you have them, or just hold it down firmly with your non-dominant hand so it doesn’t slide around while you’re working.
- 4. Start your base layer. Thread your needle and tie a decent knot at the end. Start sewing about a half-inch away from the edge of the hole, stitching through both the patch and the jeans. I prefer a simple running stitch—it’s fast, it’s easy, and it gets the job done without needing a PhD in textile engineering. Just keep your stitches consistent so the tension stays even.
- 5. Reinforce the edges. Once you’ve covered the perimeter, go back and do a second pass or use a tight zigzag pattern around the very edge of the hole. This is the most important part because it prevents the original denim from continuing to fray further under the patch. Think of it like reinforcing a cable connection; you want that structural integrity to be solid.
- 6. Secure and trim. Once the patch feels sturdy and isn’t wiggling when you tug on it, tie off your thread with a couple of tight knots. Cut the excess thread, leaving just a tiny bit of tail so it doesn’t unravel. Don’t stress if your stitching looks a little imperfect or uneven. That’s just proof that you actually fixed it yourself, and honestly, it gives the jeans a bit of character.
Choosing the Right Sewing Needle for Denim and Scraps
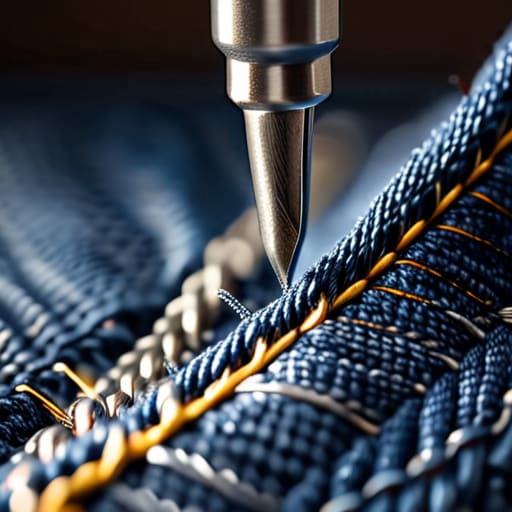
Look, I’ve definitely made the mistake of trying to force a standard, flimsy needle through a heavy pair of selvedge denim, only to hear that dreaded snap halfway through. It’s frustrating, it’s loud, and it usually ends with a broken needle and a ruined mood. If you want to avoid the headache, you really need to grab a specific sewing needle for denim. These are thicker and have a reinforced shaft designed to pierce through those tight weaves without bending or breaking. If you’re working with something particularly heavy or layered, look for a size 90/14 or even a 100/16. It might feel a bit chunky at first, but trust me, it’s much better than fighting your gear every two inches.
If you’re leaning more into visible mending techniques—where you actually want the repair to be a design feature rather than a hidden fix—the needle choice gets a little more nuanced. For delicate denim fabric scraps used as decorative overlays, you might want to scale back to a slightly finer needle so you don’t create massive, distracting holes. The goal here isn’t perfection; it’s structural integrity. You want a tool that works with the fabric, not against it, so you can focus on the actual craft instead of troubleshooting your equipment.
Mastering the Darning Method for Denim That Actually Lasts
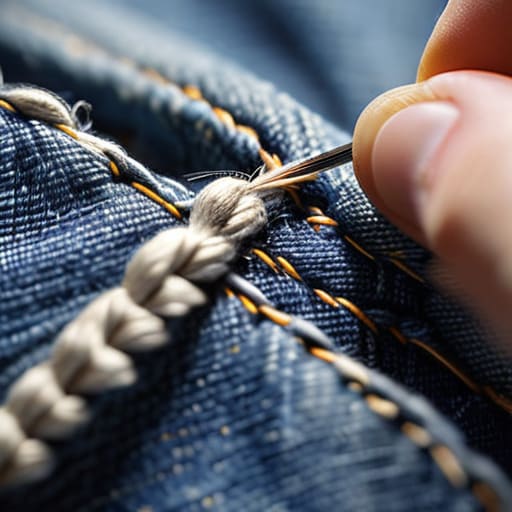
If you’re dealing with a hole that’s more of a “shred” than a clean rip, standard patching usually won’t cut it. This is where the darning method for denim becomes your best friend. Instead of just slapping a piece of fabric over the gap, you’re essentially weaving new threads into the existing structure. Think of it like a structural repair for a server—you aren’t just covering the error; you’re rebuilding the integrity of the system. I like to use a heavy-duty thread and go back and forth in a tight grid pattern. It takes a little more patience, but it creates a patch that is actually structural rather than just a cosmetic fix.
Don’t feel like you have to match your thread perfectly to the indigo. In fact, I’m a huge fan of visible mending techniques where you use a contrasting color to highlight the repair. It turns a flaw into a design choice. If you’re using denim fabric scraps for the base, try to match the weight of the material so the patch doesn’t feel like a stiff, uncomfortable plate on your leg. The goal isn’t to make the hole disappear; it’s to make the jeans functional enough to wear for another three years.
Pro-Tips to Keep Your Patches from Becoming a Mess
- Don’t obsess over a perfect color match. If you can’t find denim that’s an exact shade, just lean into the contrast. A slightly different blue or even a piece of patterned fabric looks intentional and cool rather than like a failed repair attempt.
- Always iron your patch and your jeans before you start sewing. I know, it sounds like an extra step, but trying to stitch through wrinkled, bunchy fabric is a recipe for frustration and uneven seams.
- Use a bit of lightweight fusible interfacing on the back of your patch if the denim is really thin. It gives the scrap some structural integrity so it doesn’t just shift around while you’re trying to work.
- If you’re sewing by hand, don’t be afraid to use a slightly thicker thread than you think you need. Denim is tough, and you want your stitches to actually hold up against the friction of your body moving.
- Keep your tension loose. If you pull your thread too tight while darning or patching, you’ll end up puckering the fabric, and suddenly your leg looks like it’s wearing a topographical map.
Don't Let a Small Hole Stop You
At the end of the day, patching your jeans isn’t about achieving some flawless, high-fashion look; it’s about making your gear work for you. Whether you went with a quick scrap patch to save time or spent an afternoon mastering the darning method for a more structural fix, you’ve successfully extended the life of a garment that probably has a lot of history in it. Just remember that picking the right needle and being patient with your tension makes all the difference between a patch that falls off in the wash and one that actually holds up to real-world wear.
I know it can feel a little intimidating to take a pair of scissors or a needle to something you love, but I promise that the “perfect” version of your clothes is a myth. There is something incredibly satisfying about wearing a piece of clothing that has a bit of character and a story of its own. Stop waiting for the “right time” to fix things or waiting until they are beyond saving. Grab your kit, get a little messy, and realize that you are more than capable of maintaining your own world. Your jeans—and your wallet—will thank you.
Frequently Asked Questions
Can I use a regular sewing machine for this, or is hand-stitching the only way to go?
You can totally use a sewing machine, but let’s be real: don’t just grab your standard lightweight machine and hope for the best. If you’re going the machine route, you absolutely need a heavy-duty denim needle—otherwise, you’ll hear that dreaded grinding sound and probably snap a thread. Personally, I love the speed of a machine for long seams, but for those tricky spots near the crotch or pockets, I usually switch to hand-stitching for better control.
What do I do if the hole is right on a seam or in a super awkward spot like the crotch?
Ugh, the crotch blowout. It’s the ultimate test of patience. If the hole is right on a seam, don’t try to be a hero with a tiny patch; you’ll just create a bulky mess that chafes. Instead, you need to “reconstruct” the seam. Rip the old thread, flatten the fabric, and sew a new seam using a heavy-duty thread. If it’s just an awkward spot, use an iron-on stabilizer first to keep the fabric from bunching while you work.
Is there a way to patch my jeans without it looking like a giant, obvious eyesore?
Look, I get it. Nobody wants their favorite pair of Levi’s to look like a middle school art project. If you want to keep it low-key, try “invisible mending” by using thread that matches your denim’s wash as closely as possible. Or, lean into the “distressed” look—instead of a big patch, just use a few strategic stitches to secure the fray. It’s less about hiding the damage and more about making it look intentional.
How do I make sure my patch doesn't just pop off the first time I throw these in the wash?
Honestly, the “wash test” is where most DIY projects go to die. If you just skim the surface with a few loose stitches, that patch is gone after one cycle. You need to secure the edges—I’m talking about backstitching or making sure your tension is tight enough that the fabric doesn’t pucker. Also, pro tip: turn your jeans inside out and wash them on cold. It’s way less aggressive on your handiwork.














