
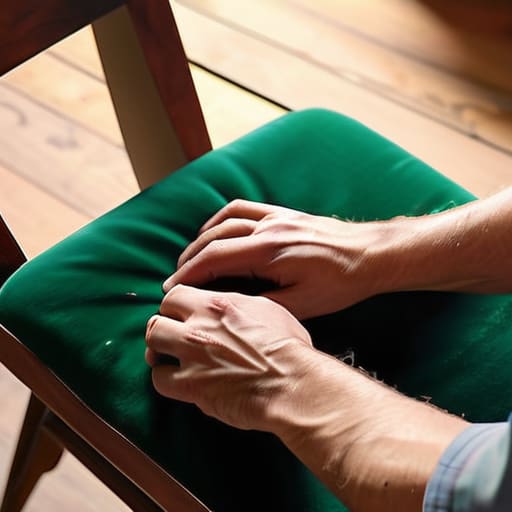
I was sitting on my floor last Tuesday, surrounded by half-torn velvet and a pile of old foam that looked more like gray sludge than furniture padding, wondering why I ever thought I could do this. Most DIY influencers make it look like you just need a pretty mood board and a designer fabric swatch to succeed, but let’s be real: the actual process of learning how to reupholster a chair is messy, loud, and occasionally involves a lot of swearing at a stubborn staple gun. I learned the hard way that you don’t need a professional workshop or a degree in textile design to fix that thrifted armchair sitting in your corner; you just need to stop overthinking the perfection and start understanding how the tension actually works.
In this guide, I’m stripping away the gatekeeping and the expensive “must-have” tool lists that only serve to empty your wallet. I’m going to walk you through the actual, gritty mechanics of the job—from prepping the frame to getting those corners looking tight without losing your mind. We aren’t aiming for a museum-quality restoration here; we are aiming for a piece of furniture that actually functions and looks damn good in your space.
Guide Overview
Tools & Supplies
- Staple gun and staples for securing fabric
- Pliers for removing old staples and tacking
- Scissors or fabric shears for cutting material
- Measuring tape for sizing fabric pieces
- Mallet for flattening edges or securing trim
- Upholstery fabric (2-3 yards depending on chair size)
- High-density foam padding (1 sheet)
- Batting/Dacron wrap (1 roll)
- Upholstery thread (1 spool)
- Decorative trim or welt cord (optional)
Step-by-Step Instructions
- 1. First things first: you need to strip the chair down to its bones. Grab a flathead screwdriver or a pair of pliers and start pulling out all those old staples and nails. It’s going to be messy, and you’ll probably find some weird, crusty foam or dust from the 90s under there, but don’t freak out. Just clear everything off until you have a completely clean frame so you aren’t trying to staple new fabric over old, lumpy junk.
- 2. Once the frame is bare, it’s time to inspect the structural integrity. This is where most people skip ahead to the “pretty” part, but if the chair wobbles, the new fabric won’t save it. Check the joints and the webbing—that’s the heavy-duty strap system under the seat. If the webbing is sagging or snapped, replace it now. I always say it’s better to spend an extra twenty minutes fixing the foundation than to have your hard work collapse in a month.
- 3. Now, let’s talk padding. If the original foam is crumbling into orange dust (it usually is), you’ll need to add fresh high-density foam. Don’t go overboard with the thickness or you’ll end up with a chair that feels like a giant marshmallow, which is actually a nightmare for your back. I like to use a spray adhesive to tack the foam in place so it doesn’t slide around while you’re trying to work.
- 4. Before you even touch your expensive new fabric, do a test run with some scrap material. I’m talking an old bedsheet or a cheap muslin. This is your “dry run” to figure out how the fabric pulls and where the tricky corners are. You want to map out your tension before you commit to the good stuff, because once you start stapling the real fabric, there is no “undo” button.
- 5. It’s time for the main event: the actual stapling. Start in the center of each side—front, back, left, and right—to ensure the fabric stays taut. Pull the fabric tight (but don’t pull so hard you distort the pattern!) and drive a staple in. Work your way toward the corners in a cross-pattern motion, similar to how you’d tighten a lug nut on a car tire. This keeps everything balanced and prevents those annoying ripples.
- 6. The corners are where most DIY projects go to die, so tuck and fold like a pro. Don’t just bunch the fabric into a messy knot. Instead, pull the excess material tight toward the center of the corner and fold it neatly, almost like you’re wrapping a gift. It takes a bit of patience and some strategic maneuvering with your multi-tool, but a clean corner is the difference between a “homemade” look and a “handmade” look.
- 7. Finally, go over the entire piece and check for any loose ends or protruding staples. Give the seat a firm pat to make sure everything feels solid. If you see any gaps or areas where the fabric looks loose, just add a few more staples. My goal isn’t for this to look like it came out of a high-end boutique; I just want it to be durable and functional enough that you can actually sit in it without worrying.
The Essential Upholstery Tools and Supplies You Actually Need
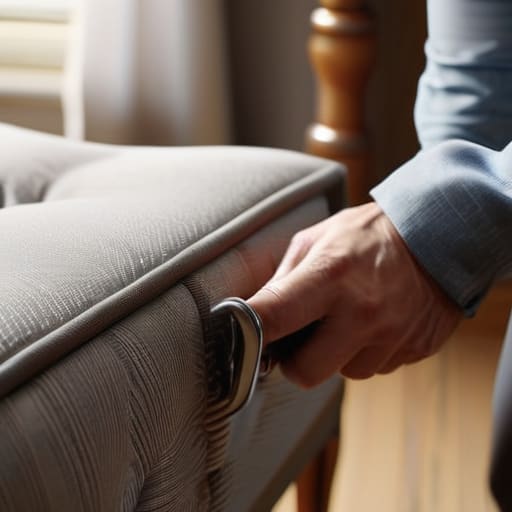
Look, you don’t need a professional workshop to pull this off, but you also shouldn’t try to wing it with a pair of kitchen scissors and a prayer. If you’re serious about making this look decent, your first priority is a solid staple gun. Forget those tiny, plastic ones you find in a junk drawer; you want a heavy-duty manual or electric one that can actually drive a staple into hardwood without jamming every five seconds. When you’re practicing your staple gun techniques for furniture, remember that tension is everything. If you’re too loose, the fabric will sag like an old hammock, but if you’re too aggressive, you’ll end up with puckers that look amateur.
While you’re at the hardware store, don’t ignore the stuff hidden underneath the surface. If the seat feels like you’re sitting on a concrete slab, you’re going to need to look into replacing chair foam padding before you even think about the new fabric. I always grab a roll of batting too—it’s cheap, easy to find, and it adds that professional-looking softness that prevents the fabric from looking “crunchy.” Also, keep a pair of heavy-duty pliers in your kit. You’ll inevitably need them for removing old fabric from furniture when those stubborn, rusted staples decide they aren’t ready to let go of the frame.
Removing Old Fabric From Furniture Without Making a Mess
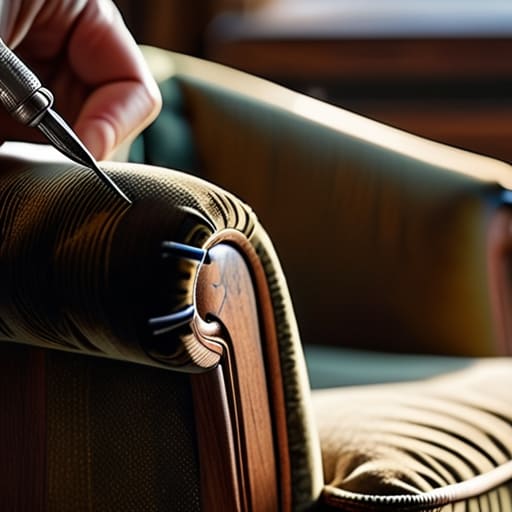
Look, I know the thought of ripping into an old chair feels like you’re about to trigger a glitter bomb of dust and ancient debris, but there’s a method to the madness. Before you go ham with a pair of scissors, grab a small flathead screwdriver or a dedicated staple remover. You want to carefully work your way around the edges to lift the staples rather than just hacking at the material. If you’re too aggressive right out of the gate, you’ll end up with jagged bits of old fabric stuck in the frame, which makes removing old fabric from furniture a total nightmare later on.
My biggest piece of advice? Don’t throw away the old stuff immediately. As you’re stripping the chair down, keep the old fabric and the staples in a neat pile—or better yet, lay them out like a map. This is basically your blueprint. You’ll see exactly where the tension was highest and how the original maker handled the corners. It’s also the perfect time to check the bones of the piece; if the fabric comes off and you see sagging, you might need to look into some upholstery webbing and spring repair before you even think about touching your new fabric. It’s much easier to fix the foundation now than to realize your new project is lumpy in two weeks.
Pro-Tips to Save Your Sanity (and Your Fabric)
- Don’t throw away the old fabric until the new stuff is actually on the chair. I know it looks like a pile of trash, but those old scraps are basically your only blueprint for how the original maker handled the corners and curves.
- If you’re working with a pattern that has a specific direction—like stripes or a big floral print—lay it out on the floor first. There is nothing worse than finishing a whole chair only to realize your pattern is running sideways.
- Stop trying to pull the fabric tight with just your hands. If you’re struggling with a stubborn corner, use a pair of pliers to get a better grip. It’s not cheating; it’s just physics.
- When you’re stapling, start from the center of each side and work your way out toward the corners. If you start at the edges and work inward, you’re going to end up with massive, ugly wrinkles that no amount of tugging can fix.
- Buy more fabric than the “math” says you need. Between mistakes, weird angles, and the inevitable moment you realize you cut a piece too short, having an extra yard is the difference between a finished project and a trip back to the craft store.
You Did the Hard Part
Look, if you’re staring at that chair right now, wondering if you should have just gone to IKEA, take a breath. You’ve stripped the old fabric, you’ve gathered the right tools, and you’ve actually done the heavy lifting of prepping the frame. Reupholstering isn’t about achieving some flawless, museum-quality finish on your first try; it’s about the fact that you actually fixed something instead of letting it sit in a corner gathering dust. As long as your staples are tight and your fabric isn’t bunching in a way that makes sitting a nightmare, you have successfully completed the mission. It’s about function over perfection, every single time.
At the end of the day, I want you to realize that the “magic” of DIY is really just a series of small, manageable tasks. Once you break down the intimidation factor, you realize that these skills are yours to keep. Don’t let the fear of a crooked seam stop you from reclaiming your space. Every time you pick up a staple gun or a multi-tool, you’re proving to yourself that you don’t need to rely on a massive corporation to provide everything you own. Go ahead, sit in that chair, and enjoy the win—you earned it.
Frequently Asked Questions
Do I really need to replace the foam, or can I just reuse what's already there?
Honestly? It depends on how much your chair currently feels like sitting on a brick. If the foam is still bouncy and hasn’t crumbled into orange dust when you touch it, you’re good to reuse it. But if it’s flat, lumpy, or leaves you feeling every single wooden frame piece underneath, just bite the bullet and buy new foam. Life is too short to spend hours on a beautiful new fabric only to realize the seat is still uncomfortable.
How do I stop the fabric from bunching up or looking wavy in the corners?
That “wavy” look is the ultimate vibe killer, but don’t panic—it usually happens because we’re being too timid with the tension. When you hit those corners, don’t just pull; you need to work in small, overlapping increments. Pull the fabric taut toward the center of the side first, then work your way into the corner. Think of it like stretching a drum skin. If it bunches, you’ve got too much slack. Pull it tight, staple it, and move on.
Is there a way to do this without buying a professional-grade staple gun?
Look, I get it. You don’t want to drop fifty bucks on a professional pneumatic stapler for a one-off project. You absolutely don’t need one. A standard manual heavy-duty staple gun from a big-box hardware store will do the trick just fine for most DIY projects. Just don’t go grabbing one of those tiny, flimsy ones meant for thin craft paper; you’ll just end up frustrated when the staples won’t bite into the wood.
What happens if I accidentally rip the fabric while I'm trying to pull it tight?
Deep breaths—it happens to the best of us. If you snag a tear while pulling, don’t panic and try to “patch” it with more fabric; that usually looks messy. If the rip is small, you can try to tuck the frayed edges under the next staple. But honestly? If it’s a major blowout, just pivot. Grab a bit of extra scrap fabric to reinforce the area from underneath before you pull it tight again.














