
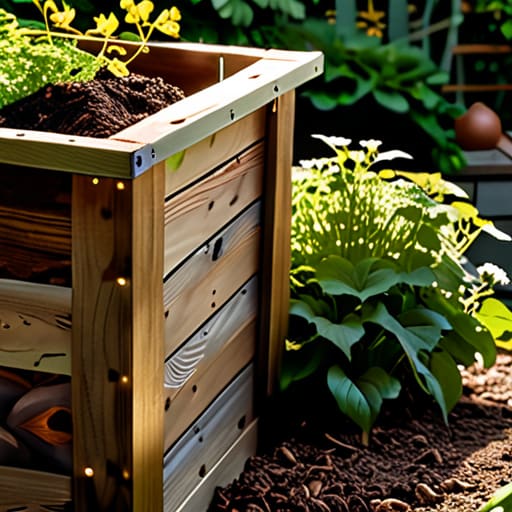
I used to think that if I wanted to start composting, I’d need to spend a weekend scouring specialty garden stores for some high-tech, cedar-slatted tumbling system that looked like it belonged in a lifestyle magazine. But honestly? That’s just more gear to maintain and more money out of your pocket for something that can be way simpler. I learned the hard way growing up that the most efficient systems aren’t the ones that look the best on a grid; they’re the ones that actually function without constant troubleshooting. If you’re looking for how to make a compost bin that doesn’t require a degree in permaculture or a massive budget, you’re in the right place.
In this guide, I’m stripping away the gatekeeping and the “aesthetic” fluff to show you how to build a setup using stuff you probably already have in your garage or can grab for a few bucks at a hardware store. We aren’t aiming for perfection; we’re aiming for effective decomposition. I’ll walk you through selecting the right materials, managing the airflow so things don’t get gross, and setting up a system that fits your actual living space. Let’s get to work.
Guide Overview
Tools & Supplies
- Drill with spade bit for ventilation holes
- Handsaw for cutting wood or plastic
- Plastic storage bin (18-30 gallons) 1 unit
- Drill bits for aeration 1 set
- Hardware cloth or wire mesh 1 small roll
- Screws or fasteners 1 small pack
Step-by-Step Instructions
- 1. First, you need to pick your “vessel.” Since we aren’t aiming for a Pinterest-perfect garden feature, I usually recommend one of two paths: a heavy-duty plastic bin or a simple wooden crate. If you’re going the bin route, grab a large plastic storage container and drill air holes all over the sides and the lid. Without airflow, your compost turns into a stinky, anaerobic mess, and nobody wants that in their backyard.
- 2. Once you have your bin, find a spot on bare soil rather than a concrete patio. You want the microbes and worms to have a direct highway into your bin so they can start the heavy lifting for you. If you’re using a wooden crate, just make sure it’s tucked into a corner that gets a bit of shade, so it doesn’t bake in the sun and kill off the good bacteria.
- 3. Now, let’s talk layering. You can’t just dump a pile of potato peels in there and hope for the best. You need to build a base of “browns”—think dried leaves, shredded cardboard, or even old newspaper. This creates a structural foundation that allows air to circulate upward through the pile as it gets heavier.
- 4. Next, add your “greens.” This is your nitrogen-rich stuff: fruit scraps, veggie peels, coffee grounds, and even those wilted flowers from your last bouquet. The trick to not having a smelly bin is to maintain a roughly two-to-one ratio of browns to greens. If it starts smelling like a dumpster, you’ve got too many greens; just toss in some more shredded cardboard to balance the chemistry.
- 5. Give it a quick mix once a week. I don’t care if you use a garden fork or a sturdy stick, just turn the pile to get oxygen into the center. Think of it like aerating a sourdough starter; you’re waking up the organisms that are actually doing the work of breaking down that organic matter.
- 6. Keep an eye on the moisture level. Your compost should feel like a wrung-out sponge—damp to the touch, but not dripping wet. If it’s looking bone-dry, give it a light sprinkle with the hose, but don’t turn it into a swamp.
- 7. Finally, be patient. There is no “instant” compost, no matter what the influencers tell you. Depending on the weather and how often you turn it, you’ll start seeing dark, crumbly, earthy-smelling soil in a few months. When it looks like rich black gold, you’re officially ready to feed your plants.
Mastering Your Composting Materials Ratio for Real Results

Once your bin is built, the biggest mistake I see people make is treating it like a trash can rather than a living system. If you just throw in a pile of wet kitchen scraps, you’re going to end up with a stinky, slimy mess that attracts every pest in the neighborhood. The secret is mastering your composting materials ratio. You need a balance of “greens” (nitrogen-rich stuff like coffee grounds and veggie scraps) and “browns” (carbon-rich stuff like dried leaves, shredded cardboard, or straw). Aim for roughly three parts brown to one part green. Think of it like a recipe: too much green and it gets soggy; too much brown and it just sits there doing nothing.
To keep things moving, you can’t ignore organic matter decomposition physics. You need oxygen. I always recommend giving your pile a quick stir with a garden fork once a week to ensure proper aeration for compost bins. This prevents the pile from becoming anaerobic, which is just a fancy way of saying “it’s going to smell terrible.” If you notice the pile is getting too packed down or damp, toss in some more dry cardboard or crushed eggshells. It’s not about being a scientist; it’s just about keeping the airflow consistent so the microbes can do their thing.
Smart Compost Bin Drainage Solutions to Prevent a Mess
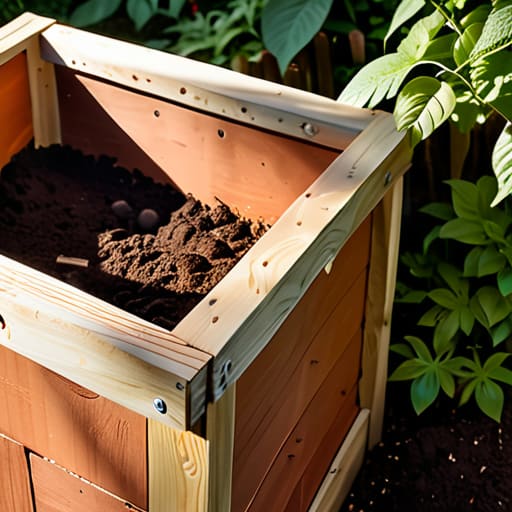
Let’s be real: nobody wants a compost bin that smells like a swamp because it’s sitting in a pool of its own liquid. If you don’t manage the moisture, you’re not just looking at a mess; you’re looking at a failure in organic matter decomposition. When things get too soggy, the oxygen gets pushed out, and instead of healthy soil, you end up with a stinky, anaerobic sludge. To avoid this, I always recommend drilling small drainage holes in the bottom of your bin. If you’re building something larger for serious garden waste management, consider elevating the bin on a few bricks or cinder blocks. This simple tweak creates a gap underneath that allows air to circulate and excess liquid to escape, which is a total game-changer for keeping things fresh.
If you’re working with a smaller, indoor-style setup—maybe even a specialized vermicomposting setup—you’ll need to be even more intentional. I usually suggest placing a shallow tray or a heavy-duty plastic saucer underneath the bin to catch any “compost tea” that leaks out. It’s a bit of a chore to empty, but it’s way better than ruining your patio or floor. Just remember: drainage is your best friend when it comes to preventing odors and keeping the system functional.
Pro-Tips to Keep Your Bin From Becoming a Total Nightmare
- Location is everything. Don’t tuck your bin into a dark, damp corner where you’ll forget it exists; place it somewhere accessible so you actually remember to toss your scraps in, but keep it far enough from your door that you aren’t dealing with any unexpected “fragrances.”
- Size matters more than you think. If you build a bin that’s too small, it won’t hold enough heat to actually break things down; aim for something with enough volume to sustain its own internal ecosystem.
- Give it some breathing room. Air is the secret ingredient here. If you build a solid, airtight box, you’re just making a stinky mess; make sure your design includes ventilation holes or a way to let oxygen circulate.
- Don’t overcomplicate the build. You don’t need fancy cedar planks or a designer aesthetic to make this work. A simple repurposed plastic bin with some drilled holes or a basic wooden crate will do the exact same job.
- Keep a “cheat sheet” nearby. I usually keep a small laminated note or a marker near my bin that reminds me of the green-to-brown ratio, because once you’re tired after a long day, you’re definitely going to forget if that banana peel needs more cardboard to balance it out.
Getting Your Hands Dirty
At the end of the day, building a compost bin isn’t about having the most expensive cedar planks or a high-tech rotating drum from a boutique garden shop. It’s about the fundamentals: getting your structure solid, managing your drainage so you don’t end up with a swampy mess, and keeping that crucial balance between greens and browns. If you can master the ratio and ensure your bin actually breathes, you’ve already done the hard part. Don’t let the fear of a little dirt or a bit of smell stop you; once you get the system dialed in, it becomes just another seamless part of your daily routine, much like clearing your inbox or charging your gear for the day.
I know that starting a new project can feel a bit overwhelming, especially when you’re worried about doing it “wrong,” but here’s a secret: there is no perfect way to compost, there is only your way. My goal has always been to strip away the idea that you need a degree or a massive budget to be capable in your own space. You’ve built the bin, you’ve got the materials, and now you’re officially part of the cycle. So, grab your gloves, stop overthinking the aesthetics, and just start making something useful out of what others call waste. You’ve totally got this.
Frequently Asked Questions
How do I know if my compost pile is actually working or if it's just sitting there rotting?
Honestly, the best way to tell is by getting your hands a little dirty. If it’s working, you should feel a gentle heat radiating from the center—that’s the microbial magic happening. It should smell like damp earth, not a dumpster. If it’s just a soggy, stinky mess, you’ve got too much moisture or nitrogen. If nothing is happening at all, it’s probably too dry or needs more “green” scraps to kickstart the engine.
Is it going to smell like a landfill if I build this in my small backyard?
Honestly, if it smells like a landfill, something is definitely broken in your system. A healthy compost pile should just smell like damp earth. If you’re getting that “trash juice” stench in a small yard, you’ve probably got too much moisture or not enough airflow. Just toss in some extra shredded cardboard or dry leaves to balance things out. Keep it aerated, keep the ratio right, and it’ll stay totally low-key.
What should I do if I see pests like fruit flies or rodents hanging around the bin?
Ugh, the dreaded uninvited guests. If you’re seeing fruit flies, you’re likely leaving too much exposed “green” material or fruit scraps on top; try burying them deeper under a layer of “browns” like dried leaves or cardboard. If it’s rodents, you’ve got a bigger security breach. Check for gaps in your bin and make sure you aren’t tossing in cooked food or meat. Keep it tight, keep it covered, and keep it boring for them.
Do I really need to turn the pile every week, or can I just let it do its thing?
Look, if you’re going for the “set it and forget it” vibe, you can—but don’t expect much. If you never turn it, you’re basically just making a slow-motion pile of trash that might start smelling like a swamp. I’m all about efficiency, not busywork, so if you’re short on time, aim for once every two weeks. Just give it a quick stir to get some oxygen in there. It’s the difference between actual compost and a stinky mess.














