
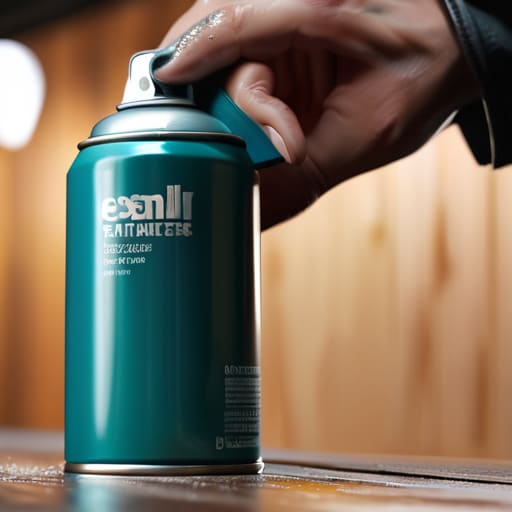
I was halfway through trying to revive a vintage lamp I found at a thrift store when I realized I’d made a massive mistake: I thought I could just grab a can of gold spray paint, give it a quick blast, and call it a day. Within ten minutes, I was staring at a sticky, dripping, textured disaster that looked more like a science experiment than a piece of decor. Most people think learning how to spray paint is just about having a steady hand, but the truth is that the magic actually happens in the prep work you don’t see on those perfect, curated Pinterest boards.
I’m not here to sell you on some unrealistic “aesthetic perfection” where everything looks flawless on the first pass. Instead, I want to give you the actual, unvarnished workflow I use when I’m fixing up gear or upgrading my own space. We’re going to skip the fluff and get straight into the grit—from choosing the right primer to mastering that perfectly even stroke so you don’t end up with a mess. By the end of this, you’ll know exactly how to spray paint anything in your house so it looks professional, stays put, and—most importantly—doesn’t ruin your weekend.
Guide Overview
Tools & Supplies
- Spray paint cans (for applying color)
- Painter's tape (for masking edges)
- Drop cloths (for surface protection)
- Sandpaper (for smoothing surfaces)
- Spray paint (1-3 cans depending on surface area)
- Primer (1 can for better adhesion)
- Cleaning cloth (1 for removing dust/dirt)
Step-by-Step Instructions
- 1. First things first, you need to pick your battles regarding the surface. If you’re painting something metal or plastic, grab some fine-grit sandpaper and give it a light scuff. You aren’t trying to sand it down to the core; you just want to break the surface tension so the paint has something to actually grab onto instead of just sliding off in a sheet.
- 2. Once you’ve sanded, clean the hell out of it. I’m talking a thorough wipe-down with a tack cloth or a damp microfiber rag to get every single speck of dust out of the way. If you leave even a tiny bit of grit behind, your final result is going to look like a sandstorm hit your project, and nobody wants that.
- 3. Now, let’s talk about the “masking” phase, which is usually where people get lazy and regret it later. Grab some painter’s tape and some old newspapers or drop cloths. Cover everything you don’t want to be neon pink or whatever color you’ve chosen. Pro tip: if you’re painting a small object, just stick it in a cardboard box to keep the overspray contained.
- 4. Before you touch the actual object, give your spray can a good, aggressive shake. I’m talking for at least a full minute. You need to make sure the pigment and the propellant are perfectly mixed. If you don’t, you’ll end up with those annoying, blotchy clumps that make your hard work look amateur.
- 5. When you’re ready to spray, start your first pass off to the side. Don’t aim the nozzle directly at your item the second you press down; start the spray in the air next to it, sweep across the object in a steady motion, and end the spray in the air on the other side. This prevents that dreaded “first-second drip” that ruins a perfectly good finish.
- 6. Resist the urge to go heavy immediately. It is much better to do three thin, light coats than one thick, gloopy one. If you try to cover everything in one go, the paint will pool in the corners and run down the sides like tears. Give each layer about ten to fifteen minutes to get tacky before you hit it again.
- 7. Finally, let it dry—and I mean actually dry, not just “it doesn’t feel sticky” dry. I usually leave my projects alone for at least 24 hours before I even think about touching them. If you try to move it too early, you’ll leave fingerprints in the finish, and then you’re right back to square one.
Mastering Spray Paint Surface Preparation for Real Results
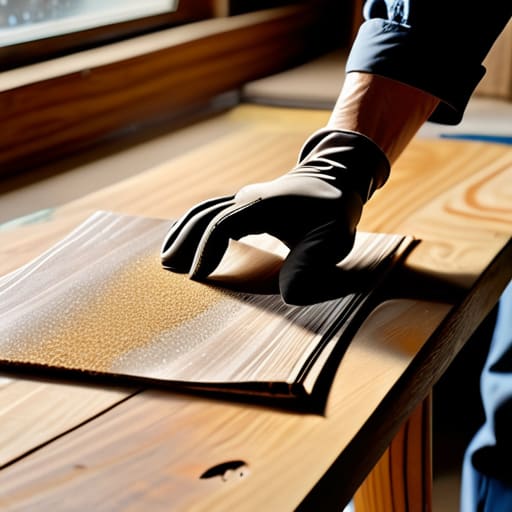
Look, I know the temptation to just grab a can and start spraying is real—especially when you’re staring at a piece of furniture that looks like it’s seen better decades. But if you skip the prep, you’re basically just painting over your mistakes. The secret to not looking like an amateur is all in the spray paint surface preparation. I always tell people: if the surface feels even slightly greasy or dusty, your expensive paint is going to peel off in sheets within a month. Grab some isopropyl alcohol or a degreaser and give it a serious scrub. If you’re working with something smooth like metal or plastic, a quick scuff with some fine-grit sandpaper is non-negotiable. You aren’t trying to sand it down to the bone; you just want to create a “tooth” so the paint actually has something to grab onto.
Once you’ve cleaned and sanded, don’t go straight in with your color. This is where most people mess up. Using a high-quality spray paint primer and sealer is the absolute best way to ensure your finish looks professional rather than blotchy. It fills in those microscopic pores and creates a uniform base, which is a lifesaver if you’re switching from a dark color to a light one. Think of it as setting the foundation for a house; if the base is shaky, the whole project is going to feel off.
Picking the Best Spray Paint for Diy Projects That Last
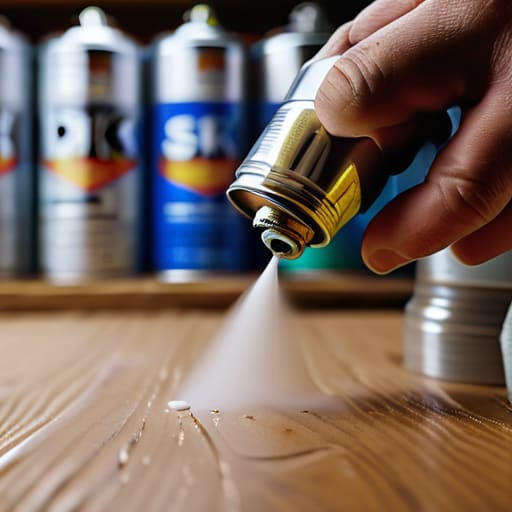
Look, walking down the hardware aisle can feel like a total trap. You’ve got a hundred different cans staring at you, all promising “professional finishes,” but most of them are just overpriced pigment in a pressurized tin. If you want to avoid that tacky, peeling mess that happens three weeks later, you need to stop looking at the color and start looking at the chemistry. For most of my projects, I don’t just grab the brightest shade I see; I look for high-quality brands that offer consistent pressure. There is nothing more soul-crushing than a can that sputters halfway through a coat, leaving you with a patchy disaster.
If you’re serious about this, don’t skip the foundation. Finding the best spray paint for DIY projects is only half the battle; you also need to invest in a solid spray paint primer and sealer. Think of it like the OS for your hardware—if the base layer is buggy, the whole system is going to crash. A good primer ensures the color actually bites into the surface, while a clear sealer acts as your final line of defense against scratches and UV fading. It might feel like an extra step, but trust me, doing it right the first time saves you from having to sand everything down and start over next month.
Pro Tips to Keep Your Project from Turning Into a Disaster
- Stop trying to cover everything in one go. I know it’s tempting to blast it with thick layers to get it done faster, but that is a one-way ticket to a drippy, textured mess. Do thin, light passes and let them dry. It’s about building up the color, not burying the object under a mountain of wet paint.
- Watch the weather like a hawk. If it’s too humid, your paint won’t dry properly and you’ll end up with a tacky finish that feels like it’s permanently stuck in “loading” mode. On the flip side, if it’s super windy, you’re basically just decorating your neighbor’s yard with your expensive pigment.
- Test your spray pattern on a piece of scrap cardboard first. Every can is a little different, and I hate getting halfway through a project only to realize the nozzle is spitting uneven blobs or has a weirdly narrow spray arc. Get the rhythm down before you touch your actual project.
- Keep the can moving constantly. If you pause for even a split second while the nozzle is pointed at your item, you’re going to get a heavy buildup that looks amateur. Think of it like a continuous motion—start your spray before you hit the object and stop after you’ve passed it.
- Don’t forget the “shake it like you mean it” rule. I see people shake the can for maybe five seconds and think they’re good to go. Seriously, shake that thing for at least a full minute. You need those pigments and solvents to be totally integrated, or you’ll get inconsistent color and weird textures.
The Final Layer
Look, I know it can feel a little intimidating when you’re staring at a pile of old hardware or a piece of furniture that looks like it’s seen better decades, but you’ve got this. Just remember that the magic isn’t actually in the can of paint; it’s in the prep work and the patience you put in. If you take the time to clean that surface properly, choose a paint that actually matches your project’s needs, and avoid the temptation to go for one thick, gloopy coat, you’re going to end up with something that looks intentional rather than accidental. It’s all about those thin, controlled layers and letting the process work for you instead of fighting against it.
At the end of the day, my goal isn’t for you to produce a museum-quality masterpiece that stays under a glass case. I want you to walk into your room and see something that you actually fixed, something that feels like yours because you put in the work to make it functional and fresh. Don’t let the fear of a little overspray or a missed spot stop you from starting. Perfection is overrated and, honestly, a little bit boring. Just grab your gear, find a well-ventilated spot, and start making things work for you. You’ll be surprised at how much power you actually have over your own space.
Frequently Asked Questions
How do I stop the paint from looking all bumpy or "orange-peely"?
That “orange peel” texture is the absolute worst—it makes a DIY project look cheap instantly. Usually, it’s because you’re holding the can too close or moving too slow. You want to keep that can about 8–12 inches away and keep your motion constant, like you’re sweeping a floor. Also, don’t try to cover everything in one massive, heavy coat. Do several light, misty layers instead. It takes longer, but it actually looks professional.
Can I actually spray paint something if it's already been painted a different color?
Short answer: Yes, absolutely. Long answer: It depends on how much respect you show the original layer. If you just spray over old, glossy paint, your new coat is going to peel off like a bad sunburn. You can’t skip the prep. You’ll need to scuff that old surface with some sandpaper to give the new paint something to grab onto, then clean it thoroughly. Treat the old layer like a foundation, not just a backdrop.
How long do I really need to wait before I can touch it or use the item again?
The “dry to the touch” lie is the fastest way to ruin your hard work. Sure, it might feel dry in twenty minutes, but that’s just the surface skin. If you touch it too soon, you’ll leave permanent fingerprints in the soft paint. I usually give things at least 24 hours before I even think about moving them. If it’s a heavy-use item, like a chair or a tool, give it a full 48 to 72 hours. Patience is a system, not a suggestion.
Is there a way to do this without my entire apartment smelling like a chemical factory?
Look, I get it. I live in a small space too, and the last thing I want is my entire apartment smelling like a hardware store for three days. If you’re stuck indoors, your best bet is to grab a high-quality water-based spray paint—they’re way lower in VOCs. Otherwise, set up a box fan in a window to create a cross-breeze. It’s not perfect, but it’ll keep the fumes from settling into your upholstery.














