
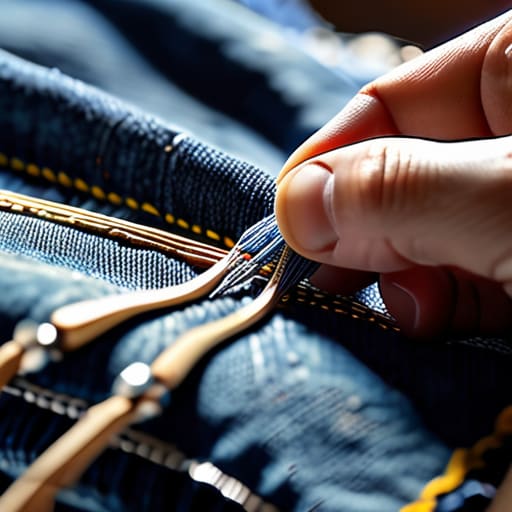
I was staring at my favorite pair of heavy-duty denim jeans last Tuesday, watching a tiny, jagged tear yawn open right at the knee, and my first instinct wasn’t to mourn them—it was to reach for my sewing kit. We’ve been conditioned to think that a loose thread or a small rip means a garment is officially “dead” and destined for the landfill, but that’s just bad logic. Learning how to mend clothes isn’t about achieving some Pinterest-perfect embroidery project; it’s about functional survival. I grew up watching my dad patch everything from circuit boards to canvas jackets, and he taught me that if a system is broken, you don’t replace the whole thing—you just fix the point of failure.
In this guide, I’m stripping away the intimidating jargon and the “perfect” sewing tutorials that make you feel like you need a professional studio to get started. I’m going to show you the most efficient, no-nonsense ways to tackle common rips, holes, and loose seams using basic tools you likely already have in a junk drawer. We aren’t aiming for runway perfection here; we are aiming for gear that actually works so you can stop wasting money on replacements and start owning your stuff again.
Guide Overview
Tools & Supplies
- Hand sewing needles (various sizes)
- Fabric scissors (sharp blades for clean cuts)
- Thimble (to protect fingers during heavy stitching)
- Sewing thread (matching colors of garment)
- Sewing needles (assorted pack)
- Fabric patches (small amount for holes)
- Embroidery floss (for decorative visible mending)
Step-by-Step Instructions
- 1. First things first, you need to raid your junk drawer or a craft bin for a basic kit. You don’t need a professional tailoring studio; just grab a few needles, some high-quality thread that actually matches your fabric (or contrasts wildly if you’re feeling bold), and a pair of sharp scissors. I always keep a small, functional kit in my bag because you never know when a seam is going to give up on you mid-day.
- 2. Once you’ve got your tools, turn the garment inside out to see what we’re actually dealing with. If it’s a ripped seam, you’re looking to pull those edges back together; if it’s a hole in the actual fabric, you’ll need to decide if you’re going to patch it or just weave it shut. Cleaning the area around the damage helps too, because trying to sew through dirt or old lint is just a recipe for a messy, frustrating result.
- 3. If you’re fixing a seam, start by knotting the end of your thread so it doesn’t slip through the fabric while you’re working. Use a “backstitch” for anything that needs to hold up under pressure—like the crotch of your favorite jeans or the armpit of a sweater. Basically, you’re sewing a stitch, then bringing the needle back up through the end of the previous one, creating a continuous, strong line that won’t just pop open the second you sit down.
- 4. Now, if you’ve got a hole in the fabric itself, don’t panic and start hacking at it. If the hole is small, you can try a “darning” technique, which is basically just weaving thread back and forth across the gap to create a new patch of fabric. It won’t look like the original material, but it’ll be structurally sound, and honestly, that’s the whole point of this.
- 5. If the hole is too big for a simple weave, grab a scrap of fabric—an old t-shirt or a leftover piece from a project works perfectly—and place it behind the hole. Pin it in place so it doesn’t shift, and then sew around the edges of the hole to attach the patch to the garment. This is where you can get a little creative; using a patterned fabric can turn a mistake into a deliberate design choice.
- 6. Once you’ve finished your stitching, don’t just rip the needle out and call it a day. Tie off your thread with a few small knots on the inside of the garment to ensure it stays secure. Give the area a gentle tug to make sure everything is tight, and if you have an iron, press the seam flat. It makes the whole thing look way less like a “fix” and more like it was always meant to be that way.
Mastering Needle and Thread Basics Without the Complexity
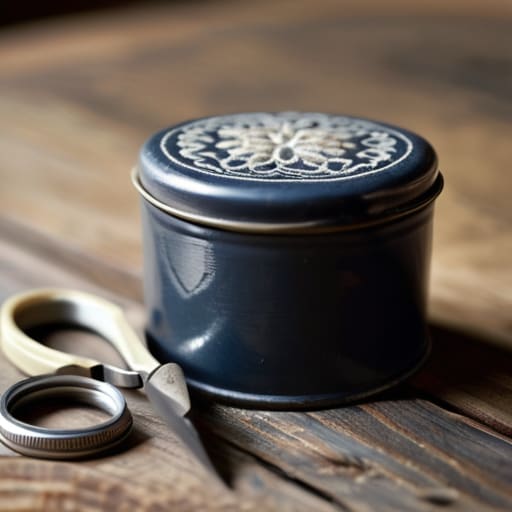
Look, you don’t need a high-end sewing machine or a studio full of expensive gadgets to get this done. Honestly, most of the time, you just need to master a few needle and thread basics so you aren’t staring at a hole in your favorite shirt feeling helpless. My biggest piece of advice? Don’t go out and buy a massive, pre-packaged sewing kit with fifty things you’ll never use. Just grab a small tin and stock it with the real essentials: a few decent quality needles, some sharp embroidery scissors, and a handful of thread colors that actually match your wardrobe. If you have those, you’re already ahead of most people.
When you’re actually sitting down to work, try to match your thread weight to the fabric. Using heavy-duty upholstery thread on a thin cotton tee is a recipe for a disaster that looks more like a patch job than a repair. If you’re working on something more structural, like patching denim holes, you can be a bit more aggressive with your stitches. But if you’re trying to be subtle, focus on keeping your tension even. It’s not about achieving some kind of runway-ready perfection; it’s about making sure the fix is strong enough to survive a wash cycle without falling apart.
Essential Fabric Repair Methods for Everyday Durability
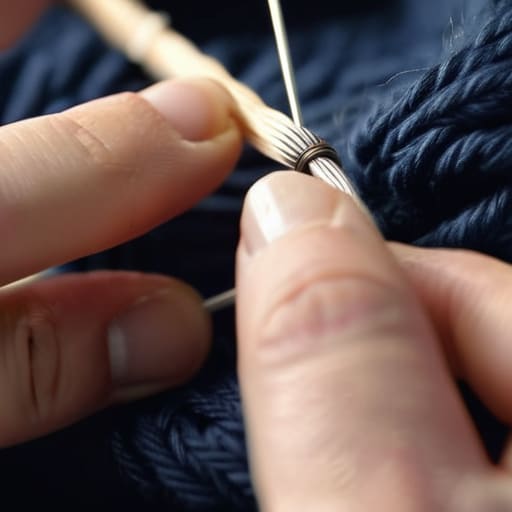
Once you’ve got the basics down, it’s time to look at the specific types of damage that actually show up in your daily life. If you’re dealing with those annoying little holes in your favorite knitwear or those worn-out heels in your wool socks, you don’t need a professional tailor—you just need a solid darning socks tutorial approach. Darning isn’t about making the hole disappear; it’s about weaving new threads across the gap to rebuild the structure of the fabric. It’s basically like patching a hole in a data packet to keep the whole system running smoothly.
For the heavier stuff, like when your go-to jeans finally give up the ghost at the knee, stop reaching for the trash bin. Patching denim holes is actually a great way to add some personality to your gear without sacrificing durability. You can go the route of a visible, heavy-duty patch for that rugged look, or if you’re feeling more precise, try some invisible mending techniques to keep things low-key. The goal isn’t to make the garment look brand new; it’s to ensure the structural integrity is back so you can keep wearing it for another three years. Just keep your tools handy and don’t overthink the tension.
Pro-Tips for Making Your Repairs Actually Last
- Don’t just stitch the surface; if you’re fixing a hole, try to grab a little bit of the healthy fabric around the edges to give your thread something real to hold onto.
- Match your thread weight to your fabric, because using heavy-duty upholstery thread on a thin t-shirt is a one-way ticket to making your clothes look like a DIY disaster.
- Always knot your thread on the underside of the fabric—it’s the “back end” of the system, and if the foundation isn’t secure, the whole repair is going to fail the first time you sit down.
- If you’re dealing with a tear in stretchy material like leggings, use a zigzag stitch instead of a straight line; otherwise, the moment you pull them on, your thread is going to snap like a brittle cable.
- Keep a small “repair kit” in a dedicated, easy-to-reach spot in your house so you don’t lose momentum; if you have to hunt for a needle for twenty minutes, you’re probably just going to give up and buy something new.
Stop Overthinking It and Just Start
At the end of the day, mending isn’t about achieving some flawless, runway-ready finish; it’s about making sure your favorite jeans don’t end up in a landfill just because of a tiny snag. We’ve covered everything from the basic mechanics of a running stitch to choosing the right thread for different fabric weights, and the goal was never perfection. It was about giving you the tools to keep your gear in rotation for as long as possible. Whether you’re patching a hole in a heavy denim jacket or reinforcing a fraying seam on a soft cotton tee, remember that a functional repair is a massive win. Once you realize that a little bit of thread can extend the life of your wardrobe by years, the intimidation factor just kind of evaporates.
I know it can feel a bit tedious when you first sit down with a needle and thread, especially if you aren’t used to working with your hands. But there is something incredibly grounding about taking control of your own stuff instead of just clicking “add to cart” on a replacement. Don’t let the fear of making a mistake stop you from trying. Even if your first few stitches look a little wonky, you’re still building a skill that actually matters. You’re reclaiming your autonomy and moving away from that cycle of mindless consumption. So, grab your kit, find a decent light source, and just start fixing things one stitch at a time.
Frequently Asked Questions
I don't even own a sewing kit; what are the absolute bare-minimum tools I need to get started without spending a fortune?
Look, you don’t need a massive, overpriced wooden box filled with things you’ll never use. Honestly, skip the “starter kits” at big-box stores; they’re usually junk. Just grab a small multi-pack of neutral-colored threads, a handful of assorted needles, a decent pair of small scissors (not your kitchen shears!), and maybe a few safety pins. That’s it. It’ll cost you less than a takeout lunch and covers 90% of your emergencies.
How do I know if a tear is actually fixable or if the fabric is too far gone to bother with?
Honestly, I’ve definitely wasted an hour trying to save a shirt only to have the repair fail ten minutes later. Here’s my rule of thumb: check the “integrity” of the surrounding area. If the fabric feels paper-thin or looks like it’s literally disintegrating around the tear, let it go. If you can pull the edges together and they still feel sturdy, it’s worth the effort. If it’s more holes than fabric, it’s time for the recycling bin.
Is there a way to fix a hole without it looking like a giant, obvious patch slapped on the front?
Honestly, I get it—the “giant patch” look can feel a bit much if you’re going for a clean vibe. If you want to keep it low-key, try darning. Instead of covering the hole with a new piece of fabric, you’re basically weaving new threads directly into the existing ones to bridge the gap. It’s a bit more tedious, but it blends way better with the original texture. It looks intentional, not like a bandage.
What kind of thread should I actually be looking for so my repair doesn't just snap the first time I move?
Look, don’t just grab the first spool of cheap, fuzzy thread you find in a junk drawer. If you’re fixing something that actually moves—like jeans or a heavy hoodie—go for a high-quality polyester thread. It’s got the stretch and strength to handle real life without snapping. If you’re working on something delicate, stick to cotton, but for everything else, polyester is your best friend. It’s durable, reliable, and won’t fail you mid-stride.














