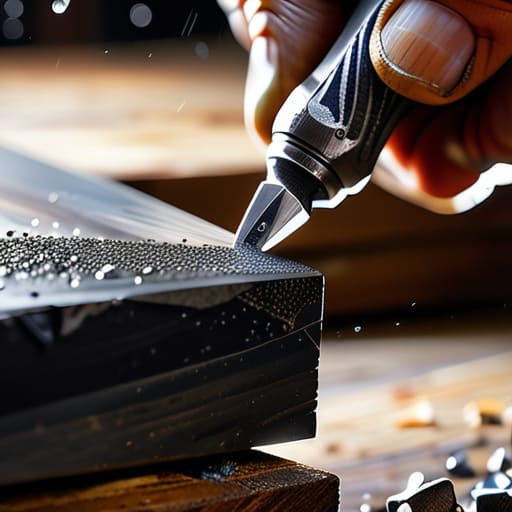
I was halfway through trying to prune my overgrown monstera when my shears gave a pathetic, blunt crunch instead of a clean slice, leaving me staring at a mangled leaf and a pile of frustration. It’s that exact moment where most people decide the tool is just broken and head straight for Amazon to buy a replacement. But here’s the thing: your equipment isn’t trash, it’s just neglected. Learning how to sharpen tools isn’t some mystical skill reserved for master blacksmiths or people with expensive workshop setups; it’s actually just basic maintenance that keeps your life from feeling like a constant uphill battle against your own gear.
I’m not going to bore you with high-end industrial techniques that require a specialized studio and a massive budget. Instead, I’m going to show you how to get a factory-level edge using simple, accessible methods that actually work in a real, messy home. We’re going to strip away the gatekeeping and focus on the practical steps to restore your blades, shears, and even your kitchen knives. By the end of this, you’ll stop fighting your equipment and start actually getting things done.
Guide Overview
Tools & Supplies
- Handheld knives (Kitchen or utility blades)
- Garden shears (Pruning tools)
- Dual-grit whetstone (1 unit)
- Honing rod (1 unit)
- Sharpening oil or water (1 bottle)
- Microfiber cloth (1 unit)
Step-by-Step Instructions
- 1. First things first, you need to grab a whetstone. Don’t bother with those cheap, handheld pull-through sharpeners you see at big-box stores; they tend to chew up the metal and leave your edges jagged and useless. If you’re just starting out, look for a dual-grit whetstone—one side for the heavy lifting (coarse) and one for the finishing touches (fine).
- 2. Before you even touch the blade to the stone, you have to soak it. Most whetstones are water-based, so submerge it in a shallow bowl of water for about 10 to 15 minutes. You’ll know it’s ready when the air bubbles stop rising to the surface. If you skip this, you’re just creating friction heat that can actually damage the steel.
- 3. Now, find your angle. This is where most people panic, but I promise it’s not rocket science. For most kitchen knives or basic utility tools, you’re looking for about a 15 to 20-degree angle. A quick hack I use? Place your knife flat on the stone, then lift the spine up until you can fit two stacked quarters underneath it. That’s your sweet spot.
- 4. Start with the coarse side of the stone. Hold the handle firmly and use the entire length of the blade, moving it in a smooth, sweeping motion from the heel to the tip. You aren’t trying to hack away at it; you’re looking for a consistent, rhythmic stroke. You’ll eventually feel a tiny “burr”—a rough edge of metal—forming on the opposite side of the blade. That’s how you know you’re actually doing it right.
- 5. Once you’ve smoothed out that burr, flip the knife over and repeat the process on the other side. This time, switch to the fine-grit side of your stone. This step is all about refinement. Think of it like cleaning up the code in a script you just wrote; you’re smoothing out the rough edges to make everything run seamlessly and efficiently.
- 6. Test your progress, but please, don’t slice your finger off. Instead of a full chop, try a gentle slice through a piece of paper or a ripe tomato. If the blade glides through without catching or tearing, you’ve nailed it. If it still feels sluggish, go back to the coarse side for one more quick pass.
- 7. Finally, wipe everything down and dry it immediately. Moisture is the enemy of good tools, and leaving a damp blade on a stone is a one-way ticket to rust city. Give it a quick wipe with a clean cloth, and maybe a tiny drop of food-safe mineral oil if you want to be extra protective. Now your tools are actually ready to work as hard as you do.
Mastering Whetstone Sharpening Techniques Without the Fluff
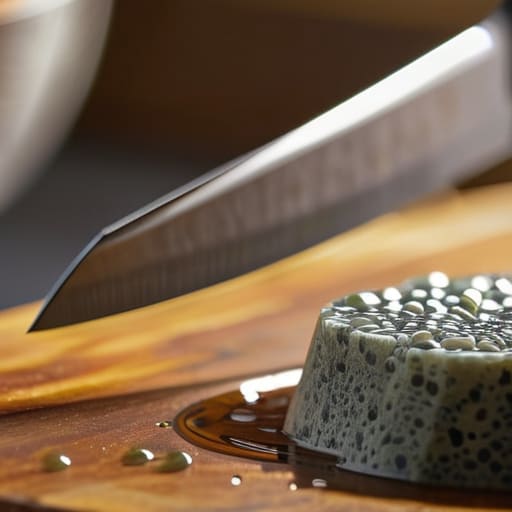
Look, I get it. Picking up a whetstone for the first time feels a little intimidating, like you’re about to perform surgery on your favorite kitchen knife. But here’s the secret: it’s more about muscle memory than magic. When you’re diving into whetstone sharpening techniques, the biggest mistake I see is people obsessing over perfection in the first five minutes. You aren’t going to get a mirror finish immediately. Focus on finding a consistent sharpening angle for different tools—usually around 15 to 20 degrees for most knives—and just hold it there. If your angle is wobbling like a jelly mold, you’re just grinding away metal without actually creating an edge.
Another thing that trips people up is the confusion between honing steel vs sharpening. Think of a honing rod as a “reset button” to realign a slightly bent edge between uses, whereas the stone is what actually removes metal to fix a dull blade. If you want to focus on maintaining blade edge longevity, don’t skip the fine-grit side of your stone at the end. It polishes out those microscopic scratches from the coarse side. Also, a pro-tip from my DIY days: once you’re done, wipe everything down with a bit of mineral oil. It’s the easiest way to commit to preventing rust on metal tools so they don’t end up in the bin next month.
Finding the Right Sharpening Angle for Different Tools
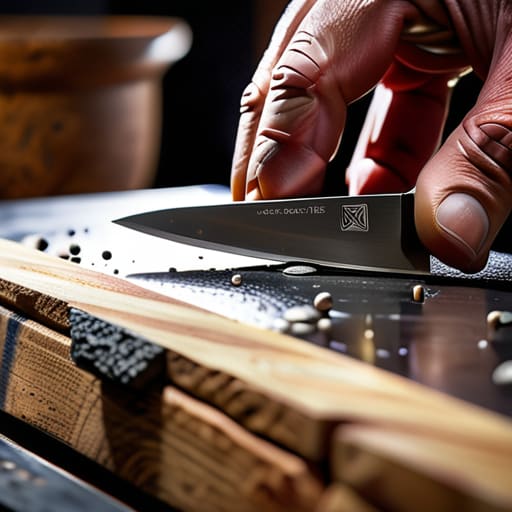
Look, I know it’s tempting to just grab a stone and start scrubbing, but if you don’t respect the geometry of your blade, you’re basically just making it shiny and useless. Every tool has a “sweet spot” angle designed for its specific job. For your everyday kitchen knives, you’re usually looking at a 15 to 20-degree angle. If you go too shallow, the edge will roll; too steep, and you’ll struggle to actually slice through anything. On the flip side, if you’re working on heavy-duty garden shears or chisels, you need a much more aggressive angle—think 25 to 30 degrees—to handle the impact without chipping.
Understanding the sharpening angle for different tools is the difference between a tool that cuts like butter and one that feels like a blunt spoon. It’s also a huge part of maintaining blade edge longevity. If you force a delicate paring knife into a steep, heavy-duty angle, you’re essentially destroying its ability to perform fine tasks. I always tell people: don’t treat your precision scalpels like your rusty hedge trimmers. They require different levels of finesse. Get the angle right the first time, and you won’t have to spend your entire weekend fighting with your equipment.
Pro-Tips to Keep You from Ruining Your Gear
- Don’t rush the process; sharpening is more about patience and consistent pressure than it is about brute force. If you’re pushing too hard, you’re just going to grind away the metal you actually need.
- Keep your stones wet. Whether you’re using a water stone or an oil stone, a thin layer of lubricant prevents that nasty metal slurry from clogging up the grit and making your work useless.
- Stop neglecting your smaller tools. It’s easy to focus on the big stuff like axes or garden shears, but your precision stuff—like screwdrivers or small utility knives—needs regular attention to keep your projects from becoming frustrating.
- Check your edge often. You don’t need to go through a full sharpening session every time you feel a slight drag; sometimes a quick pass on a fine-grit stone or a leather strop is all it takes to bring the edge back to life.
- Invest in a decent honing rod, but don’t treat it like a sharpening stone. A honing rod is for realigning the edge you already have, not for removing metal to fix a dull blade—learn the difference so you don’t accidentally make things worse.
Stop Settling for Dull Gear
At the end of the day, sharpening isn’t some mystical ritual reserved for master craftsmen; it’s just basic maintenance that keeps your projects from becoming a total headache. We’ve covered the essentials: picking the right grit, finding that consistent angle for your specific tool, and actually putting in the work with a whetstone rather than rushing through it. Remember, the goal isn’t just to make something look shiny, but to ensure your equipment is actually reliable when you’re mid-project and the pressure is on. If you take care of your tools, they’ll stop fighting you and start working with you, which saves you a massive amount of time and frustration in the long run.
I know it can feel a little intimidating to take a blade or a chisel in your hands and try to refine it yourself, but that’s where the real confidence comes from. There is a specific kind of satisfaction that comes from feeling a tool slice through material like butter because you were the one who maintained it. Don’t get caught up in trying to achieve some impossible, professional-grade perfection on your first try. Just focus on the function. Once you realize that you have the power to fix and maintain the things you own, the whole world starts to feel a lot less overwhelming and a lot more manageable.
Frequently Asked Questions
How often should I actually be sharpening my tools versus just cleaning them?
Look, don’t wait until your blade is literally struggling to cut through a piece of paper to reach for the whetstone. Cleaning is your daily habit—wipe the grit and moisture off after every use so you don’t deal with rust. But sharpening? That’s a maintenance cycle. If you’re noticing any resistance or “skating” over the material, it’s time. For heavy use, aim for a quick touch-up once a month. Keep it proactive, not reactive.
Is it worth investing in an electric sharpener, or am I better off sticking to manual stones?
Look, if you’re obsessed with precision or restoring old gear, stick to the stones. There’s a tactile feedback you just can’t get with a motor, and honestly, it builds a skill that’ll serve you forever. But if you’re just trying to get a dull kitchen knife functional before dinner without a whole ritual, grab a decent electric sharpener. It’s about the tool matching your lifestyle, not about being a purist.
What’s the best way to tell if a tool is actually sharp or if I’m just getting used to the dullness?
Honestly, I’ve been there—you push through a project for so long that you basically develop “dullness blindness.” The best way to check? Stop guessing and use the paper test. Hold a single sheet of printer paper vertically and try to slice through the edge. If it snags, tears, or requires a weird sawing motion, it’s still dull. A truly sharp tool should glide through with zero effort and zero hesitation.
Can I use the same sharpening setup for my kitchen knives as I do for my woodworking chisels?
Short answer? Yes, you can—but don’t expect them to behave the same way. Your kitchen knives usually want a shallower, more acute angle for slicing through tomatoes, while those woodworking chisels need a beefier, steeper edge to handle the stress of gouging through grain. Using the same stones is totally fine, just don’t go on autopilot. Treat your knives like precision instruments and your chisels like heavy-duty workhorses. Different tools, different angles, same goal.