
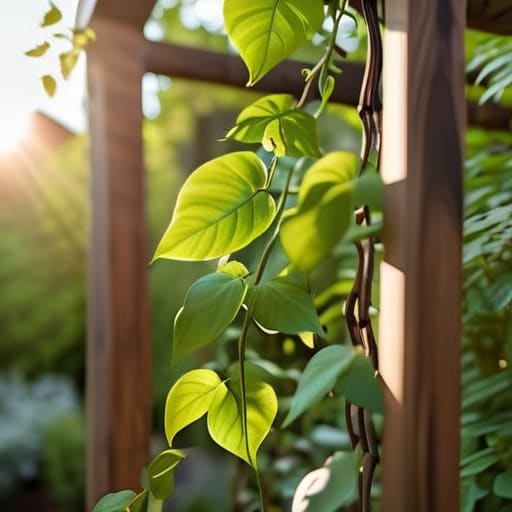
I was standing in my backyard last July, staring at a pile of expensive, “designer” bamboo poles that had already snapped under the weight of my climbing jasmine, and I realized something: most gardening advice is just aesthetic fluff. We’ve been conditioned to think that learning how to build a garden trellis requires a master carpenter’s toolkit or a massive budget, but honestly? That’s just gatekeeping. I grew up watching my dad fix everything from broken circuit boards to leaky faucets with nothing but grit and basic hand tools, and I promise you, your garden doesn’t need a Pinterest-perfect masterpiece—it just needs something structural and reliable.
In this guide, I’m stripping away the fluff to show you exactly how to build a trellis that won’t buckle the second your vines start getting heavy. We aren’t going to obsess over whether the wood grain matches your patio furniture; instead, we’re focusing on functional stability and using materials that actually last. I’ll walk you through the simplest, most efficient ways to get your plants off the ground using basic supplies you can find at any hardware store. Let’s stop overcomplicating the process and just build something that actually works.
Guide Overview
Tools & Supplies
- Measuring tape for accurate cuts
- Handsaw or miter saw for wood cutting
- Drill with bits for making holes
- Hammer for securing fasteners
- Untreated cedar or pine stakes (4-5 pieces)
- Galvanized wire or twine (1 roll)
- Wood screws or nails (1 small box)
- Garden staples or mallet (1 set)
Step-by-Step Instructions
- 1. First things first, go grab your materials. You don’t need a specialized lumber yard for this; just head to the local hardware store and pick up some untreated cedar or redwood stakes. Avoid the pressure-treated stuff if you’re growing anything edible, because you don’t want random chemicals leaching into your soil. You’ll also need some heavy-duty zip ties (the UV-resistant kind, please) or some galvanized wire to hold everything together.
- 2. Clear a little bit of space where you actually want the trellis to live. I know, it’s tempting to just shove it into a corner, but you need to make sure your plants have enough breathing room to actually grow without getting smothered. Use your multi-tool to clear away any stray rocks or debris so the stakes can sit flush against the ground.
- 3. Drive your main vertical stakes into the dirt. This is where people usually mess up by being too gentle. You want these stakes to go deep enough so they don’t tip over the second a heavy tomato plant decides to lean on them. If the ground is hard, use a mallet or even a heavy rock to hammer them in firmly until they feel stable.
- 4. Now, we’re going to create the grid. Take your horizontal pieces—either thinner wooden slats or even some sturdy twine—and lash them to the vertical stakes. If you’re using twine, create a diamond pattern. It might look a little chaotic at first, but that’s actually better for the vines because it gives them more points of contact to grab onto as they climb.
- 5. Secure every single intersection point. If you’re using wire or zip ties, make sure they are tight enough to hold but not so tight that they bite into the wood and crack it. I always double-check my knots or ties because there is nothing more frustrating than coming out to the garden to find your entire structure lying in the dirt after a light breeze.
- 6. Once the skeleton is up, give it the “shake test.” Grab the top of the trellis and give it a firm wiggle. If it wobbles like it’s about to collapse, you need to drive those stakes deeper or add a diagonal support stake. You want a structure that is built to last the entire growing season, not something you have to rebuild every time it rains.
Essential Garden Trellis Materials List for Real Results
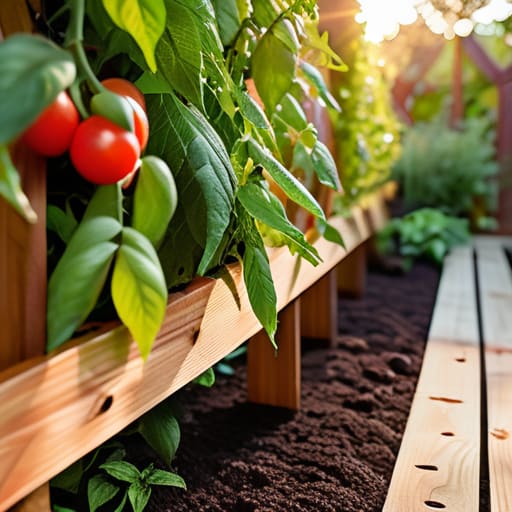
Look, I’ve seen way too many “aesthetic” garden setups crumble the second a heavy tomato plant starts climbing. If you want your climbing plant support structures to actually last more than one season, you have to prioritize durability over how it looks in a filtered photo. For my go-to setup, I skip the flimsy plastic stakes and head straight for pressure-treated lumber or cedar. Cedar is my personal favorite because it’s naturally rot-resistant, which means less time playing handyman and more time actually enjoying your garden. If you’re on a tighter budget, even basic untreated wood works, but you’ll need to be prepared to replace it sooner.
When you’re putting together your garden trellis materials list, don’t overlook the small stuff like galvanized screws and heavy-duty wire. I always keep a handful of stainless steel screws in my bag because nothing kills my vibe faster than rusted hardware staining my wood or snapping under pressure. Also, if you’re looking for vertical gardening solutions that can handle heavy climbers like cucumbers or squash, grab some thick jute twine or even metal mesh. It’s much better to over-engineer your structure slightly now than to spend your entire summer trying to prop up a collapsing mess of vines.
Simple Wooden Trellis Diy Steps for Functional Vertical Gardening Solutions
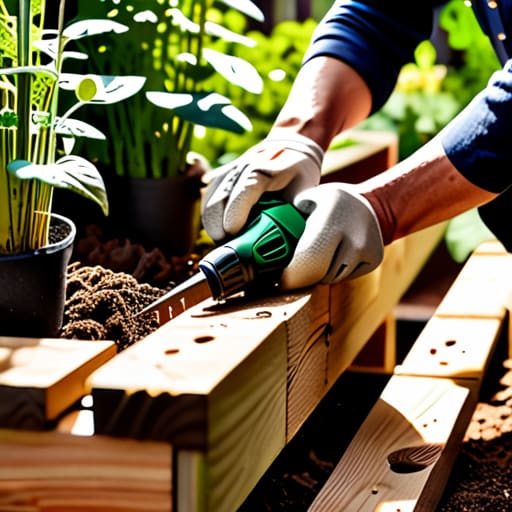
Once you’ve gathered everything from your garden trellis materials list, it’s time to actually get your hands dirty. When you’re working through these wooden trellis diy steps, don’t get paralyzed by the idea that every joint needs to be a masterpiece of carpentry. If you’re building an easy trellis for vegetables like peas or cucumbers, the goal is stability, not a museum exhibit. I always suggest pre-drilling your holes; it sounds like an extra step, but it prevents the wood from splitting halfway through, which is a massive headache you definitely don’t need when you’re already sweating in the sun.
As you assemble your climbing plant support structures, keep an eye on the scale. A common mistake I see is building something that looks great in a small pot but gets completely swallowed by a heavy tomato vine within a month. Make sure your structure is anchored firmly into the ground or attached to a heavy base. If you’re looking for more outdoor garden structure ideas, try integrating your trellis into existing fences or even old pallet wood to save some cash. Ultimately, these vertical gardening solutions are about creating a reliable backbone for your plants so they can do what they do best: grow.
5 Pro-Tips to Keep Your Trellis from Becoming a Total Disaster
- Don’t skimp on the hardware. I’ve seen so many “aesthetic” trellises fail because someone used flimsy plastic clips instead of actual heavy-duty galvanized screws or sturdy wire. If your plant is heavy, your hardware needs to be heavier.
- Plan for the weight before you start digging. A tomato plant isn’t just a plant; by August, it’s a massive, heavy beast. If your trellis isn’t anchored deep into the ground or braced against something solid, it’s going to faceplant the first time it gets windy.
- Leave some breathing room. One mistake I made early on was building a trellis so dense that there was zero airflow. You’re basically creating a humid jungle that invites mold and pests. Space your supports out so the leaves can actually breathe.
- Think about your future self. When you’re building, ask yourself: “Am I going to be able to reach the back of this to harvest anything?” If you build a massive wall of vines with no way to access the middle, you’re just building a beautiful obstacle.
- Test your stability before the heavy lifting. Once you’ve got your structure up, give it a good, firm shake. If it wobbles like it’s made of toothpicks, go back and reinforce the base now. It’s much easier to fix a wooden frame today than it is to rescue a crushed plant next month.
Getting Your Hands Dirty
At the end of the day, building a trellis doesn’t require a master’s degree in carpentry or a massive budget. You’ve got your materials list, you’ve walked through the assembly steps, and you know that a sturdy, functional structure is way more important than some Pinterest-perfect lattice that snaps the first time a heavy tomato vine touches it. Just remember to prioritize structural integrity over aesthetics. If you used the right wood and secured your joints properly, you’ve already done the hard part. Now, it’s just about letting nature take over and watching your vertical garden actually start to thrive without the constant fear of a total collapse.
I know it can feel a little intimidating to start a DIY project when you aren’t used to working with your hands, but honestly? That’s where the best stuff happens. There is a specific kind of satisfaction that comes from looking at a climbing plant and knowing that you built the foundation it’s resting on. Don’t worry about making it look like a professional landscaper did it; just focus on making it work for your space. Once you realize that you can fix, build, and improve your own environment, the world starts to feel a lot less overwhelming and a lot more like something you can actually manage.
Frequently Asked Questions
How do I stop my trellis from leaning or sinking into the dirt after a heavy rain?
Look, I’ve been there—nothing kills my productivity faster than a DIY project literally sinking into the mud. If your trellis is leaning, it’s usually because your anchors are too shallow or your soil is turning into soup. Stop using thin wooden stakes. Instead, drive metal T-posts deeper into the ground or use heavy concrete pavers as a base. If you’re feeling extra, bury the main supports a few inches deeper than you think you need to.
Can I use recycled materials like old pallets, or will they rot too fast once they hit the soil?
You absolutely can use pallets, but don’t just grab any random one from behind a warehouse. Check for the “HT” stamp—that means it was heat-treated, not chemically soaked in nasty stuff. As for the rot? Yeah, untreated wood is going to give up the ghost eventually. If you want it to last more than one season, slap some eco-friendly sealant on it or keep the wood from sitting directly in the mud.
What's the best way to attach heavy vines without them snapping the wooden slats?
Look, don’t go tightening wire around the stems like you’re trying to choke them; you’ll just snap the vine the second it tries to grow. The move here is to use soft garden twine or even strips of old t-shirts. Make loose loops around the slat and the vine. You want to give them “wiggle room” to thicken up. If it’s really heavy, use some plastic-coated clips to distribute the weight.
Do I really need to treat the wood with something, or can I just leave it raw and hope for the best?
Look, you could leave it raw and hope for the best, but unless you enjoy watching your hard work rot and crumble into the dirt by next season, don’t do that. If you want this to actually last, treat it. I usually go with a food-safe sealer or a non-toxic wood preservative—especially if you’re growing edibles. It’s a little extra effort upfront, but it beats rebuilding your entire setup every single year.














