You don’t actually need a $200 proofing basket, a temperature-controlled proof box, or a degree in chemistry to master the art of dough. Honestly, most of the “aesthetic” baking content you see on your feed is just a massive barrier to entry designed to make you feel like you aren’t capable enough to try. I spent my childhood watching my dad tinker with broken appliances in our tiny apartment, and if there’s one thing he taught me, it’s that you don’t need fancy gear to get a result that actually works. Learning how to bake bread at home shouldn’t feel like a high-stakes engineering project; it should just be a reliable system you can run in your own kitchen without the stress.
In this guide, I’m stripping away the gatekeeping and the sourdough-obsessed pretension. I’m going to show you a no-nonsense framework for making real, edible bread using basic tools you probably already have in your junk drawer. We’re focusing on repeatable results and simple mechanics, not perfectionism. By the end of this, you’ll have a functional process that turns flour and water into something delicious, without the technical headache.
Guide Overview
Tools & Supplies
- Large mixing bowl for combining ingredients
- Measuring cups and spoons for accuracy
- Oven for baking the loaf
- All-purpose or bread flour 500g
- Warm water 350ml
- Active dry yeast 7g
- Salt 10g
Step-by-Step Instructions
- 1. First, clear some space on your counter. You don’t need a massive marble island; you just need a clean surface and a large mixing bowl. Grab your flour (all-purpose is fine, don’t stress), warm water, salt, and yeast. I like to keep my pantry organized so I’m not hunting for spices mid-recipe, so make sure you actually have the ingredients before you start.
- 2. Mix your “wet” and “dry” components. Pour your warm water into the bowl, sprinkle in the yeast, and let it sit for a few minutes until it looks a little foamy. Then, dump in your flour and salt. Use a sturdy spoon or just your hands to bring it all together into a shaggy, messy ball. It’s going to look totally unappealing at first, but trust the process.
- 3. Now comes the part everyone thinks is a workout: kneading. Dust your surface with a little flour and push the dough away from you with the heels of your hands, fold it back, turn it, and repeat. You’re looking for the dough to transform from a sticky blob into something smooth and elastic. If it’s sticking to your hands like crazy, add a tiny bit more flour, but don’t go overboard or you’ll end up with a brick.
- 4. Let the dough rest and grow. Lightly oil your bowl, plop the dough inside, and cover it with a damp kitchen towel or some plastic wrap. Find a warm, draft-free spot in your kitchen—maybe near the oven if it’s a cold day—and let it sit for about an hour. You want it to double in size, which is basically the dough’s way of telling you it’s ready for the next phase.
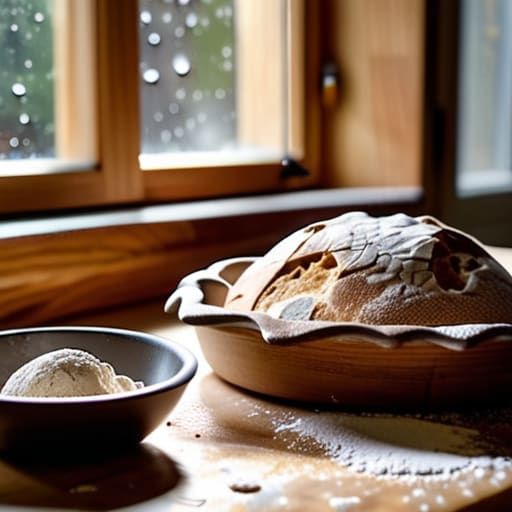
- 5. Shape your loaf and the second rise. Gently tip the dough onto your counter and press the air out of it—don’t be too aggressive, we aren’t punching it. Fold the edges inward to create a tight round shape. Place it on a baking sheet or in a dutch oven, cover it again, and let it rise for another 30 to 45 minutes. This step is crucial for texture; if you skip the second rise, your bread will be dense and sad.
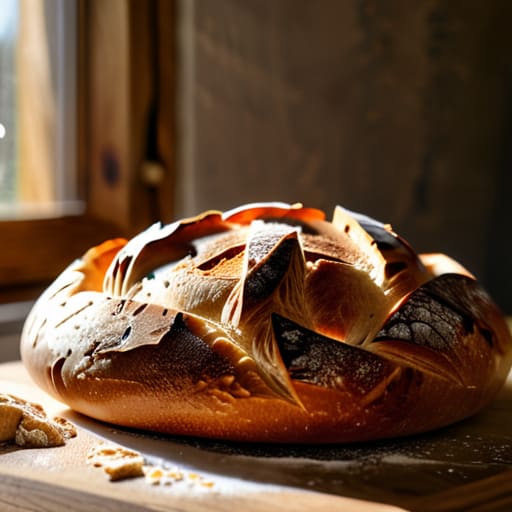
- 6. Time to bake. Preheat your oven to around 425°F (220°C). If you’re using a dutch oven, pop it in the oven while it preheats so it’s screaming hot. Carefully slide your dough into the pot (or onto the tray), maybe score the top with a sharp knife to give it a place to expand, and bake. You’re looking for a deep, golden-brown crust that sounds hollow when you tap the bottom.
- 7. The hardest part: waiting. Once it’s out of the oven, move it to a wire rack. I know it smells incredible, but if you slice into it while it’s still steaming, you’ll actually ruin the internal structure and make it gummy. Give it at least 30 minutes to cool down. Your patience will pay off when you finally get that perfect, airy crumb.
Ditch the Fancy Gadgets Essential Bread Making Equipment for Beginners
Look, I see the TikToks of people with $500 proofing baskets, professional-grade stone hearths, and specialized dough scrapers that look like they belong in a surgical suite. It’s overwhelming, and honestly? It’s unnecessary. If you’re just starting out, you don’t need a dedicated bakery station to get a decent crust. Most of the bread making equipment for beginners you actually need is probably already sitting in your kitchen drawer. A simple glass bowl for mixing, a sturdy spoon, and even an old kitchen scale (because measuring by volume is a recipe for disaster) are all you need to get the ball rolling.
If you want to level up without breaking the bank, focus on the stuff that actually affects the chemistry. A digital scale is my absolute non-negotiable; it takes the guesswork out of your ratios so you aren’t constantly fighting the dough. While you don’t need a fancy proofing box, a slightly warm spot in your kitchen or even a turned-off oven can help manage the yeast fermentation process more predictably. Don’t get caught up in the gear rabbit hole. Focus on your ingredients and your timing, and I promise you’ll get a loaf that tastes better than anything you’d buy at a grocery store.
The Only Essential Baking Ingredients You Actually Need to Buy
Look, you don’t need a pantry stocked like a professional bakery to get started. Most of the “must-have” lists you see online are just trying to sell you expensive specialty flours you’ll only use once. For real, the only essential baking ingredients you actually need to grab are flour, water, salt, and yeast. That’s it. If you’re looking to save money, stick to a standard unbleached all-purpose flour or a basic bread flour. Don’t get caught up in the hype of ancient grains until you’ve mastered the basics of how these four simple components interact.
The real magic—and the part that usually trips people up—is understanding how the yeast behaves. You aren’t just mixing stuff in a bowl; you’re managing the yeast fermentation process. If your kitchen is freezing, your dough is going to take forever to rise, and if it’s too hot, you might accidentally kill the yeast entirely. It’s not about following a recipe to the letter; it’s about reading the dough and adjusting to your environment. Once you stop treating it like a rigid math equation and start treating it like a living system, everything gets a lot easier.
Pro-Tips to Stop the Bread-Making Meltdown
- Stop obsessing over the timer. Yeast is a living thing, not a programmed script; if your dough looks like a sad, flat pancake after an hour, give it more time or a warmer spot in the house.
- Buy a cheap digital scale. Measuring flour by “cups” is basically playing a guessing game with your hydration levels, and if you want consistent results, you need to weigh your ingredients.
- Don’t be afraid of the mess. Your kitchen is going to look like a flour bomb went off, but trying to keep everything “aesthetic” while working with sticky dough is a one-way ticket to frustration.
- Learn to feel the dough. You can follow a recipe to the letter, but your hands will tell you more about the texture and elasticity than any text on a screen ever could.
- Embrace the “ugly” loaf. If it tastes incredible but looks like a lumpy rock, you still won. We’re building functional skills here, not curated Pinterest boards.
Stop Stressing, Start Baking
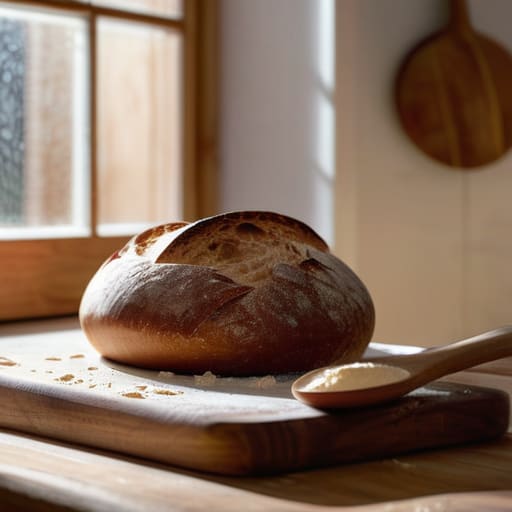
Look, if you’ve made it this far, you already know that you don’t need a professional kitchen or a degree in culinary arts to get a decent loaf on the table. We’ve stripped away the fluff: you’ve got your basic ingredients, you’ve ditched the overpriced gadgets that just take up counter space, and you have a solid workflow to follow. Remember, the goal isn’t to produce a museum-quality masterpiece every single time; it’s about having a reliable system that turns flour and water into something that actually tastes good. If your first loaf comes out a little dense or looks a bit wonky, don’t sweat it. Just troubleshoot the variables, adjust your hydration or timing next time, and keep moving forward.
At the end of the day, baking is just another system to master, much like troubleshooting a server or repairing a vintage synth. It’s about understanding how the components interact and having the patience to let the process unfold. Once you stop chasing that unattainable Instagram aesthetic and start focusing on the functional joy of making something with your own hands, everything changes. You’re not just making food; you’re building a skill that makes your daily life a little more grounded and a lot more delicious. So, get your hands messy, embrace the chaos, and just start baking.
Frequently Asked Questions
My dough isn't rising at all—did I kill the yeast or is my kitchen just too cold?
Don’t panic; you probably haven’t killed it, but your kitchen might be playing hard to get. If you used water that was too hot (think boiling), yeah, you likely toasted the yeast. But if the water was just lukewarm, it’s probably just too cold in your house. Try moving your bowl to a slightly warmer spot—like inside a turned-off oven with the light on. Give it time; yeast doesn’t follow a clock.
Do I really need to knead this for ten minutes, or can I just let a machine do the heavy lifting?
Look, if you have a stand mixer, use it. I’m all about systems that work, and manual kneading is a massive time-sink if you don’t have to do it. If you’re using a machine, just keep an eye on it—don’t let it overwork the dough into a rubbery mess. If you’re working by hand, ten minutes is usually the sweet spot to get that structure right. Honestly? Just go with whatever fits your workflow.
How do I know if my bread is actually done inside without hacking it open and ruining the steam?
The “hack and hope” method is a one-way ticket to a sad, gummy loaf. Instead, grab a digital instant-read thermometer—it’s a total game-changer. Aim for an internal temp between 190°F and 210°F (88°C–99°C) depending on the recipe. If you don’t have one, give the bottom a gentle tap; it should sound hollow, like a drum. It’s simple, it’s foolproof, and it keeps that precious steam exactly where it belongs.
Can I make this work if I don't have a Dutch oven or any fancy heavy pots?
Honestly? Absolutely. You do not need a $50 cast-iron Dutch oven to make decent bread. If you’re short on heavy pots, just use a standard baking sheet and get creative with steam. Throw a shallow pan of boiling water on the bottom rack of your oven while it preheats. That extra moisture is the secret to getting that crusty exterior without the fancy gear. Don’t let a lack of equipment gatekeep your kitchen.