
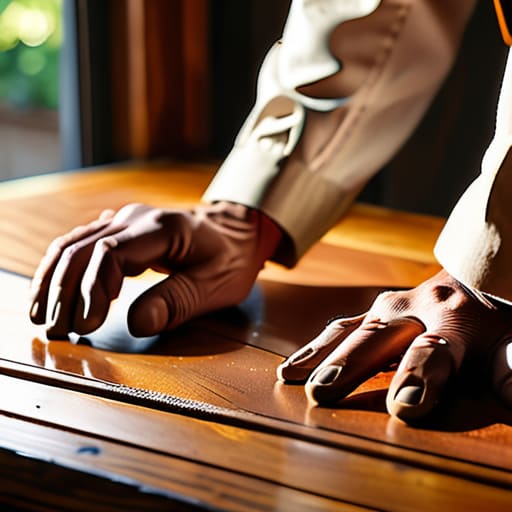
I was halfway through a massive pile of sawdust, coughing through a cloud of old varnish and wondering why I hadn’t just bought a new IKEA dresser, when it finally clicked. Most of the tutorials you see online make it look like you need a professional workshop and a designer’s eye to get results, but that’s a total lie. Learning how to refinish furniture isn’t about achieving that untouchable, museum-quality finish that takes three weeks of sanding; it’s about taking something that’s currently useless and making it actually functional for your space again. I learned the hard way that you don’t need a perfect setup, you just need the right sequence of steps so you don’t waste your entire weekend on a project that ends up looking like a DIY disaster.
In this guide, I’m stripping away the fluff and the expensive, unnecessary gear. I’ll show you the realistic way to prep, sand, and seal a piece so it looks intentional rather than accidental. We’re going to focus on systems that work—the kind of practical, low-stress methods that let you finish the job and actually enjoy the piece in your home.
Guide Overview
Tools & Supplies
- Sandpaper (various grits for smoothing surfaces)
- Paintbrush or Foam roller (for even application)
- Screwdriver (to remove hardware)
- Tack cloth (to remove fine dust)
- Wood filler (small container for cracks)
- Primer (1 quart for base coat)
- Paint or Stain (1 quart for finish)
- Degreaser or TSP (small bottle to clean surface)
Step-by-Step Instructions
- 1. First things first, you need to clear the workspace and strip everything down. Take off any hardware—knobs, hinges, or handles—and toss them into a labeled bag so you don’t lose them in the chaos. If there’s any hardware you can’t save, don’t stress; you can always find cheap replacements later. The goal here is a completely bare surface so you aren’t fighting around metal bits while you’re trying to work.
- 2. Now, we get into the messy part: removing the old finish. Depending on what you’re working with, you can either use a chemical stripper or go straight in with sandpaper. If the piece has layers of thick, crusty paint, I usually opt for a stripper first because it’s way less exhausting than trying to sand through a decade of bad DIY decisions. Just follow the product instructions and don’t let the chemicals sit too long, or you’ll end up with a gummy mess that’s a nightmare to clean.
- 3. Once the old finish is gone, it’s time to sand. This is where people usually get impatient, but listen: you have to do this right. Start with a coarse grit (like 80 or 100) to level out the wood, then move up to a finer grit like 150 or 220. Always sand with the grain of the wood, not across it, otherwise, you’re going to leave permanent scratches that will show up like a sore thumb once you apply the stain.
- 4. After you’ve finished sanding, you need to get every single speck of dust off the surface. I like to use a vacuum first, followed by a tack cloth or a slightly damp microfiber rag. If you leave dust behind, your new finish will feel like sandpaper instead of smooth wood. It sounds extra, but it’s the difference between a professional look and a gritty disaster.
- 5. If you’re planning on staining, this is your moment to test. Grab a scrap piece of the same wood (or even a hidden spot on the underside of the piece) and apply a small amount of your chosen stain. This is your safety net to make sure the color actually looks the way you want it to in your room’s lighting. If it’s too dark, you can always wipe more of it off; if it’s too light, you can add another coat.
- 6. Once you’re happy with the color, it’s time to seal the deal with a topcoat. Whether you choose polyurethane, wax, or an oil finish, apply it in thin, even layers. Don’t try to do it all in one thick, gloopy pass just to save time; that’s a one-way ticket to drips and bubbles. Thin layers are your best friend here, and they’ll give you a much more durable, functional finish.
- 7. Finally, let it cure. This is the hardest part for me because I want to see the finished product immediately, but you have to resist the urge to touch it. Most finishes take at least 24 to 48 hours to dry, but they often need a full week to truly harden. If you start using the piece too early, you’ll leave permanent marks, and then you’ll be right back at step one.
Mastering Wood Stripping Techniques Without the Mess
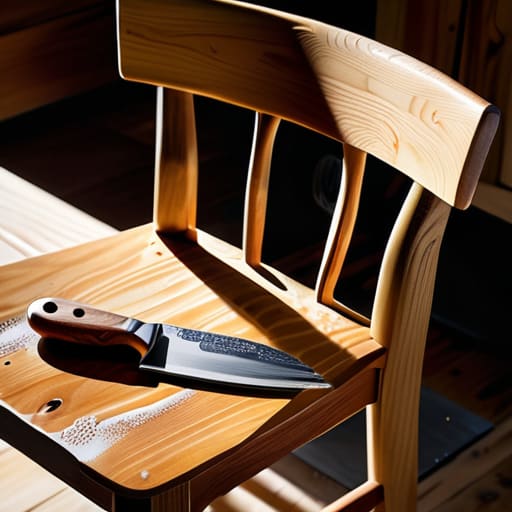
Look, I’ll be real with you: most people skip the stripping phase because they’re terrified of the chemical mess, but if you don’t get that old finish off properly, your new stain is going to look like a disaster. When you’re diving into different wood stripping techniques, don’t just go overboard with the heavy-duty solvents right away. I usually start with a citrus-based stripper if the piece isn’t too far gone; it’s less aggressive on your lungs and much easier to clean up in a small apartment. The trick is to apply a thick, even layer and actually let it sit. If you try to scrape it while it’s still tacky, you’re just going to end up with a gummy, frustrating sludge that makes your life ten times harder.
Once the bulk of the gunk is gone, you need to transition from chemical work to mechanical work. This is where you stop being a chemist and start being a technician. Use a plastic scraper instead of metal to avoid gouging the wood, and once you’re down to the bare grain, you’ll need a solid furniture sanding grits guide to keep things smooth. Start with something coarse to clear the remaining residue, but don’t skip the progressive sanding steps. If you jump straight to fine grit, you’ll just polish the old residue into the pores, and you’ll be fighting it for the rest of the project.
The Best Tools for Furniture Restoration That Actually Work
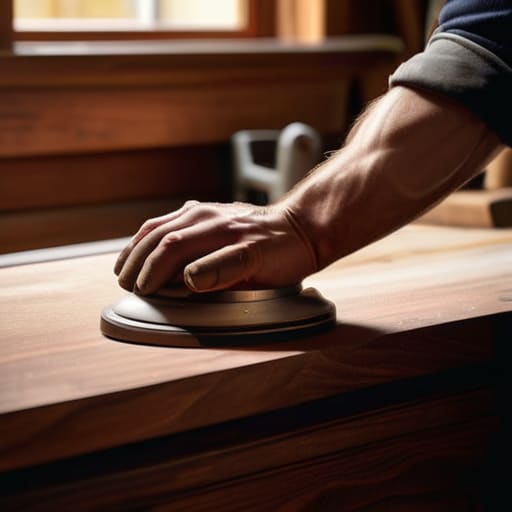
Look, you don’t need a professional workshop or a massive budget to get decent results, but you do need to stop buying the cheapest, most flimsy tools you can find at the big-box store. If you’re trying to tackle restoring antique wood furniture, a cheap, vibrating sander that feels like it’s going to shake your teeth loose is going to do more harm than good. I always tell people to invest in a decent random orbital sander; it’s the difference between a smooth finish and a surface covered in swirl marks that will haunt you once you start staining.
When it comes to the gritty details, don’t just wing it with whatever sandpaper is sitting in your junk drawer. You really need a solid furniture sanding grits guide to follow—start coarse to get the old finish off, but don’t skip the progressively finer grits. If you jump from 80 to 220 too fast, you’re just going to end up with deep scratches that look even worse under a clear coat. Also, grab a high-quality tack cloth. It sounds extra, but if you don’t get every single speck of dust off before you start applying wood stain tips, your finish is going to feel like sandpaper. Keep it simple, keep it clean, and your tools will do the heavy lifting for you.
Pro-Tips to Save Your Sanity (and Your Furniture)
- Don’t skip the tack cloth. I know, it feels like one extra, tiny step, but if you leave even a microscopic layer of dust on that wood, your finish is going to look like it has acne. Wipe it down until you’re sure it’s clean.
- Test your stain on a hidden spot first. Seriously. The underside of a table or the back of a chair leg is your best friend here. You don’t want to realize halfway through the tabletop that your “perfect” walnut stain actually looks like muddy sludge on your specific piece of wood.
- Less is more when it comes to applying finish. It’s tempting to glob it on to get coverage fast, but that’s a one-way ticket to a sticky, uneven mess that never truly dries. Do thin, even coats and let them breathe.
- Work in a well-ventilated space, even if it’s annoying. I’ve learned the hard way that breathing in chemical fumes for three hours straight is a terrible way to spend an afternoon. Open the windows, crack a door, and keep the air moving.
- Embrace the imperfections. If you hit a knot in the wood or a tiny swirl in the grain, don’t panic and try to sand the whole thing back to zero. Part of the charm of vintage furniture is the character; just keep moving and don’t let one little hiccup derail the whole project.
The Finished Product (And What Comes Next)
Look, if you’re staring at your piece right now and feeling a little overwhelmed by the dust, the half-empty cans of stripper, or that one stubborn patch of old varnish, just breathe. You’ve already done the heavy lifting by stripping it back to the grain, choosing the right gear, and actually putting in the manual labor. Remember, the goal wasn’t to create a museum-grade antique; it was to take something that was sitting idle and make it actually functional for your space again. Whether you went with a deep stain or a simple clear coat, you’ve successfully moved from being a consumer to being a creator of your own environment.
At the end of the day, don’t let the fear of a single drip or a slightly uneven sanding mark stop you from starting the next project. The “perfect” furniture you see in high-end catalogs is often mass-produced and disposable, but this piece? This piece has soul because you built it. My biggest piece of advice is to embrace the imperfections. They are just proof that a human being—not a machine—made this happen. Now, grab your multi-tool, clean up your workspace, and get ready for the next thing you’re going to fix. You’ve totally got this.
Frequently Asked Questions
How do I know if a piece is actually worth the effort of refinishing or if it's just a lost cause?
Look, I’ve definitely spent a weekend sweating over a piece of particle board only to realize I’d wasted my time. Before you grab your sander, check the bones. If it’s solid wood or high-quality veneer, go for it. If it’s MDF or that cheap, flaky stuff from a big-box store, let it go. Also, check for structural integrity—if the joints are totally shot or the wood is rotting, it’s a lost cause. Save your energy for pieces that actually have a soul.
Can I skip the sanding step if the wood already looks pretty smooth?
Look, I get the temptation. If it feels smooth, your brain wants to skip straight to the fun part. But honestly? Don’t do it. Even if it feels fine to your touch, there’s microscopic debris, old wax, or oils sitting in the grain that will act like a barrier. If you skip sanding, your new finish won’t bond properly, and you’ll end up with a peeling mess in six months. Just do a quick scuff sand. Your future self will thank you.
What’s the deal with different finishes—should I go with an oil, a wax, or a modern polyurethane?
Look, don’t get paralyzed by the options. If you want that raw, natural wood feel and don’t mind occasional maintenance, go with an oil or wax—they’re gorgeous but offer less protection. If this piece is going in a high-traffic spot, like a coffee table where drinks will happen, just use a modern polyurethane. It’s not the most “soulful” finish, but it actually does its job so you aren’t constantly worrying about water rings.
How do I fix deep scratches or gouges in the wood without it looking like a patch job?
Look, if the scratch is deep, don’t just slap some wood filler on it and hope for the best—that’s how you end up with a textured mess that looks like a scar. For real gouges, I usually grab some wood epoxy or a high-quality filler, but the trick is blending. Sand it flush once it cures, then use a stain marker or a bit of watered-down stain to marry the patch to the original grain. It’s all about the transition.














