
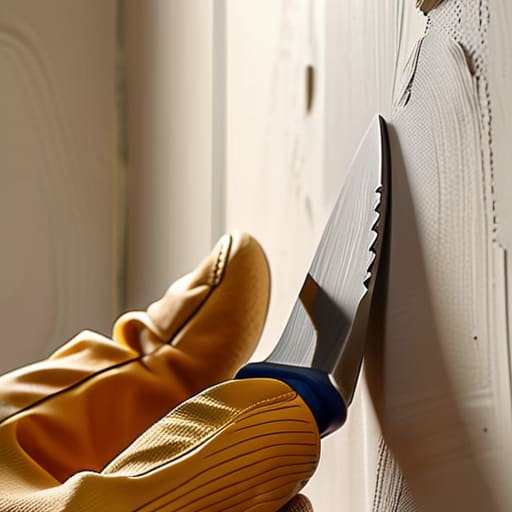
I was halfway through a deep-dive into a vintage Moog synth last Tuesday when I caught it—that glaring, jagged eye staring at me from the hallway. I’d managed to swing my heavy toolkit a little too hard, and now there was a massive dent in my drywall. Most people see a hole like that and immediately think they need to call a professional or buy a massive, expensive kit that ends up gathering dust in a closet. But here’s the truth: learning how to patch a hole in the wall isn’t some high-level construction mystery; it’s just a simple system of prep, fill, and patience. You don’t need a pristine, white-walled studio to be a pro; you just need to stop overthinking the damage.
In this guide, I’m stripping away all the unnecessary jargon and “aesthetic” DIY fluff you see on social media. I’m going to show you exactly how to tackle everything from tiny nail pricks to those annoying “oops” moments with a few basic tools and some grit. We’re going to focus on a functional workflow that gets your space looking normal again without wasting your entire weekend. No gatekeeping, no expensive mistakes—just a straightforward way to fix your space and get back to living.
Guide Overview
Tools & Supplies
- Putty knife for spreading compound
- Sanding sponge for smoothing surfaces
- Utility knife for trimming edges
- Spackle or joint compound (small tub)
- Mesh patch or adhesive wall patch (1-2 pieces)
- Fine-grit sandpaper (1 sheet)
- Primer (small can)
Step-by-Step Instructions
- 1. First, grab your multi-tool or a utility knife and clean up the edges of the hole. If there are any loose bits of drywall or jagged paper sticking out, trim them away. You want a clean, slightly recessed perimeter so the patch doesn’t end up looking like a mountain on your wall.
- 2. Next, you need to decide if you’re dealing with a tiny “oops” or a legitimate crater. For small holes, a simple adhesive mesh patch works wonders, but if it’s bigger, you might need to screw a small piece of drywall into the studs. For most of us, though, a self-adhesive mesh patch is the fastest way to get from “disaster” to “done.
- 3. Now, grab your spackle and a putty knife. Apply a thin layer of the compound over the patch, spreading it outward toward the undamaged wall. The trick here is to feather the edges—don’t just glob it in the middle. You want the compound to taper off so thin that it practically disappears into the existing texture.
- 4. Let it dry completely. This is the part where you’ll want to go tinker with one of my synths or grab a coffee, because patience is non-negotiable here. If you try to sand it while it’s even slightly damp, you’re just going to turn your hard work into a muddy mess.
- 5. Once it’s bone-dry, grab some fine-grit sandpaper and start smoothing things out. You’re not trying to sand the wall down to the studs; you’re just trying to make the transition between the patch and the wall feel seamless to your touch. If you run your hand over it and can feel a bump, keep sanding.
- 6. Check your work under a decent light source. If you see any shadows or ridges, it means you need a second, even thinner coat of spackle. I always say two thin layers are infinitely better than one thick, chunky layer that’s impossible to hide.
- 7. Finally, it’s time to prime and paint. Don’t skip the primer, or your patch will soak up the paint differently and leave a weird, dull spot. Once the primer is set, dab your paint on with a sponge or a small brush to mimic the texture of the surrounding wall, and you’re officially back in business.
Stop Overcomplicating It Using a Drywall Patch Kit for Small Holes
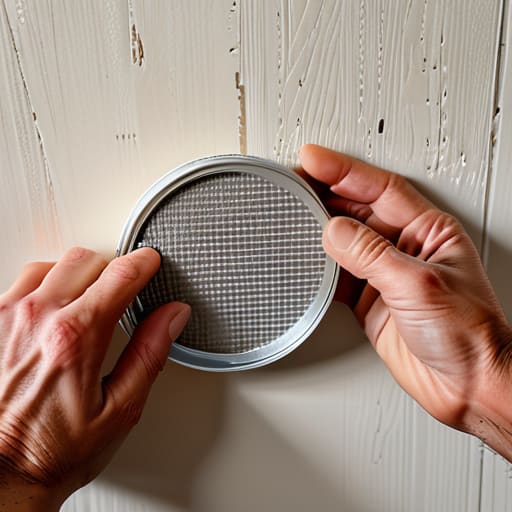
Look, if you’re staring at a tiny puncture from a door handle or a stray nail and feeling like you need to go out and buy a whole bag of joint compound and a professional trowel, just stop. You don’t need a construction site in your living room. Honestly, grabbing a drywall patch kit for small holes is the ultimate “life hack” for this. These kits usually come with a self-adhesive mesh patch and just enough compound to get the job done without turning your apartment into a dust bowl. It’s the fastest way to bridge the gap between “oops” and “fixed” without the heavy lifting.
The secret to making these kits actually look good—and not like a lumpy scar on your wall—is all in the patience of your spackling compound application. Don’t try to fill the whole thing in one massive, thick glob; that’s just asking for cracks later. Instead, apply a thin layer, let it dry, and then do another. When you finally get to the stage where you need to sand drywall smooth, use a fine-grit sanding sponge. It’s way more forgiving than the coarse stuff and helps you avoid those deep scratches that make you want to give up and just repaint the entire room.
The Secret to a Seamless Finish Spackling Compound Application and Sanding
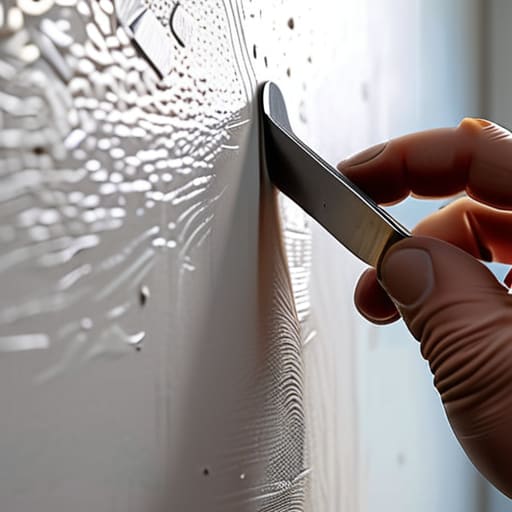
Here’s where most people mess up: they try to do everything in one massive, heavy layer. If you’re looking for a professional result, you have to embrace the “thin layers” philosophy. When it comes to spackling compound application, think of it more like icing a cake than filling a canyon. If you glob it on too thick, it’s going to crack as it dries, or worse, leave a weird, humped-up ridge that’s a nightmare to hide under paint. I usually do a first pass to fill the void, let it dry completely, and then apply a second, much thinner skim coat. It takes an extra twenty minutes, but it’s the difference between a patch that looks like a scar and one that actually disappears.
Once everything is bone-dry, it’s time for the part everyone hates: sanding. Don’t just grab the coarsest grit you can find and start hacking away. To truly sand drywall smooth, you want to use a fine-grit sanding sponge and move in light, circular motions. If you feel a bump, don’t just sand harder; stop and see if you need another tiny bit of compound. I always run my hand over the area after sanding—if it feels even slightly uneven to your fingers, it’s going to show up under the light once you paint. Trust your sense of touch over your eyes.
Pro-Tips to Save You from a Total DIY Disaster
- Don’t be a hero with the sanding—if you try to sand everything down in one go, you’re just going to end up with a mountain of dust and a sore arm. Do light, quick passes and check your progress frequently.
- Clean the area before you even touch the spackle. If there’s loose debris or old, flaky paint around the hole, your patch is going to have a harder time sticking, and you’ll be redoing the whole thing by next week.
- Less is actually more when it comes to applying compound. It’s way easier to add a second thin layer if the first one looks a little shallow than it is to try and sand down a massive, thick glob that looks like a mountain on your wall.
- Keep a damp rag handy. If you accidentally smear spackle onto the parts of the wall you didn’t intend to fix, don’t wait for it to dry. Wipe it off immediately so you aren’t stuck sanding the entire room later.
- Check your lighting. Once you think you’re finished, grab a flashlight or your phone and shine it sideways across the patch. It’ll reveal any tiny bumps or dips that your eyes missed in the overhead light, so you can fix them before you commit to painting.
You've Got This
At the end of the day, patching a hole isn’t about achieving some impossible level of architectural perfection; it’s about maintenance. Whether you used a quick-fix drywall patch for a doorknob mishap or spent a little extra time meticulously sanding down layers of spackle for a cleaner look, you’ve successfully addressed the problem. Remember, the goal was to bridge the gap between a damaged wall and a functional room, and you did exactly that. Just make sure you don’t skip the final sanding step or try to rush the drying process, because a rushed job is usually the one that ends up looking obvious.
I know that staring at a literal hole in your living space can feel a bit overwhelming, like it’s a symbol of everything that’s currently “broken” in your environment. But honestly? It’s just a minor glitch in your home’s operating system. Once you fill that gap and get a fresh coat of paint over it, you’ll realize that fixing things yourself isn’t just about the repair—it’s about reclaiming your space. You don’t need to call a professional or spend a fortune to keep your home running smoothly. You have the tools, you have the skills, and now you have one less thing on your to-do list. Go enjoy your space.
Frequently Asked Questions
How do I know if the hole is too big for a simple patch and actually needs a whole new piece of drywall?
Look, I’m all for the DIY spirit, but there’s a line between “quick fix” and “structural disaster.” If the hole is bigger than a fist, or if you can see through the wall into the next room (or the electrical wiring—yikes), stop right there. If the surrounding drywall feels soft or crumbly, a patch won’t hold. At that point, you’re not just fixing a dent; you’re replacing a section. Don’t force it.
Can I just paint right over the patch, or am I going to end up with a weird, shiny spot that ruins the look?
If you just slap paint on it, you’re definitely going to end up with that annoying, shiny “halo” effect. It’s a total giveaway. The patch absorbs paint differently than the rest of your wall, so it’ll look like a weirdly textured thumbprint. Do yourself a favor: hit that spot with a primer first. It seals everything so the topcoat lays down flat and consistent. Trust me, five extra minutes now saves you from a massive headache later.
My spackle keeps cracking as it dries—did I mess something up or is the product just bad?
Honestly, it’s probably not the product—it’s usually just the “more is better” trap. If you go too heavy on a single layer, the outer shell dries while the inside stays wet, causing those annoying cracks. Think of it like a thick layer of frosting; it’s going to fail. My fix? Do multiple thin layers instead. Let each one dry completely before adding the next. It takes a bit longer, but it actually stays put.
Is there a way to do this without getting fine white dust all over my entire living room?
The “dust apocalypse” is real, and honestly, it’s the worst part of DIY. If you want to skip the vacuuming nightmare, grab a damp sponge or a wet rag instead of going full-throttle with sandpaper. You can gently “wet sand” the spackle to smooth it out without sending particles airborne. Also, pro tip: tape a piece of cardboard under the hole to catch any stray bits before they hit your carpet.














