
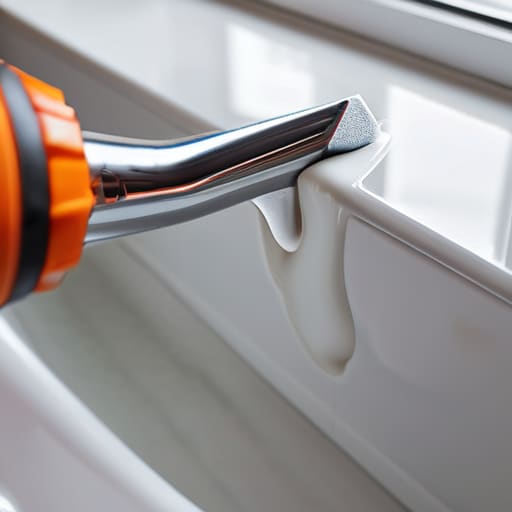
I was staring at a tiny, black speck of mold growing in the corner of my shower, feeling that familiar surge of “I can totally fix this” followed immediately by “wait, what if I make it ten times worse?” We’ve all been there—standing in a hardware aisle, staring at a wall of silicone tubes, wondering if learning how to caulk is actually a skill or just a specialized form of torture. Most tutorials online make it look like some high-stakes art project where one shaky hand ruins your entire bathroom, but honestly? That’s a total lie.
I’m not here to teach you how to create a Pinterest-perfect, seamless masterpiece that requires a degree in fine arts. I’m here to show you how to get a solid, functional bead down so your water actually stays in the tub and your walls stay dry. We’re going to skip the fancy jargon and focus on the stuff that actually matters: picking the right stuff, not overthinking the mess, and making sure your seal actually holds. Let’s get into it.
Guide Overview
Tools & Supplies
- Caulking gun for applying sealant
- Putty knife or scraper for removing old caulk
- Utility knife for precise trimming
- Caulk tube (silicone or acrylic) 1-2 tubes
- Caulk remover or chemical stripper 1 bottle
- Painter's tape for clean edges 1 roll
Step-by-Step Instructions
- 1. First things first, you have to get rid of the old junk. If you’re trying to layer new caulk over crusty, peeling old stuff, it’s going to fail, and you’ll be doing this all over again next month. Grab a putty knife or even a flathead screwdriver and scrape that old residue out of the gap. I usually keep a little scraper in my kit specifically for this because it’s way faster than trying to pick at it with your fingernails.
- 2. Once the gap is mostly clear, you need to clean the surface like a pro. Even if it looks clean, there’s likely dust, soap scum, or tiny bits of debris hiding in there that will prevent the new caulk from sticking. Grab some isopropyl alcohol or a mild degreaser on a rag and wipe down the area thoroughly. Let it completely air dry before moving to the next step—moisture is the enemy of a good seal.
- 3. Now, let’s prep the tool. Grab your caulk gun and cut the tip of the tube at a 45-degree angle. Don’t go overboard here; you don’t want a massive hole, just enough to let the material flow. I like to keep my cuts small because you can always make the hole bigger, but you can’t exactly shrink it back down once it’s sliced.
- 4. When you start applying, aim for a steady, consistent pressure. Hold the gun at that same 45-degree angle and pull it toward you in one continuous motion. The goal isn’t to build a mountain of caulk, but to fill the void. If you find yourself hesitating or stopping every two inches, you’re going to end up with those ugly little bumps that make the whole project look amateur.
- 5. This is the part that makes everyone nervous, but don’t panic: you need to smooth it out immediately. I swear by the “wet finger” method. Dip your finger in a little bit of water (or a tiny bit of dish soap if you’re feeling fancy) and lightly run it along the bead you just laid down. This pushes the caulk into the cracks and levels it off. Just remember to keep it light; you want to shape it, not smear it all over your tiles.
- 6. Finally, step away and let it do its thing. Depending on the type of caulk you used, it might take anywhere from a few hours to a full day to cure. Resist the urge to touch it or “test” it with your finger after twenty minutes. If you mess it up during this stage, you’ll just end up with a sticky, dented mess that takes even longer to fix. Just walk away and let the chemistry happen.
Stop Guessing Choosing Silicone vs Acrylic Caulk
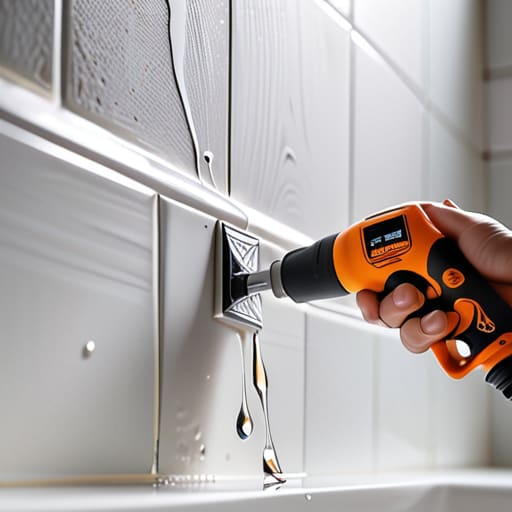
Look, if you walk into a hardware store and just grab the first tube you see because the packaging looks “clean,” you’re probably going to regret it by next Tuesday. The biggest mistake I see people make is not understanding the silicone vs acrylic caulk debate. If you’re caulking bathroom fixtures or anything near a shower, you absolutely need silicone. It’s waterproof, it’s flexible, and it won’t give up the ghost the second it gets hit with a heavy stream of water. Acrylic, on the other hand, is much easier to paint over, which makes it great for baseboards or trim, but it’s definitely not your friend in a high-moisture zone.
One thing to keep in mind: silicone is a bit of a diva. It’s amazing at preventing caulk cracks because it moves with your house, but it can be a nightmare if you haven’t done a thorough job removing old caulk first. If there’s even a tiny bit of residue left, the new layer won’t bond, and you’ll be right back where you started. Basically, if it gets wet, go silicone; if you want to match it to your wall color, go acrylic. Just match the tool to the task, and you’ll save yourself a massive headache later.
The Clean Way to Start Removing Old Caulk First
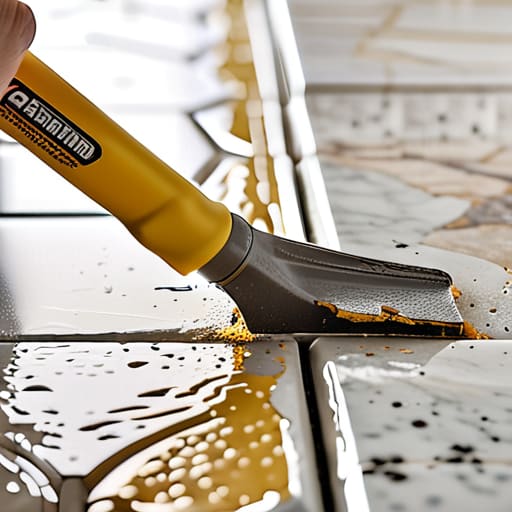
Look, I know the temptation to just layer new caulk directly over the old stuff because you’re in a rush, but please—don’t do it. If you try to build a fresh bead on top of a crumbling, moldy mess, it’s going to fail almost immediately. You’ll end up with peeling edges and gaps that let water seep behind your tiles, which is a recipe for a massive headache later. Removing old caulk is definitely the most tedious part of the whole process, but it’s the only way to ensure your new seal actually sticks.
Grab a utility knife or a dedicated caulk removal tool and start slicing along the edges. It’s a bit of a workout, but you want to get as much of that old residue out as possible. Once the bulk is gone, I usually grab a scraper or even a stiff brush to clear out the tiny bits left in the corners. Pro tip: if you’re caulking bathroom fixtures, make sure the area is bone-dry before you move on. Any leftover moisture trapped in the gap will mess with your adhesion and lead to those annoying bubbles or even preventing caulk cracks from being a real possibility. Clean surfaces are the secret to a job that actually lasts.
Pro Tips to Save Your Sanity (and Your Fingertips)
- Don’t skimp on the painter’s tape. If you aren’t confident in your steady hand, just tape off both sides of the gap. It feels like extra work, but it’s way easier than spending an hour trying to scrape dried, ugly blobs off your backsplash.
- Get a spray bottle with soapy water. Once you lay down your bead, lightly mist it. It sounds weird, but it prevents the caulk from sticking to your finger and helps you smooth everything out into a clean line without making a massive mess.
- Check the temperature before you start. If your bathroom is freezing or you’re working in a humid garage, the caulk might not cure right. Aim for a stable, room-temp environment so it actually sets the way it’s supposed to.
- Cut a tiny hole in your nozzle first. Seriously. Most people cut the tip too big right out of the gate, and then you’re left with a giant, uncontrollable sausage of caulk that’s impossible to manage. Start small; you can always make it bigger.
- Work in small sections. Don’t try to caulk the entire length of a bathtub in one go. You’ll run out of time to smooth it before it starts skinning over, and you’ll end up with a bumpy, uneven mess that looks like a DIY disaster.
Don't Stress the Mess
Look, if you’re staring at that slightly uneven bead and feeling like you’ve failed, just take a breath. You’ve already done the hardest part by actually stripping out the old, crusty gunk and prepping the surface properly. Just remember the core workflow: pick the right material—silicone for the wet stuff, acrylic for the dry—clean that gap like your life depends on it, and keep your tool steady. If you end up with a few smudges, a damp finger or a quick wipe with a rag can fix almost anything. At the end of the day, the goal isn’t a museum-grade finish; it’s about creating a watertight seal so you aren’t dealing with mold or rot six months from now.
I know it feels a bit intimidating when you’re standing there with a loaded caulk gun for the first time, but honestly? This is how you stop being a spectator in your own home. Every time you fix something yourself, you’re reclaiming a little bit of your independence and realizing that these “professional” tasks are really just a series of small, manageable steps. Don’t let the fear of a messy corner keep you from making your space functional. Grab the tool, get it done, and enjoy that feeling of knowing your home is actually taken care of because you did it yourself.
Frequently Asked Questions
Can I just caulk right over the old stuff, or is that a recipe for disaster?
Short answer: Please, don’t. It’s a total recipe for disaster. If you just slap new caulk over the old, you’re basically building a house of cards. The new layer won’t actually bond to the surface; it’ll just sit on top of the old, crusty stuff and peel off in a week. If you want it to actually hold, you have to clear the deck first. It’s extra work now, but it saves you from doing it twice.
How do I stop the caulk from looking like a total mess while it's still wet?
Look, I get it—the second you squeeze that tube, it feels like you’re losing control. The secret isn’t a steady hand; it’s the “wet finger” method. Once you lay your bead, spray a little soapy water on your finger (or a specialized tool if you’re feeling fancy) and lightly smooth it out. Don’t overwork it, though. Just one or two passes to shape it, then step away before you turn it into a disaster.
Do I really need to wait a full 24 hours before I actually use my shower?
Look, I get it. You just finished the job, it looks great, and you’re dying to hop in. But honestly? Don’t rush it. If you can swing it, give it a full 24 hours. I know that sounds like a lifetime when you’re staring at a dry sink, but caulk needs time to cure properly before it hits high humidity or direct water spray. If you use it too soon, you risk ruining the seal entirely. Patience pays off.
What's the trick to getting that smooth, professional line without needing a degree in engineering?
Look, I’m not going to tell you to buy a $50 specialized tool you’ll use once. The real secret? A spray bottle with water and a tiny squirt of dish soap. Once you lay your bead, lightly mist it. It prevents the caulk from sticking to your finger and lets you glide over the mess like a pro. Just keep your movements steady and don’t overthink it—less is always more.














