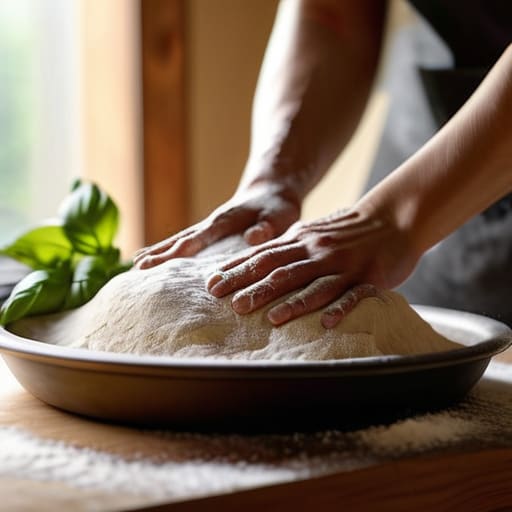
You don’t need a $1,000 wood-fired oven or a three-day fermentation process to figure out how to make homemade pizza that doesn’t taste like cardboard. I spent way too many weekends watching “pro” chefs obsess over hydration percentages and specialized flour blends, only to end up with a kitchen covered in flour and a crust that was way too tough to chew. Honestly, the gatekeeping around dough is exhausting. I learned the hard way that if you have a decent oven, a hot stone (or even just a heavy baking sheet), and a little bit of patience, you can skip the pretension and get straight to the good stuff.
I’m not here to sell you on a lifestyle aesthetic or a complicated ritual that requires a degree in culinary science. My goal is to give you a functional system for building a pizza from scratch using tools you actually have in your pantry right now. We’re going to focus on high-impact, low-stress methods that prioritize flavor over perfection. By the end of this, you’ll have a repeatable process that works every single time, no matter how much of a “beginner” you think you are.
Recipe Details
Ingredients
- 2 cups all-purpose flour
- 1 teaspoon active dry yeast
- 3/4 cup warm water
- 1/2 cup tomato sauce
- 1.5 cups shredded mozzarella cheese
- 1/4 cup fresh basil leaves
Recipe Instructions
Step 1
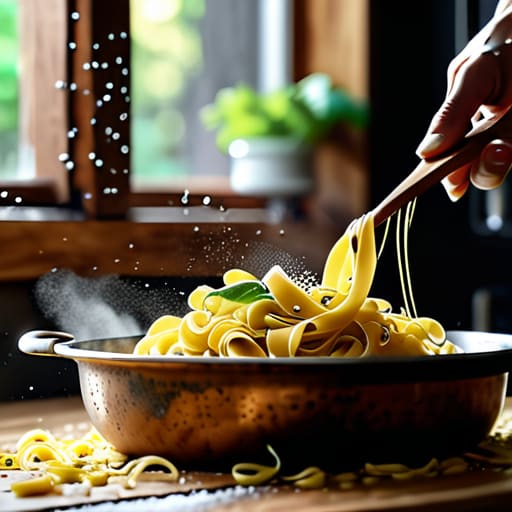
First things first, let’s talk about the dough. Forget those complicated 72-hour fermentation schedules you see on cooking TikTok; we’re going for efficiency and flavor without the headache. Mix about 500g of flour (bread flour is your best friend here for that chew), a teaspoon of salt, a packet of instant yeast, and about 350ml of warm water. Knead it until it’s smooth and elastic—if you don’t have a stand mixer, don’t sweat it, just use your hands. It’s basically just a manual system check for the gluten. Let it sit in a covered bowl for at least an hour until it’s doubled in size.
Step 2
While the dough is doing its thing, prep your “hardware.” If you have a pizza stone, get it in the oven now. If you don’t, just use the back of a heavy baking sheet. Crank your oven as high as it will go—usually around 500°F (260°C)—and let it preheat for at least 45 minutes. You want that oven screaming hot so the bottom gets crispy instead of turning into a soggy, sad cracker.
Step 3
Once the dough has risen, grab a clean surface and lightly flour it. Instead of using a rolling pin, which can sometimes crush all those beautiful air bubbles we worked so hard for, use your hands to stretch it out. Pull from the center outward until you have a disk that’s roughly the size of your pizza tray. It doesn’t need to be a perfect circle; a little asymmetry adds character and, honestly, looks more authentic.
Step 4
Now comes the assembly phase. Spread a thin layer of tomato sauce over the dough, leaving a little rim around the edge for the crust. Don’t overdo the sauce, or you’ll end up with a structural failure in the middle. Add your cheese—fresh mozzarella is great, but even the pre-shredded stuff works if you’re in a pinch—and whatever toppings you actually like. Just remember: less is more. If you pile it too high, the toppings will just slide off in a chaotic mess.
Step 5
Slide your masterpiece onto the stone or baking sheet. Keep a close eye on it through the oven window; since we’re running at such high heat, it’ll go from “perfectly golden” to “charred carbon” in about sixty seconds. You’re looking for bubbly cheese and a crust that has some serious crunch. Once it’s done, pull it out, let it sit for two minutes so the cheese sets, and then slice it up. Eat it straight off the board and enjoy the win.
The Best Pizza Dough Recipe for Real World Kitchens
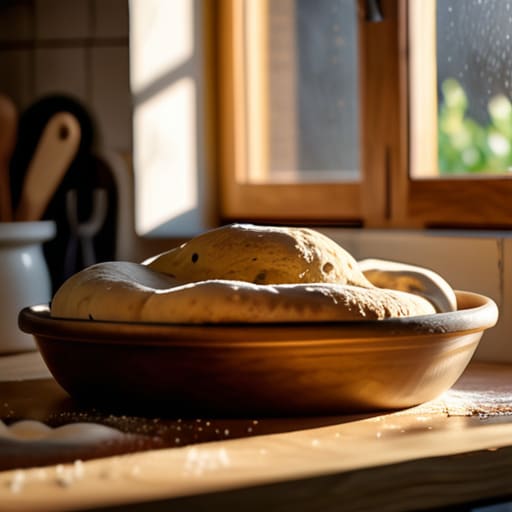
Look, I get it. You see these videos of people spending three days cold-fermenting dough in a temperature-controlled lab, and it feels totally inaccessible. But here’s the thing: you don’t need a professional bakery setup to get a decent result. The secret to the best pizza dough recipe isn’t about expensive equipment; it’s about understanding how your environment affects the dough. If your kitchen is freezing, your rise is going to be sluggish. I always keep a mental note of my yeast dough fermentation tips, and the biggest one is simply patience. If the dough looks tight and stubborn, give it more time to relax. Don’t fight it; if you force it, it’ll just snap back like a rubber band.
When it comes to baking pizza in a home oven, we have to work around the hardware limitations. Most residential ovens don’t hit the crazy temperatures of a wood-fired brick oven, so you have to compensate with heat retention. I swear by using a preheated stone or even a heavy cast-iron skillet to mimic that intense bottom heat. This is one of those essential crispy pizza crust techniques that separates a soggy, sad mess from something you actually want to eat. It’s not about being a perfectionist; it’s about setting up your system so the physics actually work in your favor.
Mastering Yeast Dough Fermentation Tips Without the Stress
Look, I get it. The internet makes fermentation sound like some high-stakes chemistry experiment where one wrong degree of temperature ruins your entire weekend. It’s not. If you want to level up your results, the biggest piece of advice I can give you is to embrace the slow game. Instead of trying to rush the dough so you can eat in an hour, shove your bowl in the fridge overnight. This “cold ferment” isn’t just a way to multitask; it actually breaks down the starches and develops those complex, slightly tangy flavors you usually only get at a high-end pizzeria.
If you’re working in a smaller kitchen or just don’t have the patience for a 48-hour soak, don’t sweat it. You can still get great results by just keeping your water temperature consistent—aim for lukewarm, not hot. If the water is too hot, you’ll kill the yeast; too cold, and nothing happens. These simple yeast dough fermentation tips are basically the “systems administration” of baking: once you set the right parameters, the process runs itself in the background. Just watch your environment, keep things consistent, and let the biology do the heavy lifting for you.
Pro-Tips for Pizza That Doesn't Suck
- Stop using a rolling pin if you actually want bubbles. Use your hands to stretch the dough; it keeps the air in the crust instead of smashing it all out like a pancake.
- Your oven needs to be screaming hot. Don’t just turn it to 425 and hope for the best; crank it to its highest setting and let it preheat for at least forty-five minutes so the stone (or tray) is actually ready to work.
- Less is more with the toppings. I know, the “everything” pizza looks good in photos, but a soggy, heavy pile of cheese and meat will kill your crust every single time. Keep it light so the dough can actually crisp up.
- Get your hands a little messy with flour or cornmeal. If the dough is sticking to the counter or your fingers, don’t fight it—just add a bit more dust. Fighting the dough is a losing battle.
- Let your ingredients hit room temp. If you’re pulling cold cheese and sauce straight from the fridge and throwing them onto dough, you’re going to end up with a lukewarm, uneven mess. Give them twenty minutes to chill out first.
Stop Overthinking the Slice
At the end of the day, making pizza isn’t about achieving some unattainable level of culinary perfection or having a stone-fired oven that costs more than my car. It’s really just about the fundamentals: a solid dough, a hot surface, and not being afraid to get your hands a little messy. We’ve covered how to handle the yeast without panicking and how to prep a dough that actually holds up under a mountain of toppings. If your crust isn’t perfectly symmetrical or your cheese didn’t melt in a flawless pattern, it doesn’t matter. As long as you’ve got a hot oven and decent ingredients, you’ve already won the battle against takeout fatigue.
My biggest piece of advice is to just trust your hands. Cooking—and especially baking—is a system, but it’s a system that lives in your gut, not just in a recipe book. Once you get the hang of the rhythm, you’ll stop looking at the timer every thirty seconds and start actually enjoying the process. Don’t let the “pro” creators make you feel like you need a laboratory setup to make something delicious. Grab your flour, find your flow, and make something that actually tastes good. You’ve got this.
Frequently Asked Questions
My dough isn't rising at all—did I kill the yeast or is my kitchen just too cold?
It’s usually one of two things: you either nuked the yeast with water that was way too hot, or your kitchen is basically a walk-in fridge. If you used steaming water, RIP to your dough—the yeast is dead. But if the water was fine, your environment is likely just too chilly for them to wake up. Try moving the bowl to a slightly warmer spot, like near a turned-on oven, and give it more time.
Do I actually need a pizza stone, or can I just use a baking sheet and not ruin my dinner?
Look, you don’t need a fancy pizza stone to have a decent dinner. Honestly, most of those “essential” kitchen gadgets are just more things to clean and store. If you don’t have a stone, just preheat your baking sheet in the oven until it’s screaming hot. Slide your dough onto that hot metal, and you’ll get a solid crust without the extra clutter. Keep it simple; your stomach won’t know the difference.
How do I stop my crust from turning into a literal brick once it cools down?
Look, the “brick” effect usually happens because you’ve accidentally dehydrated your dough or over-baked it into submission. If you’re blasting it at max heat, it’s easy to go from “golden” to “charcoal” in seconds. Try pulling it out the second the cheese bubbles and the crust looks set. Most importantly: let it rest on a wire rack for a minute. If it sits on a flat pan, the steam gets trapped, turns to moisture, and then turns your crust into a soggy or rock-hard mess.
Can I make the dough a day in advance, or am I going to mess up the texture if I don't use it immediately?
Honestly? Making the dough a day in advance isn’t just okay—it’s actually better. If you pop that dough in the fridge overnight, you’re basically giving the yeast time to do the heavy lifting for you, which develops way more flavor. Just make sure you take it out about an hour before you’re ready to bake so it isn’t freezing cold when it hits the oven. It’s a total life hack for busy weeknights.