
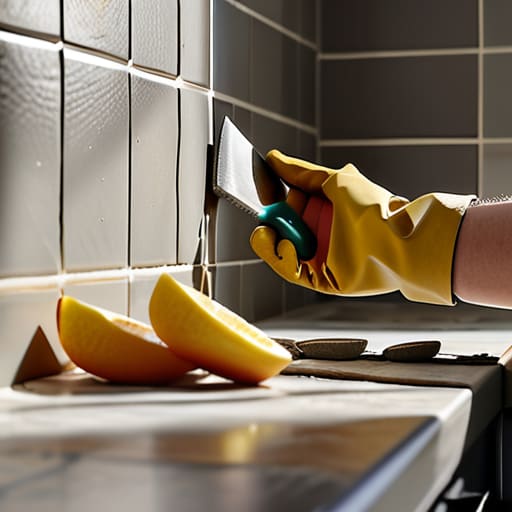
I was standing in my kitchen last Tuesday, staring at a patch of bare, depressing drywall, clutching a bag of expensive subway tiles and feeling like a total fraud. My first instinct wasn’t “I can do this,” it was “I should probably just hire someone before I ruin my entire life.” We’ve all seen those high-production DIY videos where someone effortlessly glides a trowel across a wall, but let’s be real: the actual process of learning how to tile a backsplash is messy, slightly intimidating, and involves a lot of staring at grout lines wondering if they’re actually straight.
I’m not here to sell you on a lifestyle of “aesthetic perfection” or tell you that this project will magically transform your soul. I just want to show you how to do it so your kitchen actually looks finished and your tiles don’t end up sliding onto the floor. This guide is all about the unfiltered reality of the job—the specific tools you actually need, the mistakes I made so you don’t have to, and a workflow that keeps things simple and functional. Let’s get your walls covered without the unnecessary gatekeeping.
Guide Overview
Tools & Supplies
- Tile cutter or wet saw for shaping tiles
- Notched trowel for applying mortar
- Spacers to maintain even grout lines
- Grout float for spreading grout
- Backsplash tiles (calculate area + 10% extra)
- Thin-set mortar (1 bag)
- Grout (1 bag)
- Tile adhesive/sealant (1 bottle)
Step-by-Step Instructions
- 1. First things first: you need to prep the area. I’m talking about more than just wiping a counter; you need to scrub that wall down with a degreaser because even a tiny bit of kitchen grease will make your adhesive fail miserably. Once it’s clean, grab some painter’s tape and mark out your boundaries so you don’t accidentally end up tiling halfway up the pantry door.
- 2. Lay out your tiles on the floor or a flat table before you even touch the mortar. This is my favorite part because it lets you play “Tetris” with your patterns without the pressure of wet glue. You want to see how the colors flow and, more importantly, figure out where your cuts will go so you don’t end up with a tiny, awkward sliver of tile in a visible corner.
- 3. Now, grab your thin-set (that’s your adhesive) and mix it until it looks like peanut butter. Don’t overwork it, and don’t let it sit too long if you’re a slow mover. Use a notched trowel to spread it onto the wall in small sections—only as much as you can actually cover in about ten minutes—and make sure you’re creating those consistent ridges that help the tile grab on for good.
- 4. Start tiling from the bottom up, but here’s the pro tip: don’t just start at the very edge of the counter. Use a level to make sure your first row is perfectly straight, because if that first line is even a little bit crooked, the whole kitchen is going to look completely wonky by the time you hit the cabinets. Press each tile into the mortar with a slight twist to get rid of any air pockets.
- 5. Once your tiles are set, it’s time for the grout. Mix a small batch and spread it over the tiles using a rubber grout float, pushing it deep into those gaps. Don’t freak out if it looks like a messy disaster at first; just work it in at a 45-degree angle. After about fifteen or twenty minutes, take a damp (not soaking wet) sponge and gently wipe away the excess from the tile faces.
- 6. The hardest part for me is always the waiting. You need to let the grout cure completely before you start scrubbing the haze off the tiles with a microfiber cloth. Once it’s dry, you can finally hit it with a bit of sealer if your grout isn’t pre-mixed, which is the best way to prevent stains from spaghetti sauce or oil splashes down the road.
Smart Backsplash Layout Planning for Real World Kitchens
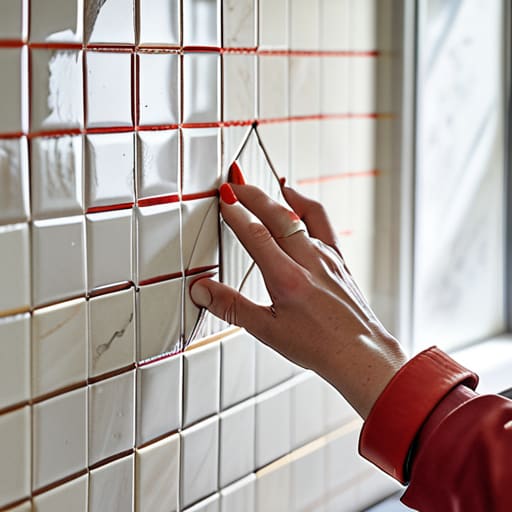
Before you even touch a trowel, you need to stop looking at the individual tiles and start looking at the “big picture” of your kitchen’s geometry. Most people make the mistake of starting in a corner, only to realize halfway through that they’ve ended up with a tiny, pathetic sliver of tile next to the microwave. That’s a nightmare. Instead, I always suggest finding your center point on the main wall and working outward. This kind of backsplash layout planning ensures your pattern stays symmetrical and balanced, even if your walls aren’t perfectly level (and let’s be real, they almost never are).
If you’re working with a classic subway tile installation, the math gets a little more finicky because of the offset pattern. I highly recommend doing a “dry lay” first. This means laying your tiles out on the counter or even taping them to the wall without any actual glue. It lets you see exactly where those awkward cuts are going to happen. Grab some tile spacers for beginners—they are absolute lifesavers for keeping your lines straight while you’re still figuring out your rhythm. It’s much better to spend twenty minutes measuring now than to spend three hours trying to fix a crooked line once the adhesive has already set.
Essential Kitchen Wall Tiling Tools You Actually Need
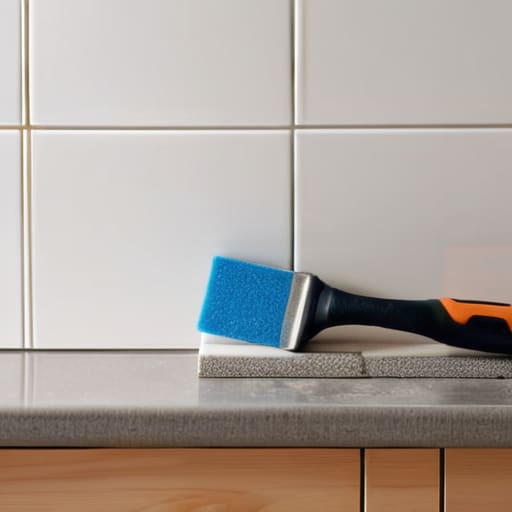
Look, you don’t need a professional contractor’s entire van parked in your driveway to get this done. I’ve spent enough time tinkering with old hardware to know that having the right kit makes or breaks the process, but half the stuff they try to sell you in big-box stores is just noise. For a solid subway tile installation, the absolute non-negotiables are a notched trowel, a good level, and a bucket for mixing. If you’re working with smaller tiles, don’t skip on getting a decent set of tile spacers for beginners; they are basically your best friend for ensuring your lines don’t turn into a wavy mess halfway through the job.
I also can’t stress enough how important your mixing tools are. If your adhesive is lumpy, your whole wall is going to suffer. Grab a sturdy margin trowel and a mixing paddle if you have a drill—it’ll save your wrists from a lot of unnecessary strain. Once the tiles are set, you’ll need a rubber grout float. It might seem like a minor detail, but using the right grout application techniques with a quality float is what separates a DIY job that looks “okay” from one that actually looks intentional. Just keep it simple, get the basics right, and you’re golden.
Five things I wish I knew before the first tile hit the wall
- Don’t skip the “dry run.” Lay your tiles out on the counter or even tape them to the wall before you touch the adhesive. It’s way easier to fix a wonky pattern now than it is when you’re staring at a half-dried mess.
- Embrace the “imperfect” grout line. If you’re using spacers, use them. If you try to eyeball the spacing to make it look “artisanal,” you’re going to end up with a wavy line that will drive you crazy every time you make coffee.
- Overestimate your tile count by at least 10%. Between accidental drops, weird corner cuts, or just being a human who makes mistakes, you will run out if you buy the exact amount the math says you need.
- Clean your grout as you go. If you let the grout haze sit and dry on the face of your tiles, you’ll be scrubbing for hours with a sponge that’s doing more harm than good. Keep a damp cloth handy and stay proactive.
- Check your level constantly. Your eyes will lie to you, especially after an hour of staring at a wall, but a spirit level won’t. If your first row is even slightly crooked, the rest of the project is basically doomed from the start.
The Final Polish
At the end of the day, tiling a backsplash isn’t about achieving some flawless, museum-grade finish; it’s about getting your prep right, planning your layout so you aren’t stuck with tiny, awkward slivers of tile, and having the right tools on hand. If you’ve measured twice, cleaned your surfaces, and followed your layout plan, you’ve already done the heavy lifting. Don’t sweat the tiny imperfections that only you will notice when you’re staring at it from two inches away. As long as your tiles are level, secure, and functional, you have successfully upgraded your kitchen without needing to call in a contractor.
I know that looking at a pile of grout and a stack of ceramic can feel a little overwhelming when you’re standing in the middle of your kitchen, but trust the process. There is something incredibly grounding about taking a raw, unfinished space and applying your own hands to it. You aren’t just installing a backsplash; you’re building a sense of agency over your own environment. Once that grout dries and you wipe away the excess, you’re going to look at that wall and realize you didn’t just fix a kitchen—you proved to yourself that you can handle the technical stuff. Now, go grab a drink, step back, and actually enjoy the space you just built.
Frequently Asked Questions
How do I deal with weirdly shaped corners or outlets without making a huge mess?
Look, outlets and weird corners are where most people start to panic, but don’t let them ruin your flow. For outlets, don’t try to tile around them; pull the cover plate off, measure the distance, and use a tile nipper or a wet saw to notch the tile. For those awkward corners, a little bit of patience goes a long way. Just measure twice, cut once, and remember: a little extra grout can hide a lot of sins.
Do I really need to waterproof the wall first, or can I just tile straight over the paint?
Look, if you’re tiling over bare paint, you’re playing a dangerous game with moisture. If that paint starts peeling or bubbling behind the tiles, your whole project is going to come crashing down—literally. If your wall is currently painted, at least make sure it’s a clean, non-glossy surface. But if you’re near a sink or stove, please, just use a waterproofing membrane. It’s a bit more work now, but it beats a moldy mess later.
What’s the best way to avoid those annoying, uneven grout lines that drive me crazy?
Honestly, the secret isn’t some magic technique; it’s just getting the right gear. Do not, I repeat, do not try to eyeball it. Buy a pack of plastic tile spacers and actually use them. They sit in the gaps and hold everything in place while the thin-set cures. Also, when you’re grouting, use a rubber grout float at a 45-degree angle. It keeps the pressure even so you don’t end up with those wonky, hollow spots.
How much extra tile should I actually buy so I don't run out halfway through and end up at the hardware store again?
Look, nothing kills my momentum like being three tiles short and having to trek back to the hardware store mid-project. My rule of thumb? Buy 10% more than your square footage says you need. If you’re doing a complex pattern like herringbone, bump that up to 15%. You’re going to mess up a few cuts, and honestly, having a few spares tucked away in a drawer for future repairs is a total lifesaver.














