
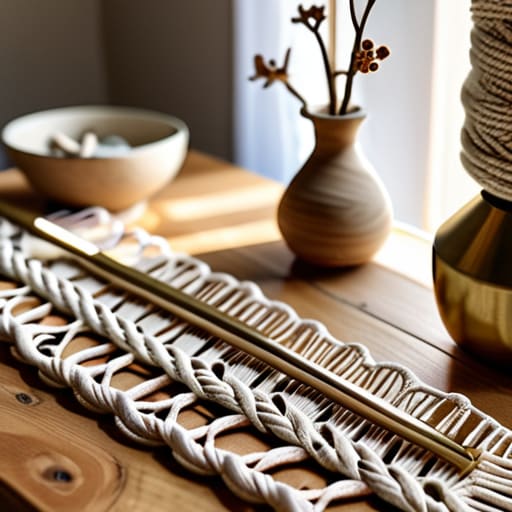
I was sitting on my floor three years ago, surrounded by a literal mountain of tangled, cheap cotton cord and a growing sense of pure resentment. I had watched a dozen “aesthetic” tutorials that made knotting look like a meditative breeze, but in reality, I was just fighting with fraying strings and a mounting headache. Here’s the truth about macrame for beginners: you don’t need a curated studio or a $50 kit of organic hemp to make something that looks decent. You just need to stop trying to mimic the perfect, filtered versions you see on Pinterest and actually learn how the tension works.
In this guide, I’m stripping away all the fluff and the gatekeeping to give you a workflow that actually makes sense. We aren’t going to obsess over color palettes or expensive driftwood right out of the gate; instead, I’m going to show you how to master the foundational knots without losing your mind. I’ll help you pick tools that won’t fight you and teach you how to build a functional setup that fits into your real life. Let’s get your hands dirty and actually make something that works.
Guide Overview
Tools & Supplies
- Scissors for cutting cord cleanly
- Measuring tape for length accuracy
- S-hooks or a dowel for hanging work
- Macrame cotton cord (3mm or 4mm) 50-100 meters
- Wooden dowel or ring 1 unit
Step-by-Step Instructions
- 1. First things first, you need to set up your workstation so you aren’t fighting your own setup. Find a sturdy table or a heavy desk, and grab some masking tape or a S-hook to secure your cord to the edge. If your cord is just flopping around on the floor while you’re trying to work, you’re going to get frustrated in about five minutes, and we’re not here for that.
- 2. Grab your cord and cut it into lengths that are roughly four to eight times the size of the finished piece you’re imagining. I know, it feels like you’re wasting material, but you need that extra slack to account for the knots pulling the cord upward. If you cut them too short, you’ll end up with a tiny, cramped project that looks more like a coaster than a wall hanging.
- 3. Now, let’s get those cords through your mounting bar or ring. Fold your cords in half to create a loop at the top, and pass that loop through your mounting hardware. This is called a “lark’s head knot,” and it’s basically the foundation of everything you’re about to do. Pull it tight so the cords hang evenly; if one side is longer than the other, your whole project is going to look lopsided.
- 4. Time to tackle the Square Knot, which is the bread and butter of macrame. Take four cords: the two in the middle are your “filler” cords, and the two on the outside are your “working” cords. Cross the left cord over the filler cords to make a shape like a “4,” tuck the right cord under the fillers and up through that loop on the left. Pull it snug—but don’t yank it so hard that you snap the cord—and then repeat the process starting from the right side.
- 5. If you want to add some texture, try the Half Hitch knot. This is how you create those diagonal lines or borders that make a piece look intentional rather than just a mess of string. You basically hold one cord steady as a “lead” cord and wrap another cord tightly around it. It takes a bit of muscle memory to get the tension right, so don’t sweat it if your first few lines look a little wonky.
- 6. Once you’ve finished your pattern, it’s time for the “trimming phase,” which is honestly the most satisfying part. Lay your piece flat and use sharp fabric scissors—not those dull kitchen shears—to cut the bottom into a clean fringe or a geometric shape. If you want that trendy, bohemian look, take a fine-tooth comb and gently brush out the ends of the cotton cord to turn them into soft tassels.
- 7. Finally, give your piece a quick inspection. Check for any loose knots that might unravel if you hang it up, and make sure the tension is relatively consistent across the whole piece. If one section is super tight and the next is super loose, just go back and re-tighten those slack spots. You don’t need it to look like a museum piece; you just need it to stay together.
The Essential Macrame Tools List You Actually Need
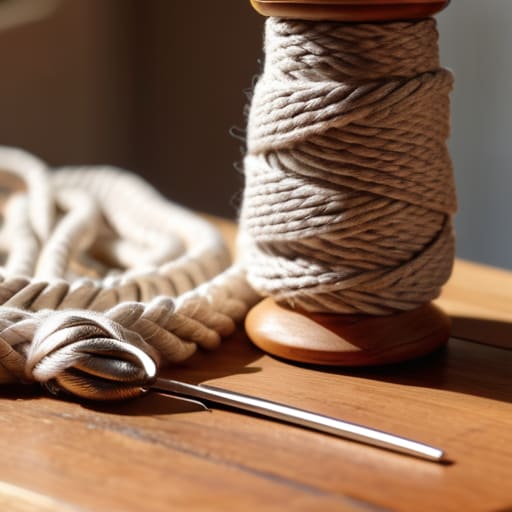
Look, you don’t need a dedicated craft room or a $200 starter kit to get this going. Honestly, the biggest mistake I see people making is getting paralyzed by choice. You don’t need every single specialized tool on the market; you just need a few things that won’t make the process a headache. Start with a decent pair of sharp fabric scissors—regular kitchen shears will chew through your cord and leave you with a frayed mess—and a sturdy S-hook or a wooden dowel to hold your work while you’re knotting.
When it comes to the string itself, don’t overthink it, but do pay attention to your macrame cord types for beginners. I always suggest starting with a single-strand cotton cord; it’s much more forgiving and easier to manipulate than the twisted stuff when you’re still mastering those basic macrame knot patterns. If you’re feeling lost, just check a quick cotton cord weight guide to make sure you aren’t trying to build a massive plant hanger with thread that’s thinner than my patience. Stick to a medium weight (around 3mm or 4mm) and you’ll find the tension much easier to manage.
Choosing Macrame Cord Types for Beginners Without Overcomplicating It
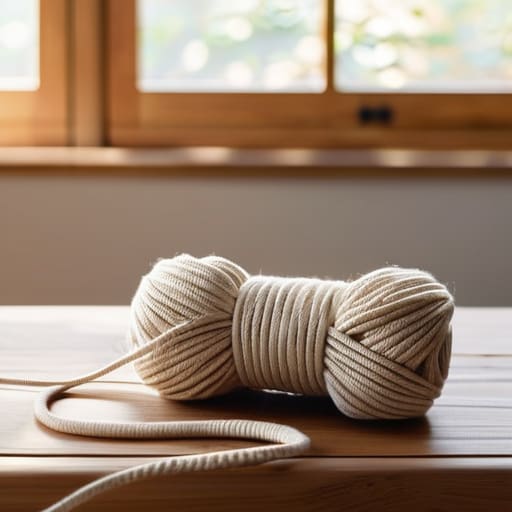
Look, I get it. You walk into a craft store or scroll through an online shop and suddenly you’re staring at fifty different textures, colors, and thicknesses, feeling like you need a PhD just to pick a string. Let’s simplify this right now. When you’re looking at macrame cord types for beginners, you really only need to focus on one thing: consistency. If your cord is shedding everywhere or feels like it’s going to snap the second you pull a knot tight, you’re going to end up hating the process before you even finish your first piece.
My personal rule of thumb? Stick to single-strand cotton. While many people love the look of twisted rope, single-strand cord is much more forgiving when you’re practicing your basic macrame knot patterns. It unravels easily, which is a lifesaver when you realize you messed up a sequence and need to backtrack without destroying the whole project. If you’re feeling a bit more confident, a quick cotton cord weight guide will tell you that a 3mm or 4mm thickness is the “Goldilocks zone”—not too chunky to handle, but not so thin that your fingers cramp up. Just grab something sturdy that won’t fight you while you’re learning.
Pro-Tips for When Your Knots Start Fighting You
- Don’t obsess over perfect tension right away. Your first few projects are going to look a little wonky because some knots will be tight and others will be loose, and that’s fine. Just focus on getting the pattern down before you worry about making it look like a Pinterest board.
- Secure your workspace. If you’re trying to knot while your cord is sliding around on a table, you’re going to lose your mind. Use a S-hook or even just some heavy-duty command hooks to get your work at eye level so you aren’t hunched over like a gargoyle.
- Work in batches if you can. If you’re making something with repetitive knots, try to get into a rhythm. It’s way easier to maintain a consistent tension when you stop overthinking every single movement and just let your hands do the work.
- Keep a pair of sharp, dedicated scissors nearby. Using kitchen shears or dull office scissors will fray your cord and make the ends look messy. You want a clean snip every single time to keep the project looking intentional rather than accidental.
- Embrace the “unravel and redo” method. If a knot looks fundamentally wrong, don’t try to hide it with more cord. Just untie it and start that section over. It feels like a waste of time in the moment, but it’s way faster than trying to fix a structural mistake later.
Just Start Knotting
Look, if you’ve made it this far, you’ve already done the hardest part: actually deciding to try something new. You’ve got your cord, you know which knots won’t drive you insane, and you’ve got the basic tools sitting right there in your bag. Don’t feel like you need to go out and buy a professional studio setup or a massive collection of expensive driftwood to make this “official.” The goal here isn’t to create a museum-quality piece on your first attempt; it’s about understanding the rhythm of the knots and getting comfortable with the tension. If your first plant hanger looks a little wonky or lopsided, honestly? That’s just character. It’s proof that you actually built something with your own two hands instead of just clicking “add to cart” on a mass-produced version.
At the end of the day, macrame is just another system—a way to organize space and add a bit of tactile soul to your home. My advice? Stop chasing the aesthetic perfection you see on your curated social media feeds and just embrace the process. There is something incredibly grounding about the repetitive motion of working with your hands, especially when the rest of our digital lives feels so chaotic and intangible. Whether you’re making a tiny keychain or a massive wall hanging, just keep pulling those cords tight and learning as you go. You’ve totally got this.
Frequently Asked Questions
I’m worried about making a mess; how do I keep all these loose threads from turning my living room into a disaster zone?
Look, I get it. I’ve spent many nights surrounded by a literal sea of cotton scraps after a long session. To keep your sanity (and your rug) intact, grab a dedicated “scrap bin”—even just an old shoebox works. Also, keep a small pair of snips right next to you so you aren’t hunting for them mid-knot. Most importantly, clear a specific workspace. If you confine the chaos to one tray or mat, it stays manageable.
Do I really need a dedicated dowel or stand, or can I just tape this thing to my wall and call it a day?
Look, I’m all for a low-friction setup, but please don’t tape it to your wall. You’ll end up with a mess of peeling paint and a lopsided project that’s impossible to knot properly. If you aren’t ready to drop cash on a fancy stand, just grab a sturdy command hook or even a heavy-duty tension rod in a doorway. You need something that stays put while you’re pulling on that cord.
How do I know if I’ve messed up a knot halfway through without having to unwrap the entire project?
Honestly, the “unraveling anxiety” is real. Before you commit to a full teardown, do a quick tension check. If one knot looks tighter or more lopsided than the others, you’ve likely missed a loop or pulled too hard. Pull the cord slightly to see if the pattern holds its shape; if it looks wonky or asymmetrical, you’ve hit a snag. It’s usually easier to snip the offending section and restart that one knot than to fight the whole piece.
Is there a way to make these look less "boho-chic cliché" and more actually modern?
Honestly, I totally get it. The “pampas grass and beige everything” look is everywhere, and it can feel a bit stale. To modernize it, ditch the fluff. Use high-contrast colors—think charcoal cords against a white wall—or stick to a strictly monochromatic palette. Also, focus on geometric, architectural shapes rather than those flowing, messy fringes. If it looks more like a structured installation and less like a dusty curtain, you’ve nailed it.














