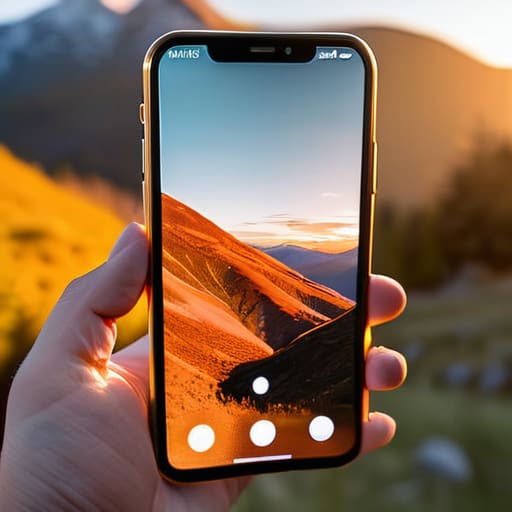
Can we please stop pretending that you need a $1,200 titanium-clad smartphone and a dozen expensive lens attachments to capture something meaningful? I see these “pro photography” tutorials all over my feed, filled with people acting like you need a degree in optics just to snap a decent shot of your lunch or your cat. It’s exhausting, and honestly, it’s a total lie. If you’re constantly scrolling through curated, hyper-saturated feeds feeling like your own shots look trash in comparison, you don’t need a gear upgrade; you just need to understand how to actually use the tool already sitting in your pocket. Learning how to take better phone photos isn’t about buying more stuff—it’s about mastering the logic of what you already own.
I’m not here to sell you on a lifestyle or some unattainable aesthetic. Instead, I’m going to give you the actual systems I use to get clean, intentional shots without the technical gatekeeping. We’re going to skip the fluff and focus on the practical stuff: lighting, composition, and why your lens is probably filthier than you think. My goal is to help you build a workflow that is simple and functional, so you can spend less time fiddling with settings and more time actually living your life.
Mastering the Best Mobile Camera Settings for Real Life
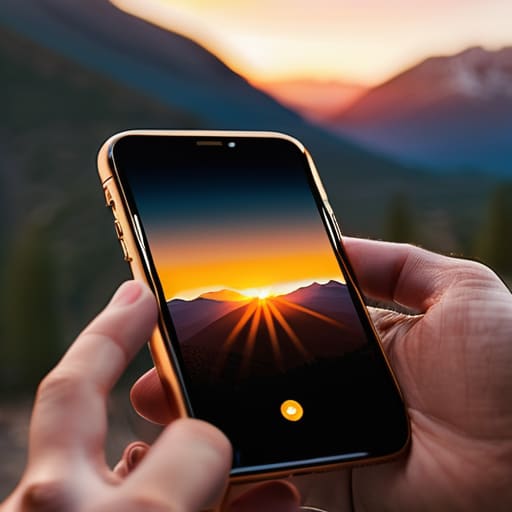
Look, you don’t need a $3,000 DSLR to get shots that don’t look like they were taken with a potato. Most of us just point, shoot, and hope for the best, but if you want to actually start improving mobile image quality, you need to stop letting your phone make all the decisions. First thing’s first: turn off that annoying “beauty mode” or any aggressive auto-smoothing. It makes everyone look like a wax figure, and honestly, it’s just bad data. Instead, dive into your best mobile camera settings and find the exposure slider. When you tap your subject to focus, a little sun icon usually pops up—slide that down just a hair. Underexposing slightly keeps your highlights from blowing out and gives your photos a much more intentional, professional feel.
While we’re at it, let’s talk about the “Portrait Mode” trap. It’s great for that creamy, blurred-out background look, but if you use it in low light, your subject is going to look like a blurry mess. My favorite smartphone portrait mode tips involve finding a single, strong light source—like a window or a streetlamp—and positioning your subject so the light hits them from the side. This creates depth and prevents that flat, washed-out look that makes a photo feel amateur. It’s about working with the physics of the sensor, not fighting against it.
Mobile Photography Composition Rules That Actually Work

Look, I’m not going to bore you with a lecture on the “Golden Ratio” or some complex math that requires a degree to understand. Most of the time, when people talk about mobile photography composition rules, they make it sound like you need to be a professional cinematographer just to snap a decent pic of your lunch. In reality, it’s way more about where you place your subject to avoid that cluttered, accidental feeling. My go-to is the Rule of Thirds—just turn on the grid lines in your settings and try to line up your main subject where those lines intersect. It instantly stops your photos from looking like a boring, centered snapshot and gives them a bit of intentional breathing room.
Another thing that saves me is playing with leading lines. Instead of just standing there, look for a sidewalk, a railing, or even the edge of a table that points toward whatever you’re shooting. It draws the eye in naturally. And please, for the love of all things functional, stop zooming in with your fingers. Digital zoom is the fastest way to kill your resolution. If you want a closer shot, actually move your body. It keeps the image sharp and prevents that grainy, pixelated mess that makes a photo look cheap.
The "No-Gatekeeping" Toolkit for Better Shots
- Stop living in “Auto” mode. I know, it’s tempting to just point and shoot, but take ten seconds to tap your subject on the screen to lock the focus and exposure. It stops your photos from looking like a blurry mess every time someone moves.
- Clean your lens. This sounds stupidly simple, but I can’t tell you how many “dreamy” or hazy photos are actually just fingerprint grease on the glass. Give it a quick wipe with your shirt before you snap—it’s a total game-changer for clarity.
- Chase the light, don’t fight it. If you’re stuck under harsh overhead lights, you’re going to get weird shadows. Try to find a window or move closer to a natural light source; even a crappy phone camera looks high-end when the lighting is doing the heavy lifting for you.
- Use your volume buttons. If you’re trying to get a steady shot or a specific angle, tapping the screen often makes the phone shake. Use the physical volume buttons on the side of your phone to trigger the shutter—it feels more like a real camera and keeps things stable.
- Edit for reality, not for the ‘gram. Skip the heavy, preset filters that turn everything neon. Instead, just play with the contrast, shadows, and warmth in your native photo app. You want the photo to look like how you actually remember the moment, not like a digital fever dream.
Stop Overthinking the Gear
At the end of the day, taking better photos isn’t about having the latest $1,200 flagship device or mastering some obscure professional software. It’s about the small, repeatable systems we talked about: cleaning your lens so your shots aren’t a blurry mess, understanding how to work with the light you actually have, and using basic composition to give your eyes a place to rest. When you stop chasing the “perfect” filter and start focusing on intentionality and technical basics, you’ll notice your gallery starts looking less like a collection of random snapshots and more like a cohesive story of your life.
My biggest piece of advice? Don’t let the pursuit of the “perfect shot” rob you of the moment itself. I spend way too much time tinkering with my vintage synths trying to get every frequency just right, but I’ve learned that sometimes the best stuff happens in the glitches and the imperfections. Your phone is a tool meant to capture your reality, not a way to construct a fake one. So, grab your device, stop obsessing over the settings, and just start shooting. The more you do it, the more natural those systems will feel, and honestly, that’s where the real magic happens.
Frequently Asked Questions
Do I really need to spend money on external lenses, or is my phone's built-in camera enough?
Honestly? Save your money. Most of those clip-on lenses you see in ads are cheap plastic that just makes your photos look blurry and distorted. Unless you’re doing high-end macro work or have a very specific professional need, your phone’s built-in glass is already optimized for its sensor. Instead of buying hardware, invest that cash in a decent tripod or better lighting. A stable shot with good light beats a crappy lens every single time.
How do I stop my photos from looking blurry when I'm trying to take shots in low light?
The “blurry photo struggle” is usually just a physics problem, not a gear problem. When light is low, your phone’s shutter stays open longer to catch enough light, which is why even a tiny hand tremor ruins the shot. First, stop using digital zoom—it’s a recipe for grain. Instead, prop your phone against a coffee mug or a wall to steady it. If you can, tap your screen to lock focus and exposure; it helps the sensor “understand” the scene before you click.
What’s the best way to organize all these photos so my phone storage doesn't hit a wall immediately?
Look, we’ve all been there: that “Storage Almost Full” notification popping up right when you’re trying to capture something cool. It’s a vibe killer. Honestly? Stop letting your camera roll become a digital junk drawer. Get a solid cloud backup running—Google Photos or iCloud—and then actually use it to offload the heavy lifting. Once they’re synced, purge the blurry shots and accidental pocket-photos immediately. Keep your local storage lean so your phone actually breathes.
Are there any specific apps that actually help with editing without making everything look fake and over-processed?
Honestly, stay away from those one-tap “beauty” apps; they’re the fastest way to make your photos look like plastic. If you want to keep things real, stick to Lightroom Mobile or Snapseed. They’re built for actual control, not just slapping a preset on everything. I usually just tweak the shadows and a bit of warmth to match the vibe of the room. It’s about enhancing what’s there, not rewriting reality.