I was halfway through scrubbing my kitchen floor on my hands and knees last Tuesday, staring at a patch of gray grime that refused to budge, when I realized I was doing it all wrong. I’d spent forty bucks on some “miracle” foaming spray that promised instant results, but all it did was make my floor uncomfortably slippery without actually touching the dirt. It’s the same trap people fall into when they search for how to clean grout; they think they need expensive, specialized chemicals to do the heavy lifting. Honestly? Most of that high-end stuff is just marketing fluff designed to make your cleaning routine feel more “aesthetic” than it actually needs to be.
I’m not here to sell you on a ten-step ritual or a collection of overpriced gadgets you’ll never use again. Instead, I want to show you how to build a functional system using stuff you probably already have in your utility closet. We’re going to skip the hype and focus on the actual mechanics of breaking down buildup so your floors actually look decent. I’ll walk you through the specific tools that matter and the low-effort methods that actually work, so you can spend less time scrubbing and more time actually living in your space.
Guide Overview
Tools & Supplies
- Stiff-bristled grout brush or old toothbrush for scrubbing
- Microfiber cloth or sponge for wiping away residue
- Baking soda (1 cup)
- White vinegar (1/2 cup)
- Warm water (as needed)
Step-by-Step Instructions
- 1. First things first, clear the decks. I’m talking about moving the rugs, the floor plants, and anything else that’s currently acting as a speed bump in your workspace. You don’t want to be dodging a heavy ceramic pot while you’re scrubbing, and honestly, you don’t want to get cleaning solution on your good textiles.
- 2. Grab a vacuum with a narrow crevice tool attachment and go to town on the lines. It sounds tedious, but if you try to wet-clean grout that’s still full of loose dust and hair, you’re just going to end up creating a muddy, grey sludge that’s ten times harder to get out of the pores. Get all that dry debris out of the way first.
- 3. Mix up your cleaning solution. You don’t need to drop fifty bucks on some “specialized” miracle spray that smells like fake lavender. Just grab a bucket and mix some warm water with a decent amount of baking soda, or if things are looking really grim, a splash of white vinegar works wonders. Just a heads-up: if your tile is natural stone like marble, skip the vinegar entirely unless you want to permanently etch the surface.
- 4. Apply the solution and let it do the heavy lifting. Instead of immediately attacking the floor with a brush, soak the grout lines with your mixture and let it sit for about 10 to 15 minutes. This isn’t a race; you want the solution to actually break down the grime so you aren’t spending your entire Saturday doing manual labor.
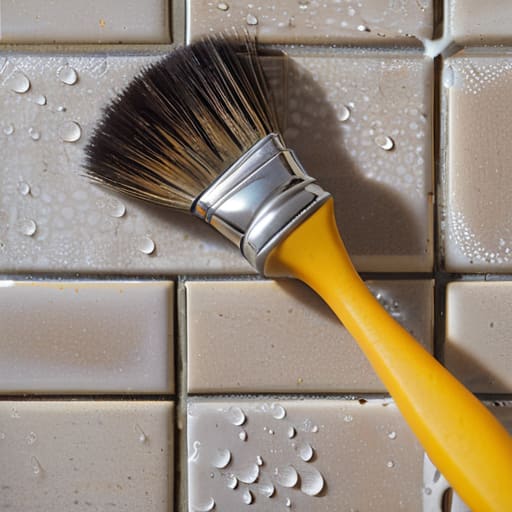
- 5. Now, bring out the muscle. I usually reach for a stiff-bristled nylon brush—an old toothbrush works for tight corners, but for the main floor, you want something with a bit more heft. Scrub in small, circular motions along the grout lines. You’ll see the dirt lifting, and it’s weirdly satisfying, like watching a progress bar finally hit 100%.
- 6. Wipe it all away with a clean, damp microfiber cloth or a sponge. Don’t just use a mop immediately; you’ll likely just smear the dirty water back into the lines. I prefer using a sponge to manually lift the loosened gunk so it’s actually gone from the house, not just redistributed.
- 7. Once the floor is dry, do a quick “sanity check” by running your finger along a line. If it still feels gritty, you might need to repeat the process, but usually, this system gets the job done. If you’re feeling extra proactive, this is the perfect time to apply a grout sealer to prevent the dirt from sinking back in next month.
Ditch the Scrubbing Finding the Best Grout Cleaner for Bathroom Use
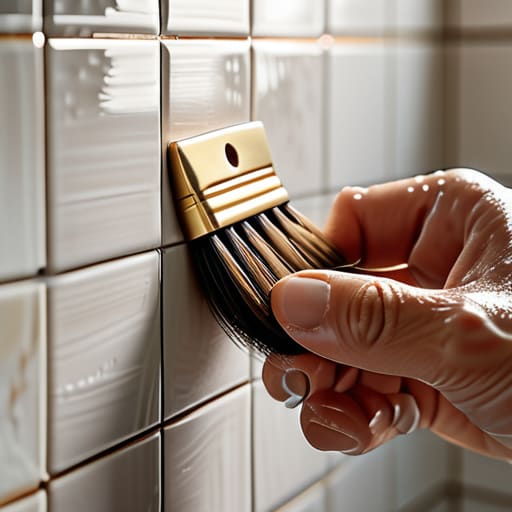
Look, I know the temptation to just grab whatever neon-colored chemical spray is on sale at the drugstore, but your bathroom tiles deserve better than a cocktail of harsh fumes that make you cough just standing there. If you’re dealing with actual grime, you need to decide if you’re going the heavy-duty route or the DIY path. For me, natural grout cleaning solutions are usually my first line of defense because they don’t wreck my lungs or the environment. A solid mix of baking soda and a bit of hydrogen peroxide can work wonders on those stubborn gray lines without needing a hazmat suit.
However, if you’ve been ignoring your shower for a few months and you’re currently removing mold from tile grout that looks more like a science experiment than a floor, you might need to level up. Sometimes, the “natural” way takes way too much elbow grease, and my time is better spent restoring my synths than scrubbing for three hours. In those cases, find a dedicated, non-abrasive enzymatic cleaner. Once you’ve finally gotten it back to looking decent, don’t skip the grout sealer application. It’s a bit of a chore, but it creates a barrier so the dirt can’t sink back in, meaning you won’t have to repeat this whole ordeal next week.
Simple Systems for Removing Mold From Tile Grout Fast
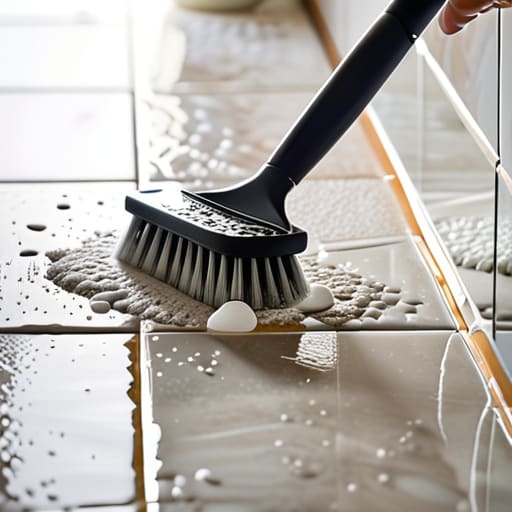
If you’ve walked into your bathroom and seen those tiny, stubborn black spots creeping into your tiles, don’t panic—it’s usually just a moisture issue, not a sign your house is falling apart. When it comes to removing mold from tile grout, the biggest mistake people make is letting it sit there and hope it disappears. You need to act before those spores really settle in. If you aren’t ready to go full chemical warfare, I’m a huge fan of cleaning grout with baking soda and vinegar; it’s a classic for a reason. Just make a paste, let it sit for a few minutes to do the heavy lifting, and then scrub. It’s not magic, but it’s a solid, low-stress way to handle the early stages of buildup.
Once you’ve actually managed to clear the grime, you have to think about prevention, or you’ll just be back here doing this again in two months. This is where most people skip a step: grout sealer application. Think of sealer like a raincoat for your floor; it keeps the water and gunk from sinking into the porous material in the first place. If you want to stop fighting a losing battle against humidity, seal those lines once they’re bone-dry. It’s a tiny bit of extra work upfront that saves you a massive headache later.
Pro-Tips to Stop the Grime from Coming Back
- Stop treating grout like it’s indestructible; once you’ve scrubbed it clean, seal it. A good grout sealer is basically a tiny, invisible force field that keeps dirt from sinking into the pores, so you aren’t stuck re-scrubbing every single week.
- Invest in a decent electric scrubber or even a cheap handheld power brush. I’m all about efficiency, and honestly, my wrists thank me every time I let a motor do the heavy lifting instead of me manually attacking a tile line with a toothbrush.
- Don’t just spray and pray. Whatever cleaner you’re using, let it sit for at least ten minutes. You want that solution to actually break down the gunk chemically so you aren’t relying purely on elbow grease to get the job done.
- Keep a “maintenance kit” tucked under the sink with a stiff nylon brush and a spray bottle of diluted vinegar or your favorite cleaner. If you catch a small spill or a bit of buildup early, it takes thirty seconds to fix instead of a whole Saturday afternoon of deep cleaning.
- Check your ventilation. If you’re cleaning bathroom grout because of mold, your real problem might be humidity. Run that exhaust fan longer or grab a small dehumidifier; if the air stays dry, the grime stays away.
The Finish Line
Look, cleaning grout isn’t exactly the highlight of anyone’s week, but once you stop treating it like a mystery and start treating it like a simple maintenance task, it gets way less intimidating. Whether you decided to go the route of a heavy-duty commercial cleaner for those stubborn bathroom stains or you just went the DIY route with some basic supplies to tackle the kitchen, the goal is the same: efficiency over perfection. You don’t need a professional crew or a cabinet full of expensive, specialized chemicals to see a massive difference. Just remember that having the right tools—like that stiff brush we talked about—and a consistent little routine is what actually keeps the grime from winning the long game.
At the end of the day, I don’t care if your grout lines are perfectly white and look like a Pinterest board; I just want your space to feel functional and clean. We spend so much time stressing over the tiny details that we forget the point of a home is that it should support our lives, not add more chores to our mental load. Once you’ve got your system down, you can stop fighting your floors and get back to actually living in your space. You’ve got the tools, you’ve got the method, now just go get it done so you can finally relax.
Frequently Asked Questions
Is it actually safe to use vinegar on my grout, or am I going to end up eroding the sealer?
Honestly? Short answer: be careful. If your grout is sealed, vinegar is a bit of a double agent. It’s great for cutting through grime, but that acidity can slowly eat away at your sealer over time, leaving your tiles vulnerable to future stains. If you’re going to use it, dilute it heavily with water and don’t let it sit too long. Personally, I’d stick to a pH-neutral cleaner to keep my systems running smoothly.
How often do I actually need to reseal my grout once it's finally clean?
Look, I’m all about systems that actually work, not just constant maintenance loops. If you’ve done a solid job cleaning and sealing, you shouldn’t need to touch it every month. Aim for every one to two years. A quick way to check? Pour a little water on the grout; if it beads up, you’re golden. If it soaks in and darkens, your seal is shot and it’s time to reapply.
Can I use a steam cleaner to save my arms from all that scrubbing, or is that overkill?
Honestly? It’s not overkill; it’s actually a total life hack. If you have a handheld steam cleaner, use it. It’s basically the “work smarter, not harder” approach to deep cleaning. The high-temp steam blasts the dirt out of those tiny crevices so you aren’t spending an hour hunched over with a toothbrush. Just a heads-up: don’t go overboard on old, crumbling grout, or you might actually loosen it too much. Otherwise, go for it.
What’s the best way to prevent the grime from coming back so soon after I've cleaned it?
Look, cleaning it is only half the battle; if you don’t seal the deal, you’re just setting yourself up to scrub it all over again next month. Once your grout is bone-dry, grab a high-quality penetrating sealer. It’s a total game-changer. It basically creates an invisible barrier so dirt and moisture can’t sink in. It’s a little extra work upfront, but it saves you so much headache in the long run.