
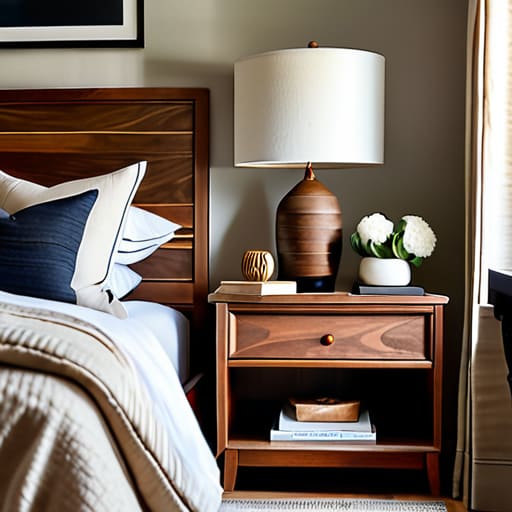
Let’s be real: most of the bedroom decor you see on your feed is designed to look good in a static photo, not to actually survive a Tuesday. You spend a fortune on a “designer” bed only to realize the back of it looks like a piece of unfinished plywood, or worse, you’re stuck with a generic setup that makes your room feel like a sterile hotel suite. I’ve spent way too many nights staring at a blank wall behind my bed, realizing that if I wanted something that actually reflected my style and my budget, I was going to have to build it myself. Searching for diy headboard ideas shouldn’t feel like a chore, but it often turns into a rabbit hole of expensive kits that still don’t feel quite right.
I’m over the fluff, so I’ve rounded up eight specific ways to upgrade your space without breaking your bank account or your sanity. Whether you’re a total novice with a screwdriver or you’ve got a bit of a toolkit ready to go, these options focus on durability and function over pure aesthetics. I’m going to walk you through everything from low-effort textile hacks to more structural builds, so you can finally create a setup that actually works for your life.
The Industrial Pipe Frame
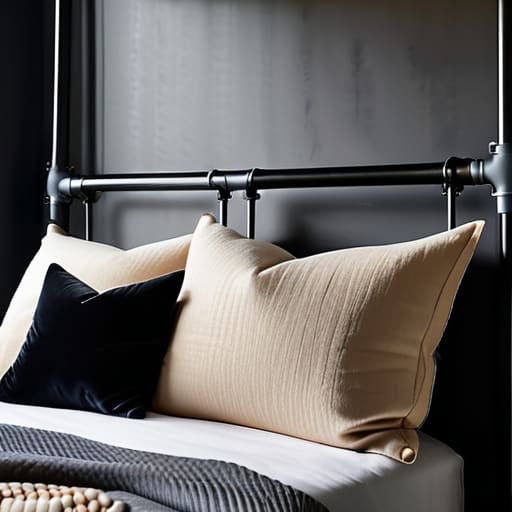
If you’re tired of that flimsy, particle-board furniture that feels like it might snap if you lean on it too hard, go the industrial route. I’m talking about using actual steel pipes and floor flanges to create a frame that is built to last. It’s basically the systems administration of furniture: it’s modular, it’s sturdy, and once you set it up, it’s not going anywhere. You can find all these parts at a local hardware store without needing a specialized workshop.
Upholstered Foam Panels
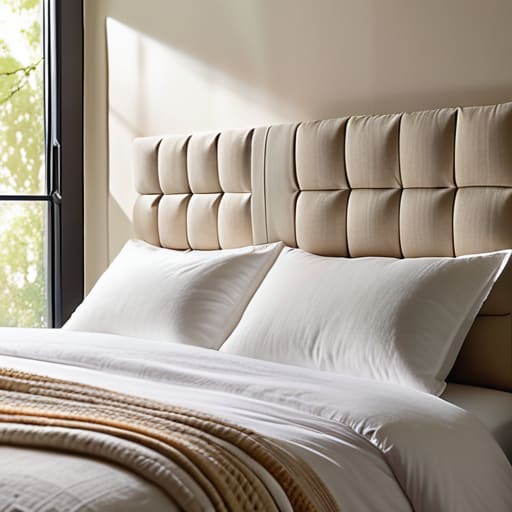
Let’s be real: sometimes you just want a soft place to lean your head while you’re scrolling through your phone or reading. Instead of buying a massive, expensive upholstered headboard that takes up half the room, I recommend the “panel hack.” You can buy individual foam squares or even just thick pieces of upholstery foam and wrap them in whatever fabric you actually like—think linen or a heavy cotton.
The Reclaimed Wood Slat Wall
I have a huge soft spot for anything that’s been repurposed, and a wood slat headboard is the perfect way to add some warmth to a room that feels a bit too “tech-heavy” or sterile. You don’t need perfect, expensive lumber for this. In fact, if you can find some scrap cedar or even some old pallet wood that’s been sanded down, it actually looks better because of the character and the imperfections.
Minimalist Floating Shelves
If you’re a person who hates clutter but also needs a place to put your phone, your glasses, and a glass of water, stop looking at traditional headboards and start looking at floating shelves. This is the ultimate minimalist approach to bedroom organization. It keeps the area around your bed looking clean and open, which is huge for mental clarity when you’re trying to wind down at night.
The Hanging Macramé Vibe
For those of you who want something that feels a bit more relaxed and less “heavy,” a textile-based headboard is the way to go. You don’t have to be a master weaver to pull this off; you can even buy a large, beautiful woven tapestry or a piece of heavy macramé and hang it as your focal point. It adds a layer of texture and softness that hard wood or metal just can’t replicate.
Pegboard Organization Station
This one is a bit of a curveball, but hear me out: if you’re someone who loves having everything in its place, a pegboard headboard is actually genius. I’ve seen people use high-quality wooden pegboards to create a functional wall behind their bed. It’s not just about looks; it’s about creating a dedicated system for your nighttime essentials.
Painted Geometric Shapes
If you have zero budget and even less time, but you still want your room to look like you actually put effort into it, go with paint. I’m not talking about just painting a random stripe on the wall; I mean creating a large, geometric shape—like a giant circle or an arch—directly behind your bed to act as a visual headboard. It’s a low-cost, high-impact way to define the space.
The Vintage Door Frame
This is my favorite way to use something that most people would just throw away. If you can find an old, solid wood door at a thrift store or a salvage yard, you can turn it into a stunning, rustic headboard. There is something so satisfying about taking a piece of history and giving it a second life in a modern setting.
Build Something That Lasts
At the end of the day, whether you’re opting for a rugged reclaimed wood frame, a cozy upholstered panel, or a minimalist metal design, the goal is the same: creating a space that supports your lifestyle. We’ve looked at everything from budget-friendly fabric wraps to more intensive carpentry projects, and the common thread is that you don’t need a massive budget or a professional workshop to get it done. You just need a plan that prioritizes durability over decoration. If you choose a design that’s too flimsy or a material that’s a nightmare to clean, you’re just trading one problem for another. Focus on building something sturdy and functional that makes your bedroom feel like a sanctuary rather than a construction zone.
I know that staring at a pile of raw lumber or a daunting sewing project can feel a little overwhelming, especially if you aren’t used to getting your hands dirty. But remember, the whole point of DIY isn’t to achieve some unattainable level of perfection you see on a curated social media feed; it’s about the satisfaction of knowing exactly how your home works because you made it that way. Don’t be afraid to make a mistake or end up with a slightly crooked edge. That’s just character. So, grab your tools, clear off your workspace, and go build something that actually works for you.
Frequently Asked Questions
How do I make sure my DIY headboard is actually sturdy enough so it doesn't wobble or fall over in the middle of the night?
Look, there is nothing worse than that annoying thump-thump sound every time you shift in bed. To stop the wobble, skip the flimsy command strips. If you’re building from scratch, anchor your frame directly to the wall studs using L-brackets. It’s not the most “aesthetic” move, but it’s the only way to ensure your headboard doesn’t become a projectile in the middle of the night. Build for stability, not just for the ‘gram.
What’s the best way to attach a heavy wooden headboard to a bed frame without drilling holes into my rental walls?
Look, I get it. You want that heavy wood vibe without losing your security deposit. Since we’re skipping the drill, skip the Command strips—they’ll fail under that weight. Instead, grab some heavy-duty bed rail brackets or even some simple industrial-strength Velcro strips if the wood isn’t massive. Honestly? My favorite hack is building a slim, freestanding wooden frame that sits behind the headboard and rests on the floor. No holes, no stress, just stability.
I’m on a tight budget—are there ways to upcycle old materials without it looking like a high school art project?
Look, I get it. There’s a fine line between “intentional upcycling” and “I found this in a dumpster.” To avoid that high school art project vibe, focus on texture and hardware. Instead of just slapping paint on an old wooden pallet, sand it down properly and use a matte, dark stain. If you’re using scrap fabric, skip the loud patterns and go for heavy linens or velvets. It’s all about making the materials look deliberate, not accidental.
How do I handle the fabric part of a padded headboard if I don't own a heavy-duty staple gun or professional upholstery tools?
Look, you don’t need a professional upholstery kit to get a decent result. If you’re stuck without a heavy-duty staple gun, grab some strong upholstery pins or even just some heavy-duty safety pins to hold the fabric in place while you work. For the actual securing, use a strong, flexible fabric glue or even double-sided heavy-duty mounting tape along the edges. It’s not “factory perfect,” but it’ll stay put without breaking your bank.














